Introduction
Hello, it’s me again and welcome to my guide on how to translate Japanese hack and other miscellaneous things that are certainly important in rom translating. You might be wondering “Man, this Japanese hack is so cool. I wish I could understand the language.” Well, don’t just wait for someone to translate and instead make one yourself. It’s pretty simple even if you don’t have any experience in hacking.
As an example for this tutorial, I’m gonna be using 2 princesses and fortunately, the creator permitted me to use his hack.
Here are the tools you need:
-
FeBuilder
-
Translation Engine (DeepL or Google Translate)
-
Vocabulary (Optional)
-
Vanilla FE 8 JP & US Rom
-
Japanese Hack Patch
Part 1: Patching Japanese Hack
Literally umm… do this How to Patch a ROM - Tutorials - Fire Emblem Universe (feuniverse.us)
Part 2: Translating the UI
Open up the patched rom on febuilder
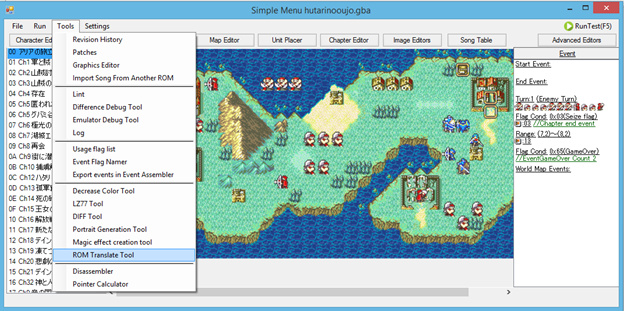
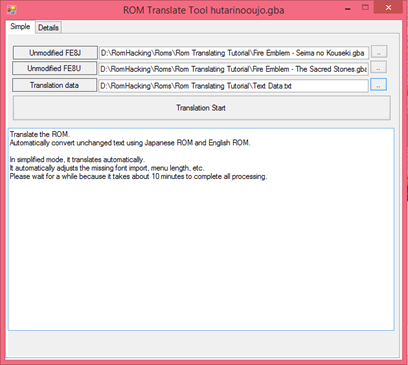
Open the Rom Translate Tool menu

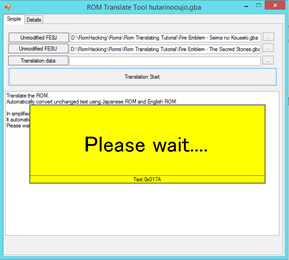
On this menu, you’d want to insert the Vanilla FE8 JP on the top and FE8 U
Just like this…
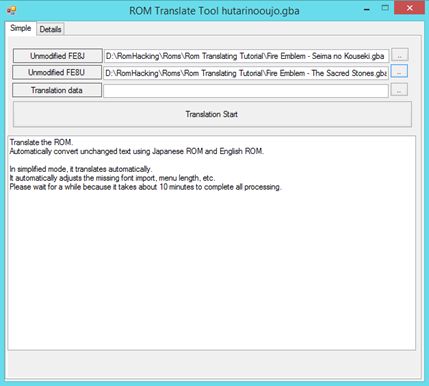
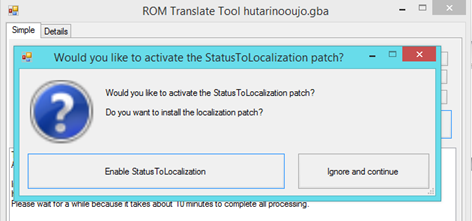
After that, you can click on Translation Start button to begin

Activate both of those patches as they’re essential in localizing a hack from JP to US.
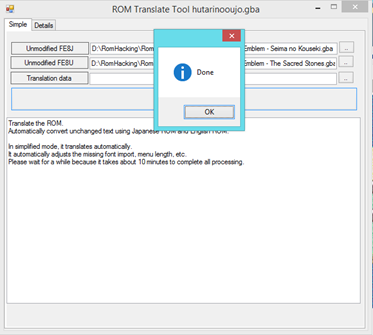
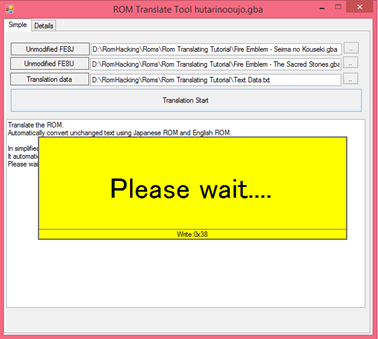
And now, wait until it’s done translating… Usually, it took around 5 minutes or so-
Done
Unfortunately, I haven’t been able to change the image for the start menu so we’ll just leave it there.
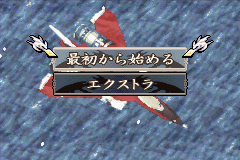
Anyway, once we’re done, the UI screen has been translated. Yay!
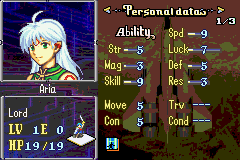
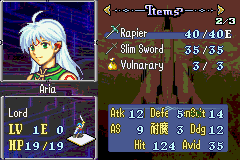
Though you might be asking what happened with the combat screen under the item. I don’t know for sure what happened but my theory is that it’s because the JP hack stat screen isn’t yet compatible with English text so it looks a little bit screwed.
Now that the UI is done, let’s move to Character, Class and Item names
Part 3: Translating Character, Class, and Item Names
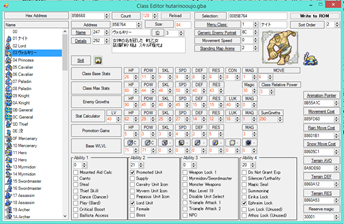
Go to each section you wanted to translate whether it be character, class, or item names as they all have the same method of translating, just with a different UI that’s all.
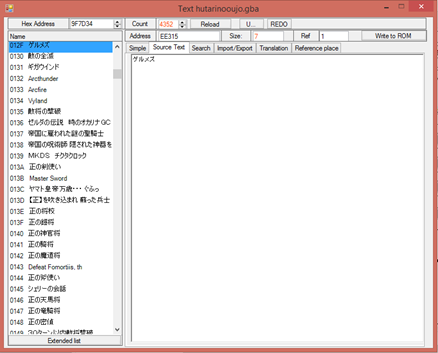
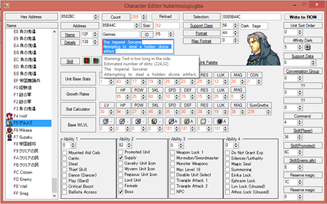
For Character
Red Arrow points at the name while the Blue Arrow points at the description. Double click each section to pop up the text screen.

After that you can just pop the Japanese text into a translating engine. Like so,
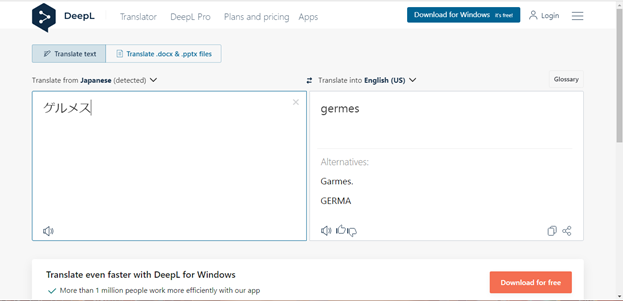
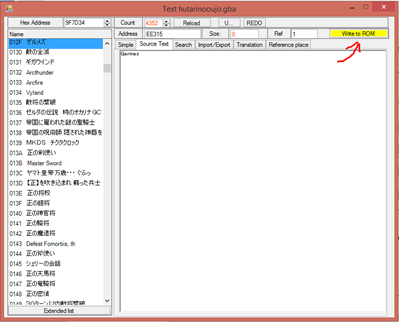
Don’t forget to ALWAYS click Write to ROM every time to save your progress.
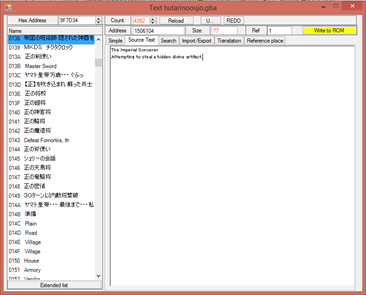
Do the same thing with the description too…

Problem
What do you do when you find an error like this?
Well, I suggest that you shave the text to fit the box (like cutting up unnecessary word) or adjust it by pressing enter to lower down the text.

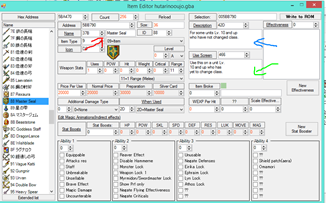
You can do the same thing with class and item names too, though the item UI is different from the two others. But it should be using the same method as before. Now, do it for every single untranslated names, one by one each for each section.
Have fun! ^^
Note: Most people would stop at this step because oftenly they think that the names are the only important thing to know about because… gameplay(?) or time consuming. But if you want to translate these kinds of hacks fully with the story and stuff, feel free to look at the next step.
Part 4: Translating Chapter Names
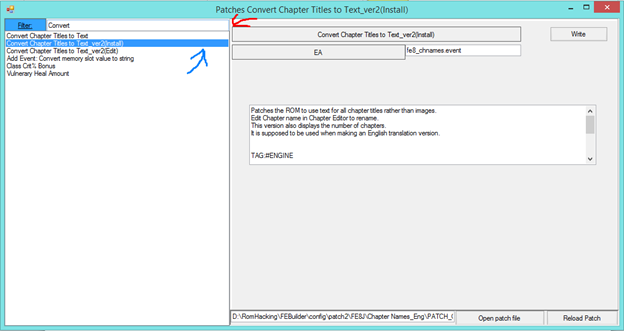
Unless you’ve already deep into the hacking scene and capable of replacing images, you may skip this part. Ahem anyway, go to Patches
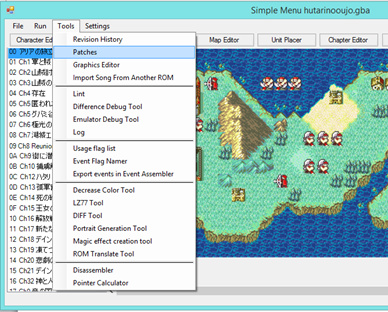
And on the Filter section (Red Arrow) search for “Convert Chapter Titles to Text.”
Choose Convert Chapter Titles to Text Ver 2 (Blue Arrow) and then click write.
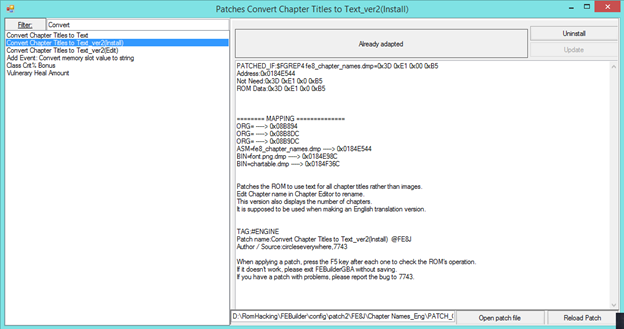
When it’s done, it will look something like this.
After that go to Chapter Editor and follow the red arrow and then double click the name.
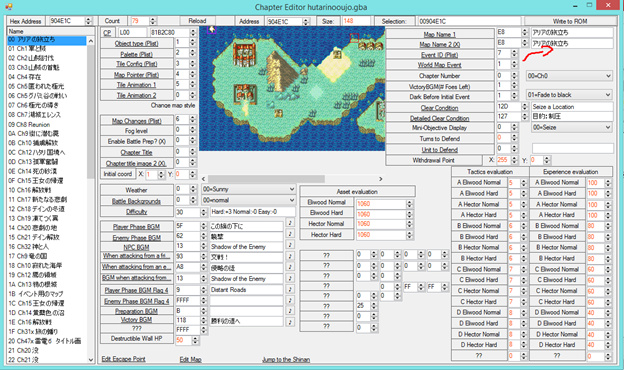
Translate the text accordingly and then Write to ROM

And done, Thanks to 7743 for making this patch viable on Fe8JP ^^//
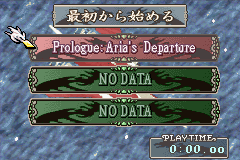
Now you can do it for every chapter in a Japanese hack, Have fun!
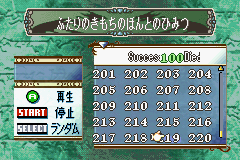
Part 4.5: Translating the Music
One thing that sticks out in Japanese hacks compared to other hacks is the abundance of the music in it. Sometimes, you’d want to listen to the banger soundtrack of these kinds of hack or something. Like, this hack alone has 200+ music which is still a LOT to translate.
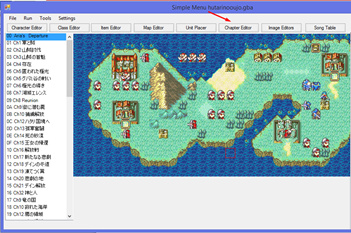
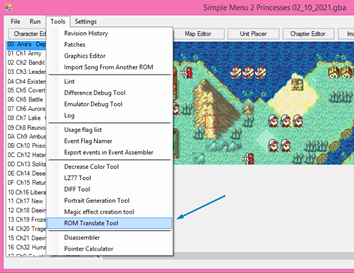
Anyway, to find the directory of these music, I suggest to use the menu from Advanced Editor.
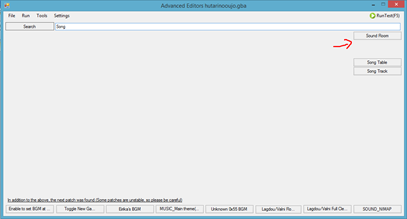
On this menu which is very cluttered, try to find the sound room. You can however use the song table and song track menu but it’s much more complicated in my opinion.
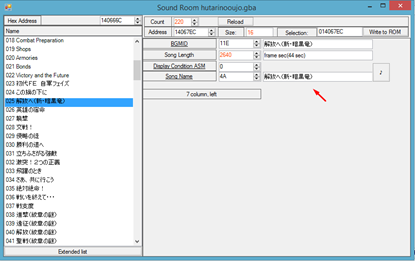
Anyway, on this screen you can just choose the music, follow the red arrow and double click it to edit. Remember to save by Write to ROM. Have fun!
Part 5: Translating the Storyline
Sometimes, you might be thinking “man, this hack seems solid. It’d be nice to know the context of this story instead of reading these moonrunes.” Instead of waiting for someone to do it, why don’t you start doing it yourself? (after asking the author’s permission ofc :3 ).
Ahem, here’s how you do it.
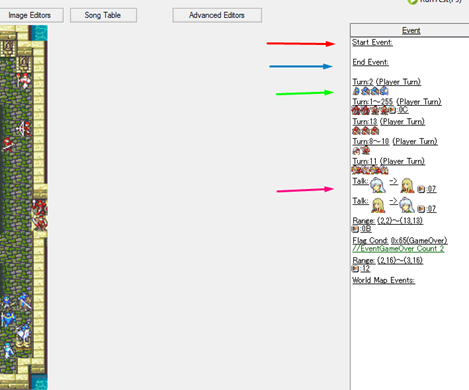
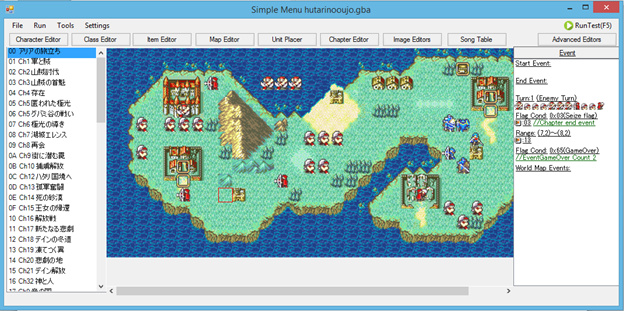
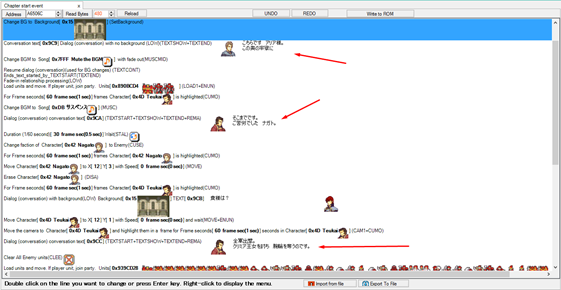
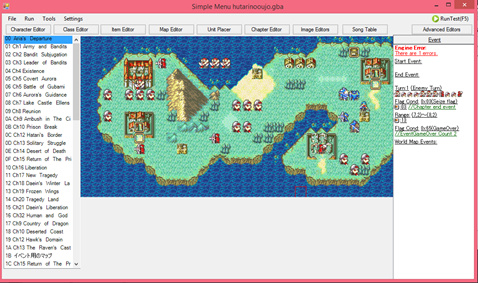
But first, we shall know some things about eventing. This might seems confusing and complicated (and trust me, I do too) but it’s not that bad actually. So… what are these arrows pointing at? Well…
-
Red : Start Event, which is the beginning of a chapter (when you restart the chapter from the start menu). The dialogues from the start of the map usually began here.
-
Blue : End Event, which is the end of a chapter when you successfully done the objective/goal of said chapter. Ending chapter usually has a short dialogue.
-
Green : Reinforcements, usually if it’s a player or enemy unit, they will talk first and the dialogue itself will plays out on the beginning of the turn.
-
Pink : Talk Convo, self explanatory.
All of these follow similar method, so let’s do the beginning event for an example.
Where should you start? Well, anything that has a Japanese wording that didn’t get translated, you can do so right away. There is no consequences of doing it in a random order as long as by the end of it, you must save your progress by clicking Write to ROM.
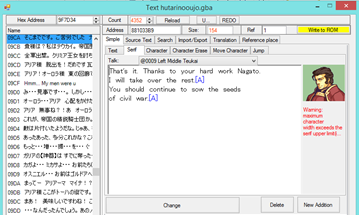
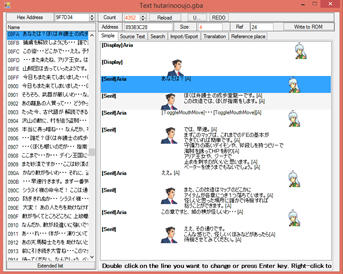
Anyway, highlight and double click the dialogue that you want to translate and it will pop up this menu. Double click again on the dialogue tab to pop the text editor screen.
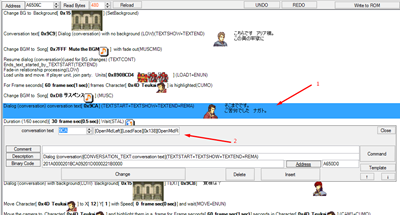
Double click on the highlighted area which usually houses a conversation and then you can begin translating the dialogue.
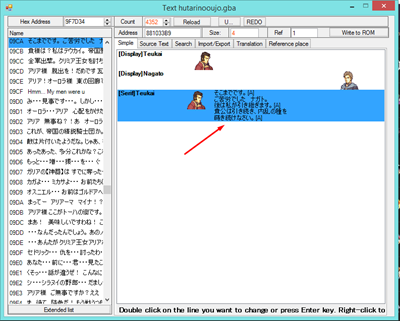
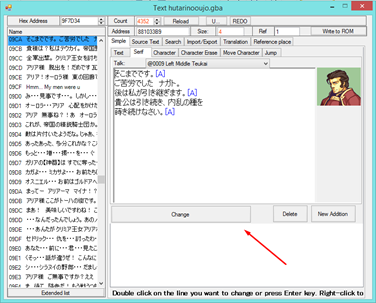
Be careful to always click Change to save your dialogue progress for that moment as clicking the other area will undo your progress. Delete button is for deleting the dialogue for that character only and New Addition is to add a dialogue for that selected character.
Problem
Sometimes, we will have a problem like this. There are two (or three) main problem for this to happen.
The first one is due to the text being too long. As we know, Japanese Katakana/Hiragana/Kanji didn’t take up much space since a single letter (especially kanjis) could have a lot of definition and meaning in it. This doesn’t apply with English words though, as writing a dialogue too long could make the game corrupt the text itself.
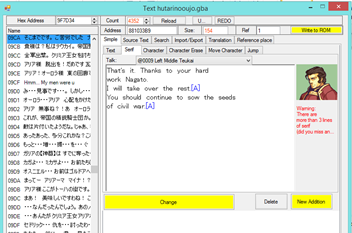
The second problem is due to the [A] symbol not being present enough. [A] symbol or I usually call it the A button used as a way to proceed the dialogue. I don’t know much about it other than you must not make more than 2 lines of text without breaking it up with [A] on the end.
The detail about text editing can be found here
-
The Ins and Outs of Text Editing - Tutorials - Fire Emblem Universe (feuniverse.us)
-
Text Editing for Dummies - Tutorials - Fire Emblem Universe (feuniverse.us)
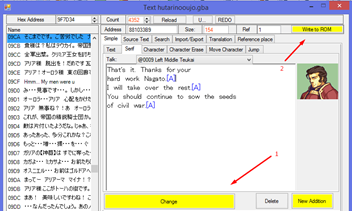
The solution is to break up the text using the [A] symbol (just type it yourself, it will turn blue if worked) and adjust the text so that it won’t become too long for the game to handle. After that, remember to click Change and then Write to ROM to save. Do this for every dialogue in a single part of an event.
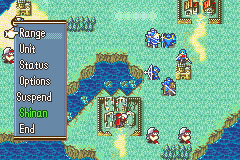
Part 5.5: Translating Shinan / Guide
Often we found Japanese hacks uses shinan on their menu screen. Basically shinan or a guide is…. You guessed it, a guide to show how a certain map works, the gimmick, reinforcements, and even secrets. Usually it’s shown in a dialogue of a character or just plain text hint.
So, open up chapter editor
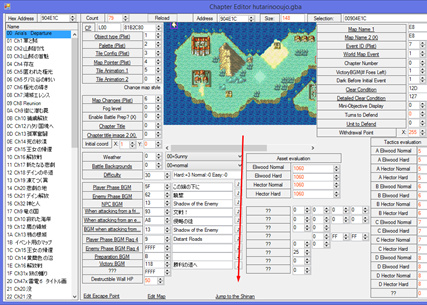
And just like before, you’d want to double click the dialogue conversation background (blue highlight) and then double click again the conversation text to pop up the text box.
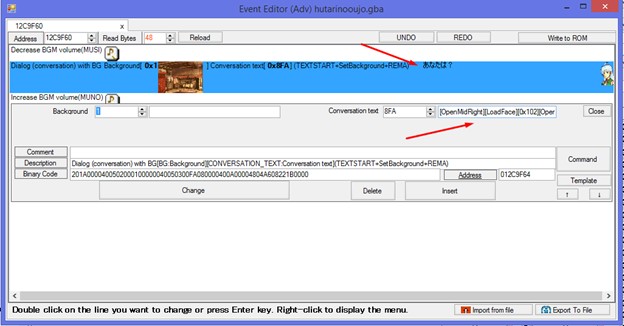
Just like this. After that you can begin translating. Done!
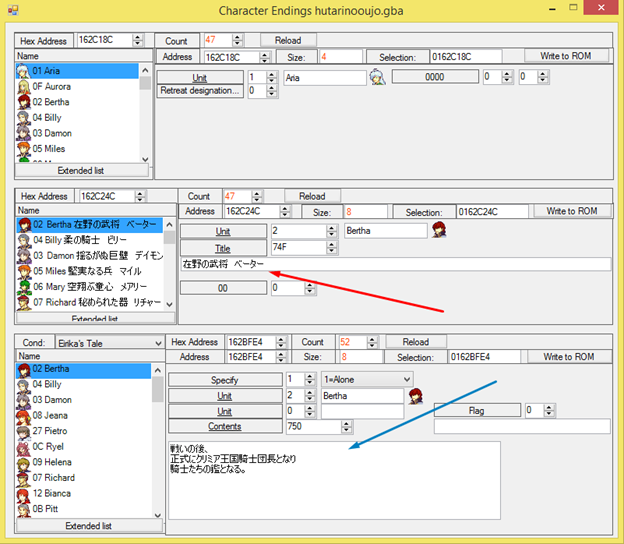
Part 6: Translating the Ending Screen
Haven’t done finishing the ending myself, but the way to do it is pretty simple.
Go to this section in Advanced Editor, search Character Ending section,
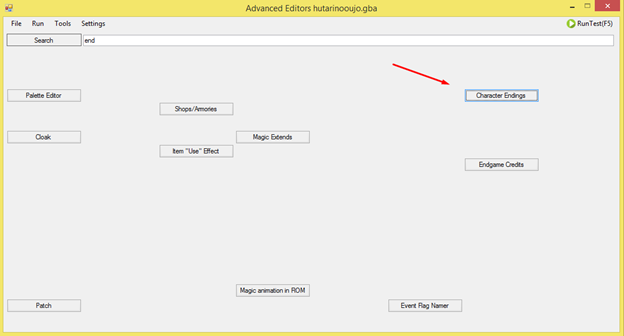
After that, you can just edit the name (red arrow) and the character ending (blue arrow). Simple stuff.
Last Part: Dictionary and How to Resume Your Translation for An Update
First things first, what is a Dictionary?
In a nutshell, it’s basically a compiled version of the game text files. It is really important for text editing especially translating stuff. See, sometimes when the hack was originally in progress, it tends to get updated very frequently. There will always be a revision in the next update that adds stuffs into the game, notably text story and dialogue. If that happens, you certainly don’t want to translate everything one by one again right? Hence why you’ll need a dictionary.
Lemme just show you how…
1. Extracting a Dictionary
Open up Rom Translate Tool
Go to Details, on the Export ALL Text section, fill the Unmodified FE8J & FE8U with their aforementioned vanilla rom, and then Export ALL Text. Put the dictionary on your prefered directory, and then wait
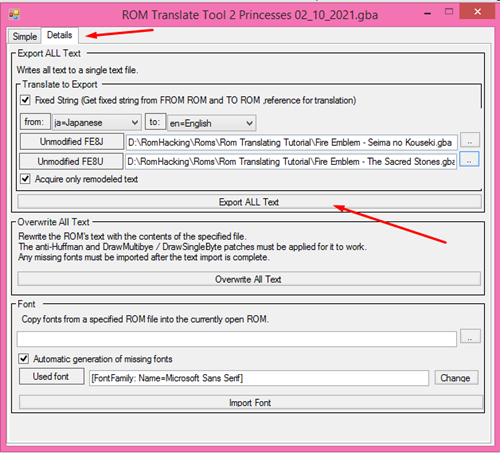
And here’s your dictionary.
2. Applying a Dictionary to an Updated Rom
This is technically how to update your romhack but with current progress of your translation.
So firstly, open up your updated Japanese romhack
Open Rom Translate Tool
Insert the aforementioned Dictionary (or whatever you named the file)
Click Translation Start and wait…
And done! You can freely continue your translation progress. Have fun!
I’m sorry if there are any grammatical mistake or just errors in general. If you have any problem or questions, feel free to ask in the reply. Feedback is appreciated ^^//
