Hi there! This is just a short and simple step-by-step process for a beginner buildfile user on how to set up EA syntax highlighting within Notepad++. Buildfiles are often a daunting process for new learners (myself included) and if I can even slightly ease the burden for anyone first getting into them, I’m grateful.
For this, we’ll be using Snek’s syntax highlighting for EA scripts, found here:
I actually cleaned up his Textprocess highlighting, so if you’d like my version you can find it on my project’s Github.)
Once you’ve downloaded the .xml files, now the real fun begins.
Step One: Import UDLs (User Defined Languages)
By default, all files in Notepad++ will highlight the syntax using plain text, and that is to say, not at all.
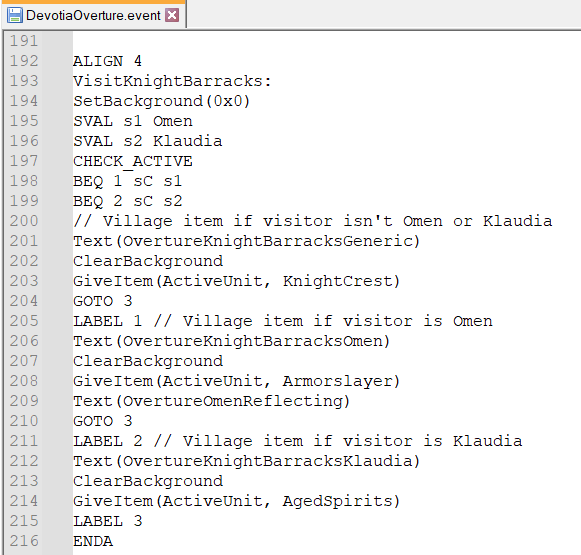
This is a village event from the prologue in my hack highlighted in plain text. Don’t your eyes just glaze over looking at this? Let’s try to make it easier to parse. Go to Language at the top of Notepad++, highlight over User Defined Language, and click Define Your Language…
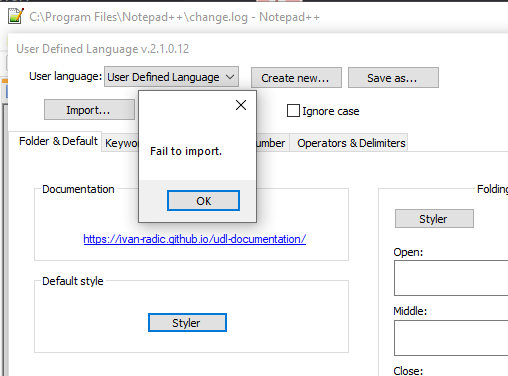
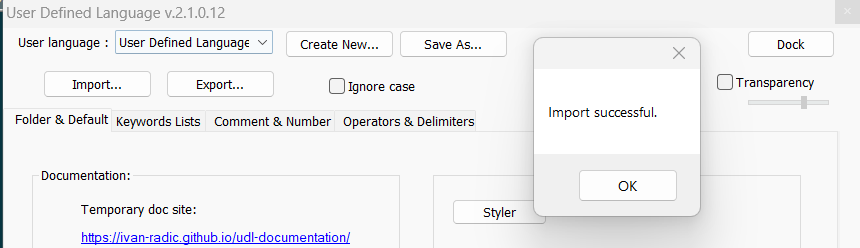
From here, Import each of the .xml files you downloaded. Close Notepad++ and open it again, and each UDL should appear under Language. Let’s try giving our .event file the Event Assembler syntax highlighting!
Uh oh.
Step Two: Making it actually look good
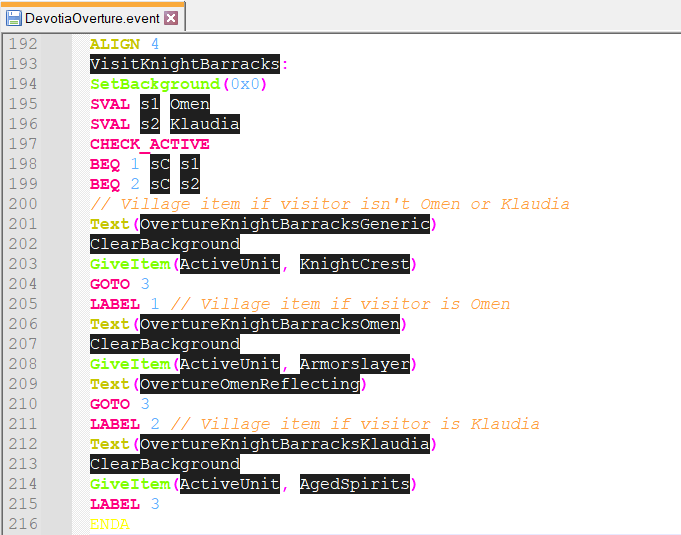
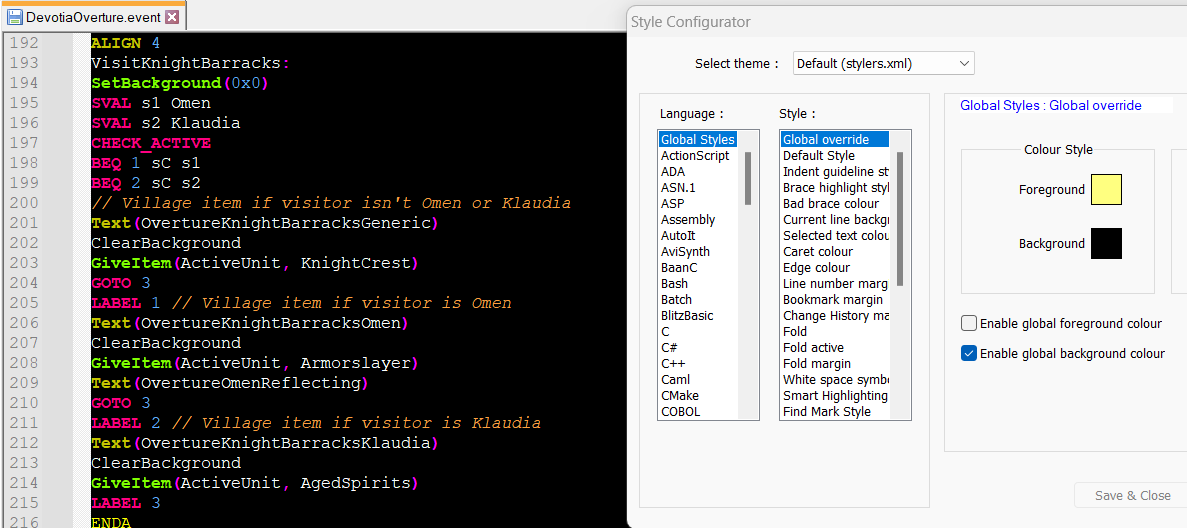
So while the highlighting properly color coded the event opcodes, macros, and comments, the black background on all other text is certainly distracting. We fix this by overriding the global background color for everything in Notepad++.
Navigate to Settings → Style Configurator. In Colour Style, click the swatch next to Background and set it to the first black. Check “Enable global background colour”, click Save and Close, and voila! Our .event file looks presentable.
If you’re satisfied with how this looks, there’s just one more minor step. You’ll notice that every time you click on a line, it’ll highlight it in this blinding white that makes most of the text unreadable. We fix this by going into Settings → Preferences → Editing, then choosing a different setting for Current Line Indicator.
Bonus Step: Snazzing it Up
This step may be obvious if you’ve fiddled around with the Style Configuration menu, but there are a lot of themes you can use in case you don’t like the pitch black background. Go into the Select Theme dropdown menu and choose whichever theme you like best. You can change the font settings here too and make them global.
One slight benefit of choosing a non-default theme is that you don’t need to change the Current Line Indicator setting.
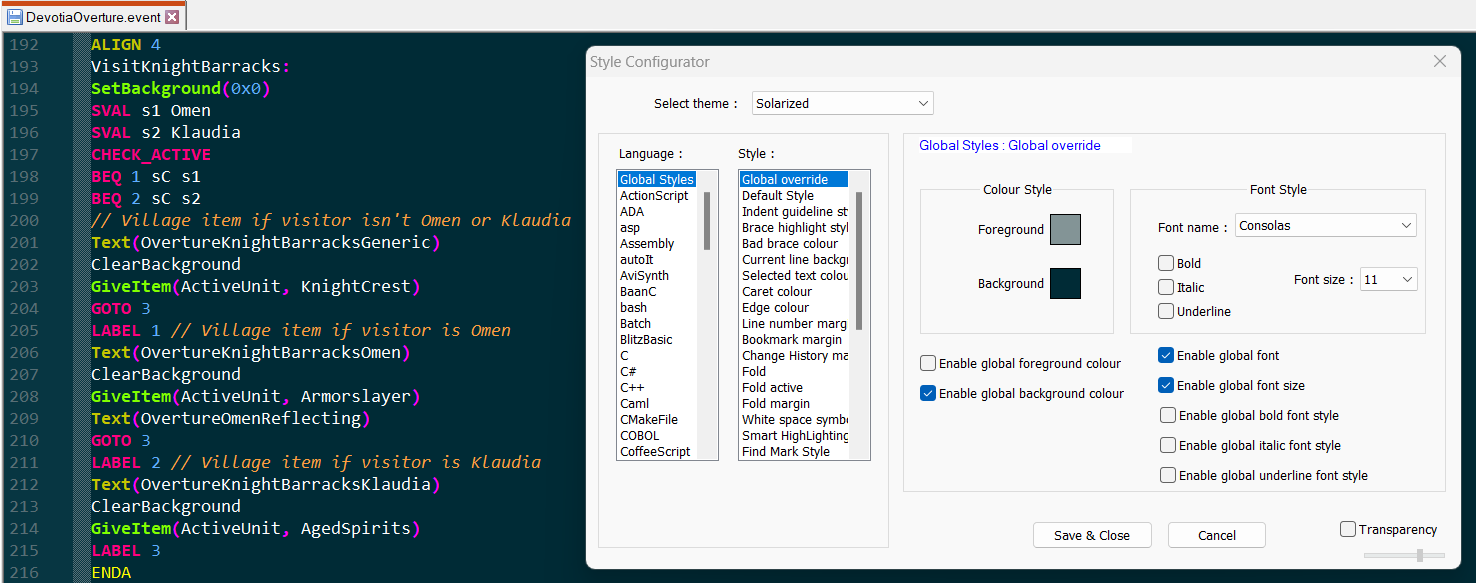
This is my final setup. I like the Solarized theme with 11 pt Consolas font. Feel free to fiddle around with theme and font settings to find a syntax highlighting that works for you.
This was an extremely simple and straightforward guide, though I hope it was useful to at least one person. I wish everyone the best of luck in their eventing endeavors. Thank you, and thank Snek for making the EA syntax highlighting in Notepad++ to begin with.