CAVE GUIDE
Apparently now I’m the guide man. Cool.
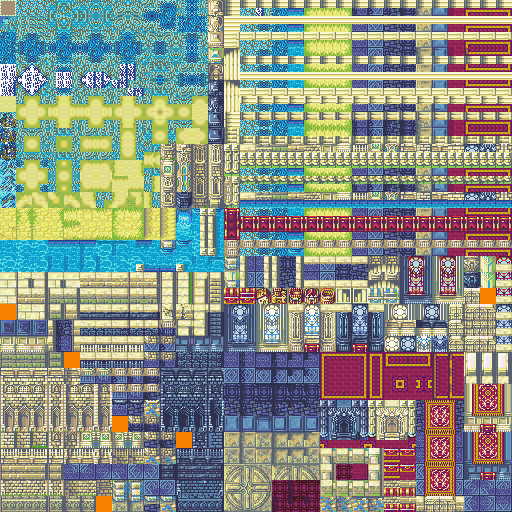
I personally hate this tileset and by god if you make a map using this at least make it an interesting one. If you want a cool cave tileset that might not perfectly fit with GBA aesthetics but looks way better, look at WaVE’s project. It’s fantastic.
Now then.
Cave Walls suck specifically because nobody knows how to build them. They need to be organic enough that they look naturally formed (unless you’re in a project with a man made cave in which case good on you) but also make good playing. And nobody realizes how to do it.

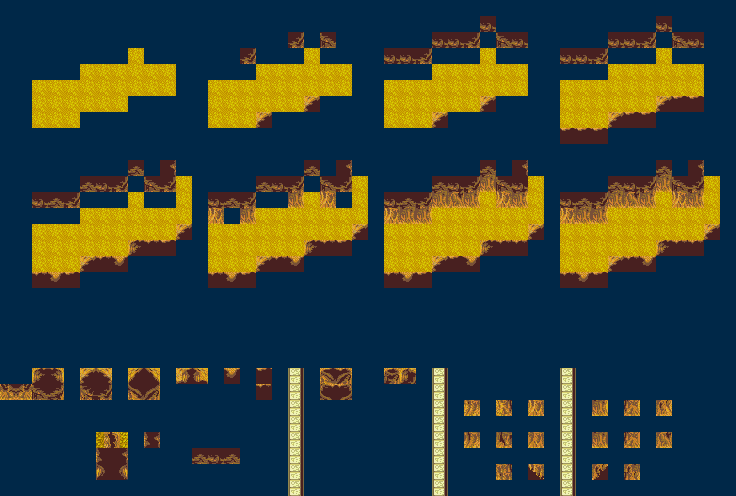
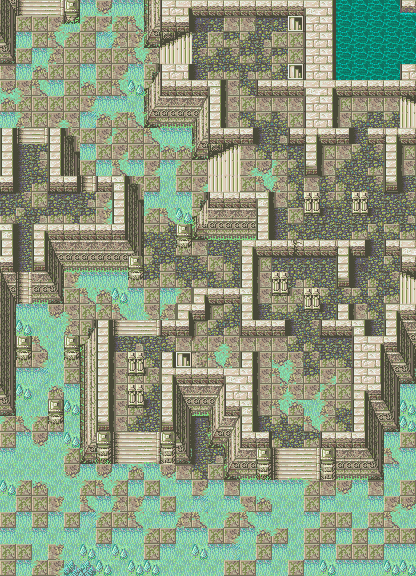
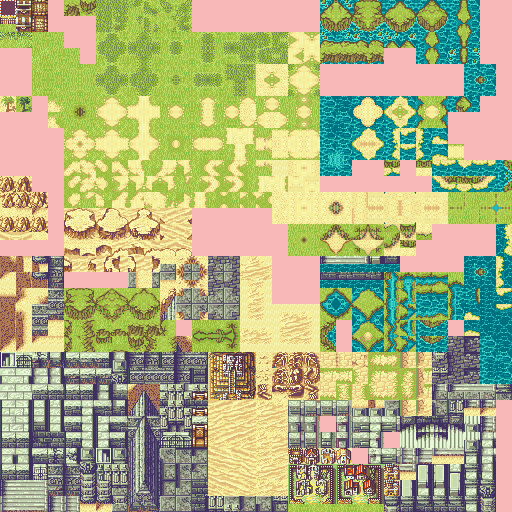
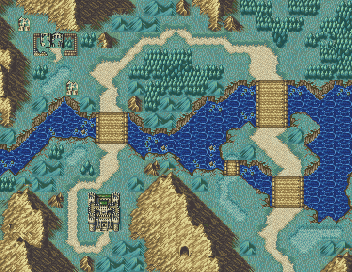
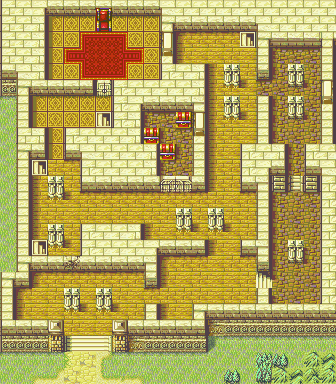
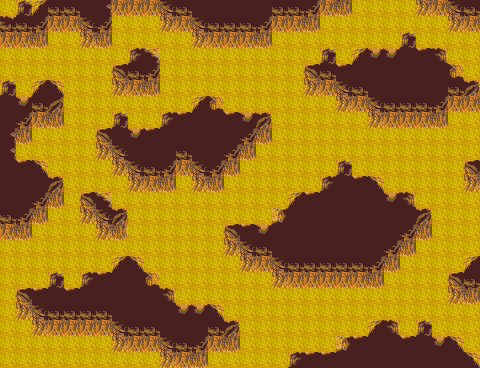
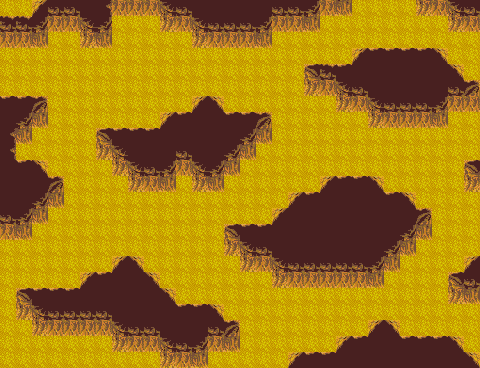
Here’s generic Cave #3193207531 that I made and will be showing the process of later. It’s got a few 1 tile chokes, sure, but most of the map is a bit more wide open and leaves you able to fill in gaps with maybe a lake, a some rocks or even some chests thrown everywhere because the fe6/7 devs had no idea how to balance a cave
Looks hard right? No. Just think of it as building islands over water.
It’s even possible to just make a comparison gif as I always do to show what I mean here.

Of course, certain aspects will be different no matter how I tried to make it look as close to each other but you take what you can get aight
If we have that visual, it becomes significantly easier to understand how to make these work.
We also need to understand how each tile functions.
A generic guide for making caves is above the tiles but we can ignore that; use that as reference when following along if you want.
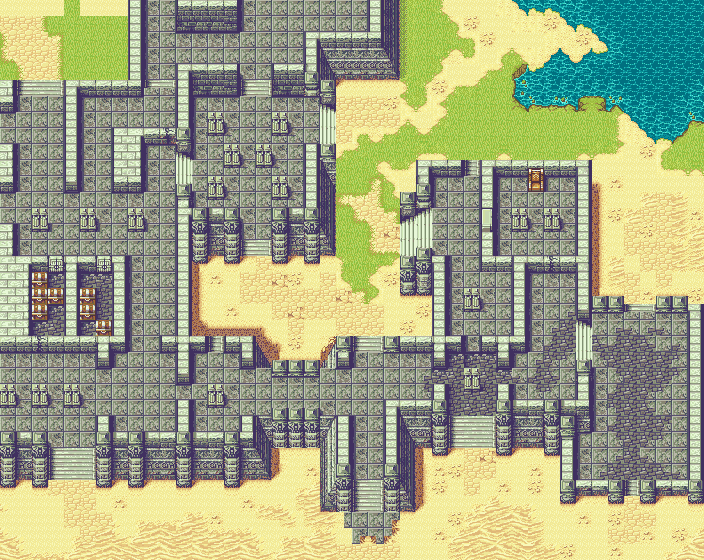
On the far left are the standard wall tiles - think of them as the cliff to water tiles along the edge of an island. It’s fairly easy to tell which section is which, but the furthest right of this bunch is the top line surrounding each island, the lower left tiles are used for the left and right walls in case a cave is vertical, and the bottom right section of here is the lower rim.
The central tiles are what I call ‘hubcap’ tiles. They’re used for when you want to add details along the edge.
Far right section are the M O S T I M P O R T A N T. These are the bottom half of the walls. Left section are the ones that turn left, the right section turns right. Top row in both is the corner pieces, used at edges when moving upwards to signify the wall is moving upwards (in terms of our view of the map). Bottom section is when there’s a straight horizontal line in the cave, but they slightly angle to the left or the right. The bottom pieces are incredibly niche because I made them and honestly dont bother lmao not worth your time
PROPER TUTORIAL GUIDE

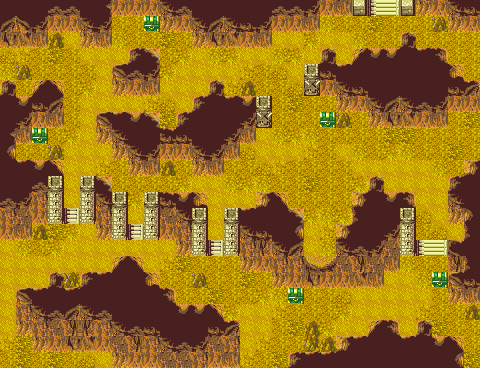
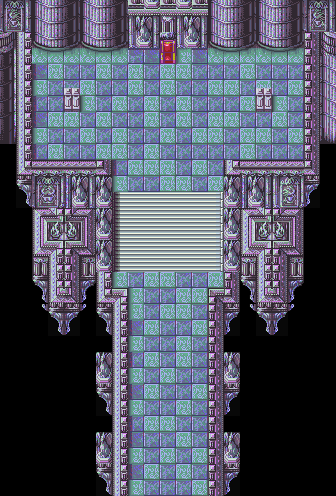
Start with a giant canvas filled with generic floor tile - I do this with every map I do, as you might see through my other gifs, and I draw in details after making a blank canvas. Stating with too many details can ruin creativity, but if you have a primary building in the center draw its outline FIRST before starting the cave system around it.
Then, draw various blobs of brown wall tile (in my tileset, they’re directly above the stairs.) Make sure all sections are at least 2 tall, as all cave pieces are intended to be a top piece and the wall itself.

When you’ve got the blobs figured out, at all vertices place corner pieces as one would when making the edges of an island. If you aren’t certain on sections, like on the center left section hanging off the side on my map, don’t place any for now.

Here, on all of the ‘overhangs’ that are 2 tall on the left and right of each island, I place pieces that are 3/4ths the edge which hang off.
Here, add the straight lines that connect each piece, like the vertical and horizontal lines. There’s a few spots I missed because I’m not gamer, but ignore that and assume the lines will appear in like 2 slides

Now we add cornerpieces of the lower sect of the walls, aka the ones that shift vertically. Use left ones on the left, and right ones on the right.

Then add the horizontal wall tiles. I just one tiled bc lazy
Here, I’ve started to add extra details onto the edges, such as more top hubcaps, varying up the top facing walls, and added a few more walls onto the map. Variety makes it feel more organic.
Here, at the end, I’ve varied up a few of the one-tiled walls, and changed the bottom-facing sects of the walls to make them much more organic.
It’s very important to do these last 2 steps, even if you screw up, because otherwise the cave looks lifeless and not very realistic.
Take it from me from these images that you can add a lot of life into a map simply by doing fringe details.
And that’s it! Cave guide complete, now never touch this tileset because it’s godawful lmao
And, for those of you that love my animation gifs, I created a handy guide to show just how I make them.