A brief note: A lot of work in this post is done using HyperGammaSpaces, Zoramine, and Venobennu’s epic Desert Bastion tileset. Most of the concepts explained should work fine using another variant of the Desert tileset, including the default FEGBA one, though.
So, deserts. More specifically, the desert tiles. They’re not just difficult to walk on, but also difficult to work with. In a lot of maps, from both fan hackers and Intelligent Systems themselves, I see deep deserts simply filled in with a single tile for the entire area.
But there’s no reason to simply resort to that. The tileset gives us tools to make more interesting deserts; we may as well use them!
Part 1 - Basics and Edge Tiles
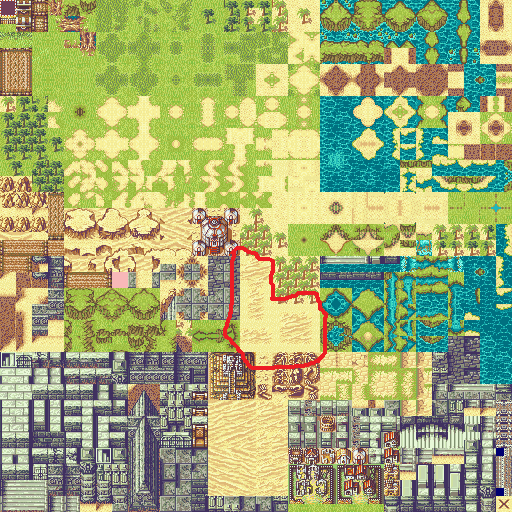
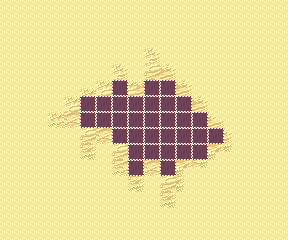
For making basic deep deserts, you’ll want to use the large 5x6 block near the bottom of the tileset. Here it is highlighted in red.
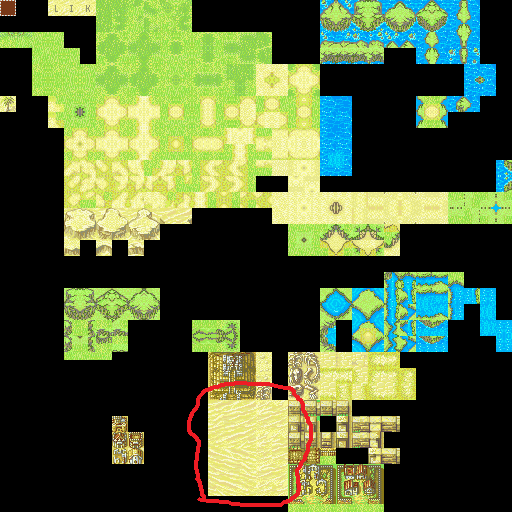
This block can largely be split into two sections. The left three columns are inner tiles, while the right two columns are edge tiles. As their names might imply, the edge tiles are used for edges between the deep deserts and plain sand. They’re used in specific ways:
- The top four tiles are corner tiles. They’re used for an outer corner of the deep desert, with more deep desert on two sides and plain sand on two others.
- In the third and fourth rows: the left tiles are vertical point tiles. They have deep desert on only one side, and plain sand on three others.
- In the third and fourth rows: the right tiles are side tiles. They have plain sand on one side, and deep desert on three others.
- The fifth and sixth rows are side tiles and horizontal point tiles respectively.
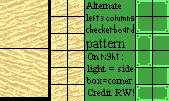
The image below should explain the details, too. The light colors represent sides adjacent to plain sand, and the darker green represents the deep desert. The placement of the guide tiles lines up to its placement on the main tile block, but shifted over.
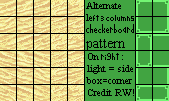
But what’s with that “alternate columns checkerboard pattern” thing? Well, that’s what the next section is for!
Part 2 - Inner Tiles
In a section of desert, all of the inner tiles - the ones that aren’t an edge tile touching plain sand - have no edges. You’ll want to use a specific pattern to fill in those.
That pattern is the checkerboard pattern. Also known as a chess board, it consists of alternating squares. Look at this example, stolen unsolicitly advertised from Wikipedia.
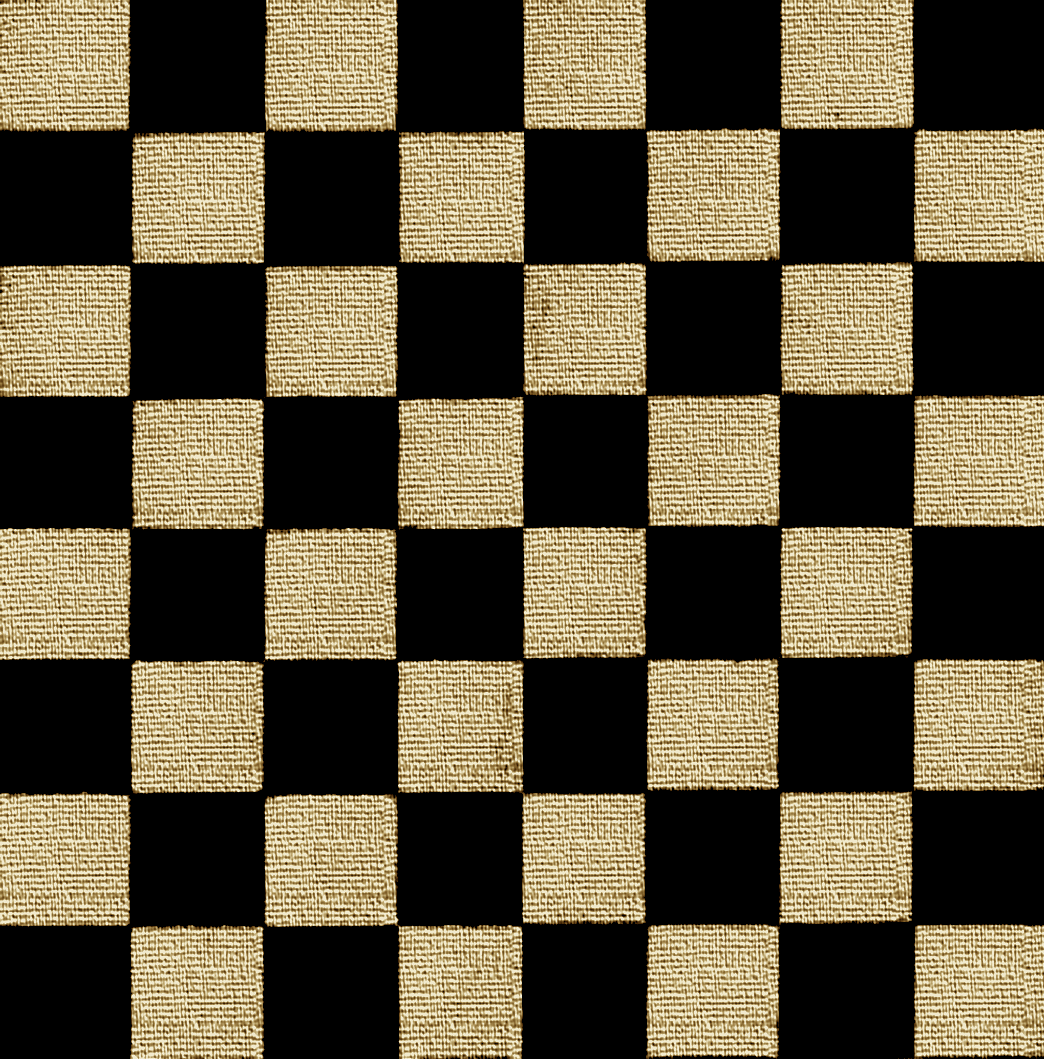
See how it works?
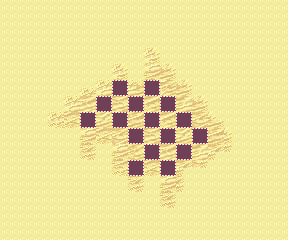
Anyway, you’ll want to separate the left three columns into two sections - one consisting of the top three rows, and one consisting of the bottom three rows. Something like this.
![]()
Then, in the empty space full of inner tiles, you create a checkerboard pattern. One “color” of the checkerboard will be tiles from the top section, and the other “color” will be tiles from the bottom section. For the tiles using each section, choose which ones from the section randomly; one diagonal might consist of the middle tile from the 3x3 section, then the bottom right, then the far left.
Extra Tip: Large Dunes
You can also break the checkerboard pattern and line up longer or larger edges in a particular direction together, to create unusually large dunes. Here’s an example of what those look like. Shoutouts to Zoramine for teaching me this technique.

It’s fine if you’re confused. I’ll address this in the Example Section:tm:!
Part 3 - Desert Bastion's Partial Edges
Those are the main desert resources for the default Desert tileset. However, the Desert Bastion has some unique tiles that I feel like I should bring up.
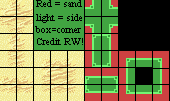
You can find those tiles here, in the red-highlighted area. You may notice some odd things about them.
These partial edges are only partly desert; in fact, large portions of their shapes are sand! If you see the diagram detailed in Part 1 for edges, these use similar rules, but with an additional note: the red areas represent the sides with plain sand.
Part 4 - Desert Design in Practice
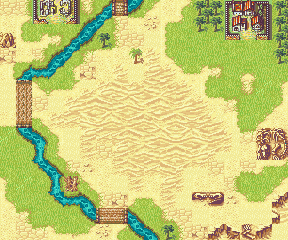
So you’ve read through the tutorial and are ready to start mapmaking, or you don’t understand how a concept I explained works in practice. Well, allow me to demonstrate by making a map with the tileset!
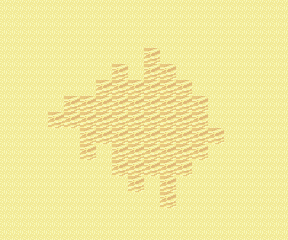
The first step is to sketch out the basic shape of the desert. Adjust this as appropriate to fit your gameplay. An actual map will likely have grass, cliffs, and other such different pieces; they’re not relevant to this tutorial, so I’ll ignore them for now.
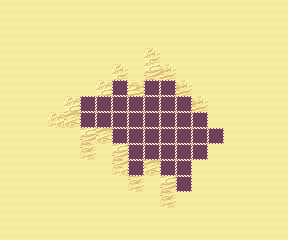
Then, I’ll go through and add edge tiles. I like to replace the deep desert with an obvious filler so I don’t get confused, but that’s by no means necessary. You may notice I made some slight changes and left gaps - that’s to fit with the tileset, and to leave room for the partial edges.
Then, I’ll add on those partial edges as I see fit. At this point, the outer edge of the deep desert should be completely desertified.
Next up, it’s time to fill in the inner desert. First, I’ll sketch out the half of the diagonals using the upper section. I’ll use a placeholder tile for now; it’s obvious that the water is not desert.
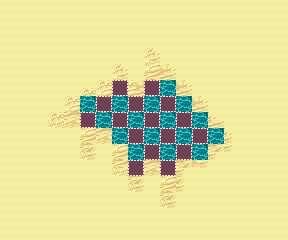
Afterwards, I’ll go through and replace each water tile with a tile from the upper section, selected at random.
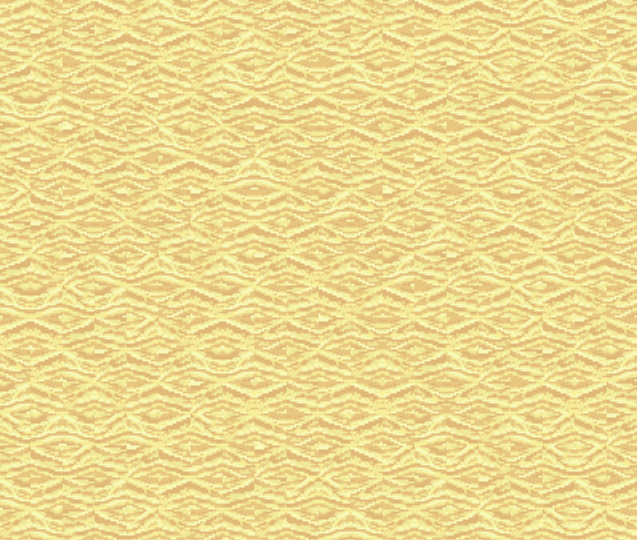
Now I fill in the tiles using the bottom section; their interactions with the top section tiles should produce a nice wavy effect that represents the desert’s dunes.
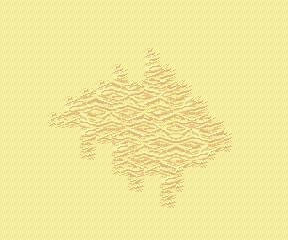
That’s it for the deep desert itself! The stuff you came here for is complete; here’s the example map with stuff aside from the deep desert added. If you want me to explain techniques I used for that, let me know!
Part 4x - Summary and Small Details
In short: You’ll want to fill in the edges (and partial edges, if you’re using the Desert Bastion) by referencing these two images; the light green means an edge adjacent to the light sand, the dark green means the inner sand, and the red represents outer sand on the partial edges.
For the inner tiles not connected to any edge, fill them in using a checkerboard pattern of tiles from the top section and tiles from the bottom section.
And now for small details. I’ll go through the various tile types that have odd interactions with desert.
- Grass sections can never touch inner desert. They always need both a grass-sand transition and a sand-desert transition before you can make them touch.
- Some cliff tiles appear to have desert on their base. Aesthetically, treat these as though they were an inner desert tile (of whichever slope they naturally fit) - that means you might need to add borders around them to connect them to plain sand around them.
- Bones can be placed on top of desert tiles, sand tiles, or both. You don’t need to place borders around them; they just obscure whatever is below them from view. If you have an inconvenient transition from deep desert to sand, placing some bones on top might do well to hide it.
- Trees cannot be placed on top of deserts. If you want to put one there, you need borders surrounding it to separate it from the deep sand.
- If you have multiple unconnected blocks of desert on the same map, the checkerboard patterns don’t have to line up between them.
Thanks for reading through my tutorial! I hope you learned something about how to work with this beautiful mess of a tileset. Let me know if you have any questions!
Much of this tutorial was inspired by Zaim/Zmr’s tutorial for trees in the Fields tileset, so thanks go out to him.
Oh, and if you want to use the example map, you can download it here. It’s free to use and edit, as long as you give credit to me.
Now go forth, and fill your hacks with deserts that… well, even if they’re still painful to play in, that look much more beautiful!