Are you tired of every hack using the vanilla FE8 UI? Well. With this tutorial, I will teach you how you can give some more style to your hack.
And big thanks to @Stephano and @Huichelaar for helping me figure this out.
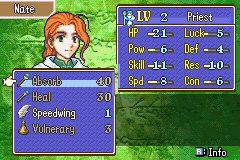
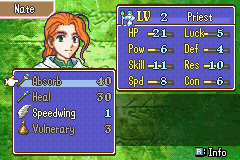
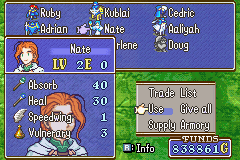
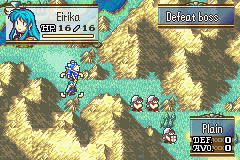
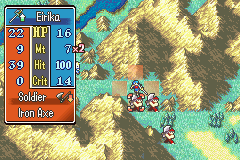
With this tutorial, you will be able to make your UI go from looking like this…
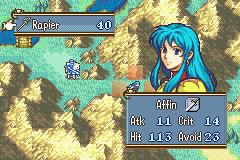
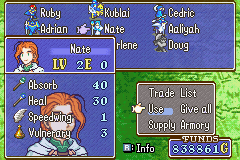
…to THIS!

You just have to download a few things:
First, download the patches HERE. And put these folders into your FEBuilder Patches folder for them to show up. They appear under these names:
Second, download these custom UI graphics made by Stephano (These are updated from his original post). Get them HERE.
You don’t NEED to use them, but they are very useful as a template.
NOTE: I recommend editing the graphics with a dedicated sprite editor like Aseprite, that allows you to conserve the palette order of the image. Otherwise, results can vary.
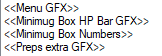
Now, let’s actually implement them. Here’s what each of the different graphics does:
Menu GFX
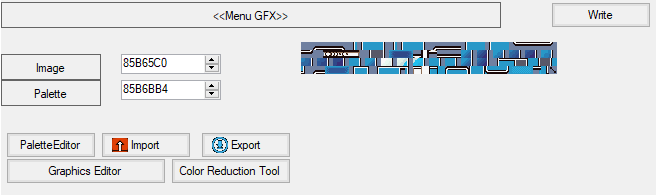
These graphics are like 90% of what you need. They impact most menus, including Weapon Select, Battle Forecast, Preparations Screen, and more.
Preps extra GFX
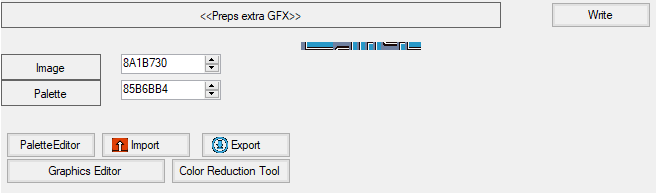
These are the other 10%. For some reason, the preparations screen loads these extra separate tiles, on top of the others. You need to implement these too for a clean look.
Minimug Box HP Bar GFX
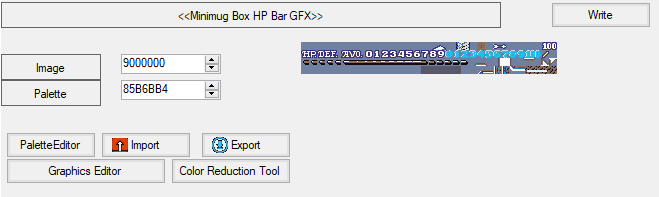
Depending on the look you’re going for, the HP Bars in the Minimug Box might look a little off. For Stephano’s graphics, I made an edit. This is optional, but recommended.
Minimug Box Numbers
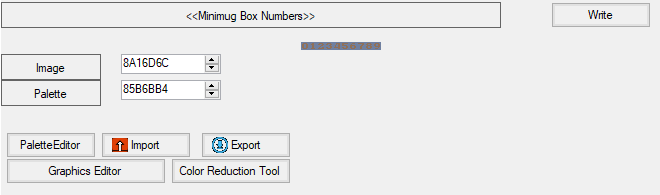
Same as the previous one, these numbers can look a bit off if left unedited, so you should edit them too. These are also optional.
So you only need to edit the graphics to your liking, and then just insert them!
But we’re not done! We also have to take a look at the palettes:
Let’s go to the Menu GFX patch, and click on Graphics Editor
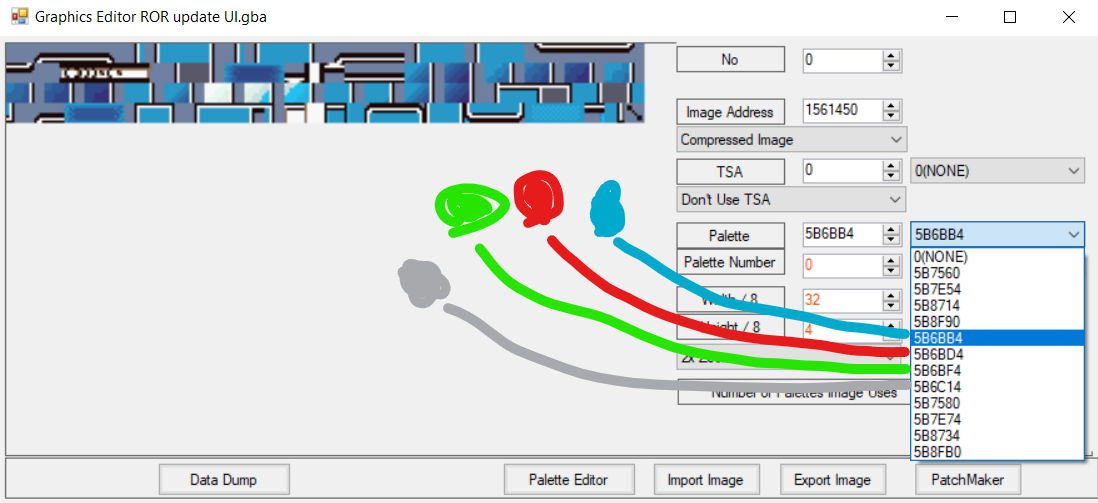
5B6BB4 Blue
5B6BD4 Red
5B6BF4 Green
5B6C14 Gray
Blue, as you can imagine, is used for most menus.
Red is used for Battle Forecast.
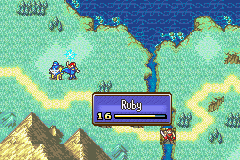
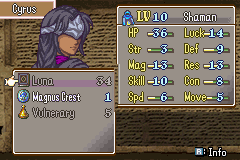
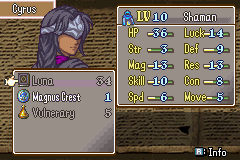
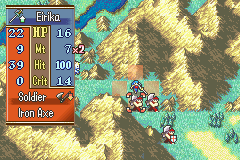
Green and Gray, for some reason, are used for the Preps screen, as you can see in this following image:
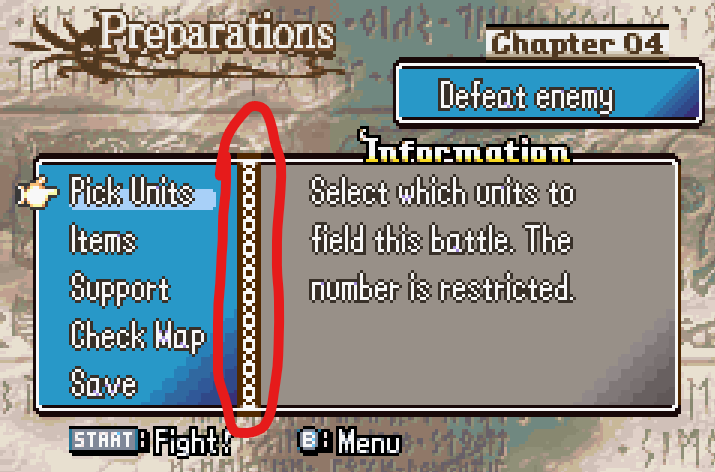
The bar highlighted in the middle uses the Green palette, and the right side, obviously, uses the Gray palette.
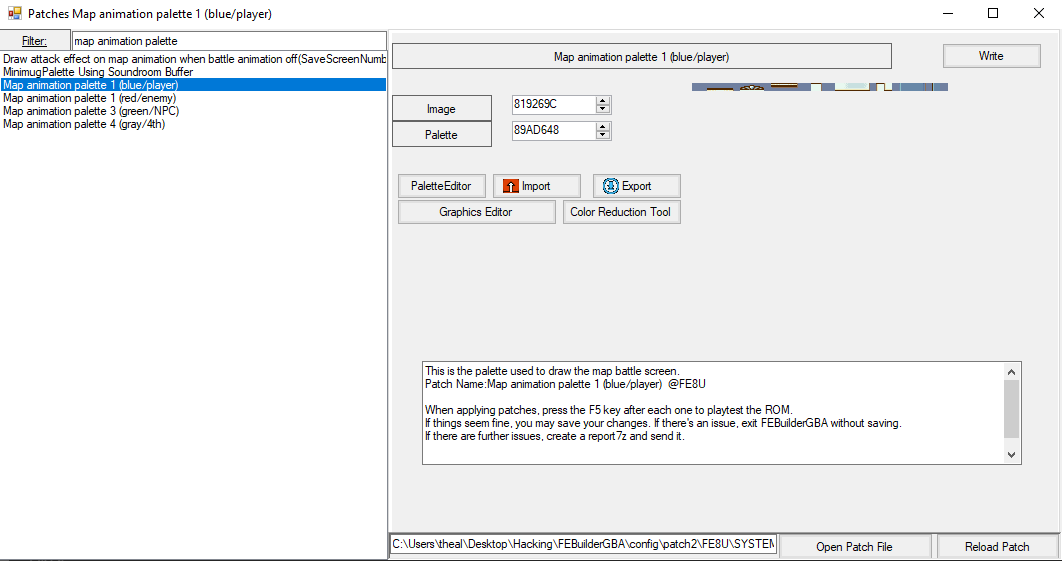
For some reason, Minimug boxes use separate palettes. The addresses are these:
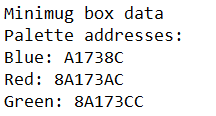
There is no minimug box palette for gray, which is odd. I assume that if you are using 4th Allegiance, it will use the previous gray palette for the minimug box. But I have not tested.
IMPORTANT: Do NOT, I repeat, DO NOT edit the palettes for Minimug Box HP Bar or Minimug Box Numbers. They pull from the Main Blue palette (5B6BB4).
…And with all that, we’re done! Enjoy the new fresh look of your UI!
Also, these graphical edits are compatible with both Moduar Minimug Box and Battle stats with anims off!