Don’t you just love maps? Especially the outdoor ones. They have nice grass, cool cliffs, flowing rivers, and those huge mount- Wait a second!
Mountains are widely considered the peak of outdoor maps, and they have a lot of pieces to them.
For quite a while mountains have had a reputation for being hard, and to some extent that’s true. Think of them as jigsaw puzzles with more than one solution.
Well, you probably came here to learn how to mountain so let’s get into that.
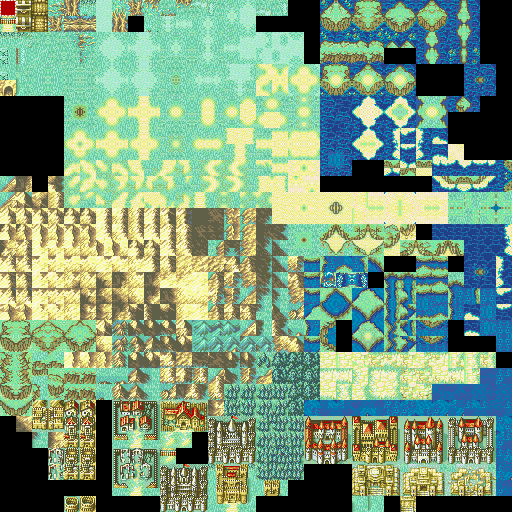
I’m going to be using FE8 Fields 1 for this guide.
Now let’s get started.
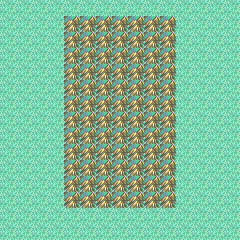
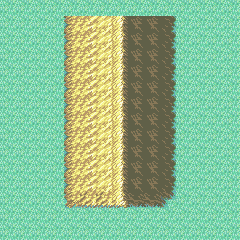
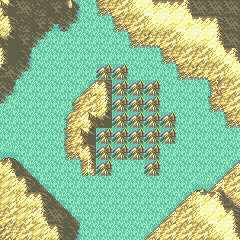
We’re going to start off simple with this rectangle of single mountain tiles.
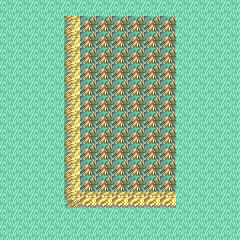
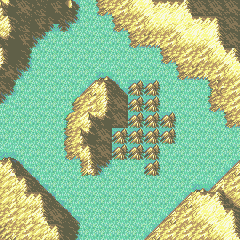
Now we make where the mountain and the ground connect.
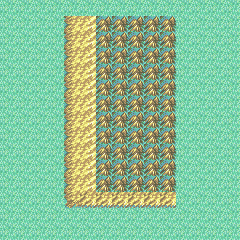
Next we use this tile to fill in some more space.
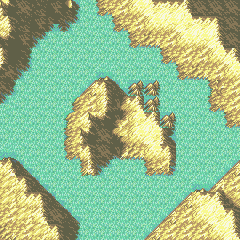
Next to the previous tiles we have some similar, but brighter looking tiles to complete this mountain further.
This is for shading purposes. Try to make the tiles connect in a way that doesn’t seem jarring. In this case we can do that while transitioning to a lighter shade.
Here we have the actual peak of the peak. You might have noticed that there are multiple versions of these. We’ll get to those later.
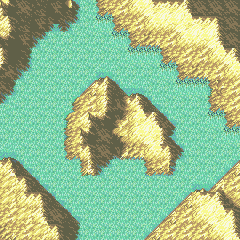
So now that we have our peaks in place, we’re having the mountain descend on the other side. Since said mountain is blocking the sun, the tiles for that are shadowy.
We also have that tile to connect the mountain to the ground on the other side.
Let’s use the right bottom tiles for the shadowy part of the mountain…
That bottom middle tile doesn’t look right, so we’re gonna use one of these tiles to fix that.
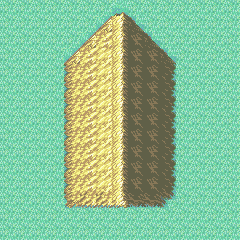
Now for these corner tiles. We have bright ones that face one direction, and shadowy ones that face the opposite direction.
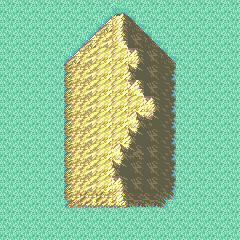
Let’s just use those, and remove the extra fat so this mountain looks more mountain-ish. Now for one of those little mountain nibbles up top.
Those little nibbles are important for marking the bottom of the mountain on the northern side of the mountain.
I also took the liberty of changing that upper left tile to a different shade.

This is where things get interesting. Mountains of course are not typically straight. They bend in all sorts of directions due to how they were made by nature.
To make our mountains like that, we have a whole host of tiles to use.
There are peak tiles that are just straight like we’ve seen before.
Peak tiles that slant their bottom ends to the right, and are straight up top.
Peak tiles the same as the last on top, but have their top ends curve to the left
And peak tiles that are straight on the bottom, and have their top ends curve to the left.
Using these tools, you can make your mountain curve to the left quite well.
Hmm? What about curving to the right?
We have tools for that too
See the farthest point of the bend of this mountain? That, and the tile to the upper right of it are the keys.
With them, and other peak tiles of the proper shading, you can make right turns with your mountains
Okay, now let’s do what we just did, but in reverse. Remember those two tiles will help you a lot.
Also that right turn tile (The one with less shadow) is pretty useful to break up straight lines in places. Like near the top of the mountain.
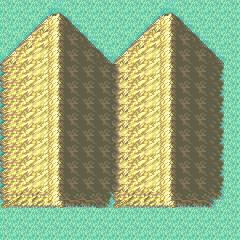
Okay, so you want to have mountains go back up after going down eh? That’s what these shadow transition tiles are for.
I copy-pasted the first mountain, and put the copy next to it so we can see what this looks like in action.
There are multiple variants of the shadow transition tiles. Use them in a way that fits with the peaks if you can.
When I was working on this tutorial, this strange person with a distaste for plastic trees told me to mention mountain shading.
Mountain shading is why there are several types of peaks floating around. There’s no science on when to use them, but they can look good nonetheless, and if you find yourself in a situation where you’d think they’d look nice, try them out.
There are also some different shadowy tiles to mix things up too.
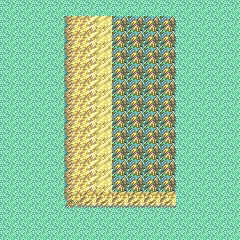
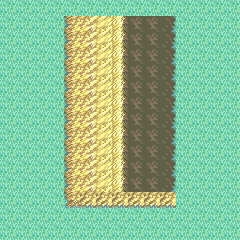
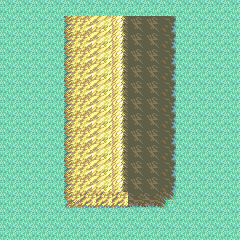
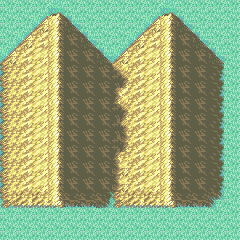
Here’s a mountain without the brightest shade:
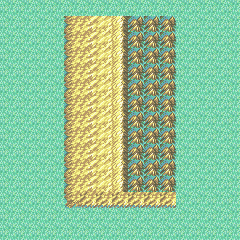
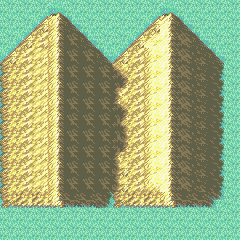
Here’s the same mountain with the brightest shade:
Shades have transitions too, so if you use the lighter shading be sure to use the transition tiles.
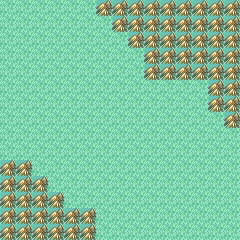
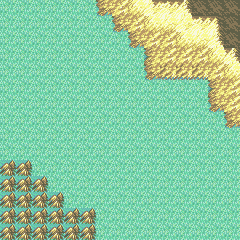
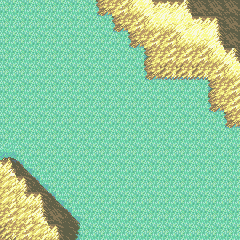
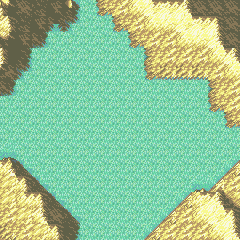
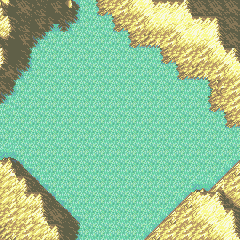
Now let’s have a more practical application of our mountains. Here I outlined where I want the mountains to go.
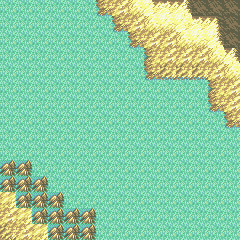
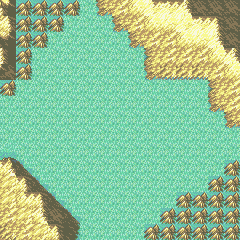
First, Let’s do the parts that are touching the ground.
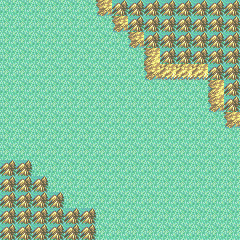
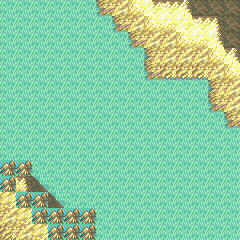
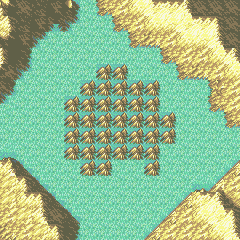
Okay, We’re gonna add some tiles to this, lighter shading included.
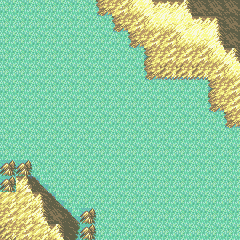
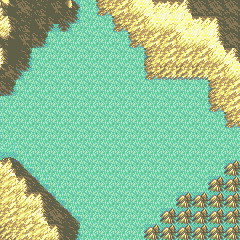
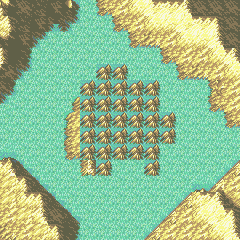
Now for some peaks. There are many types to play around with. Mix and match them to see what works, and what doesn’t.
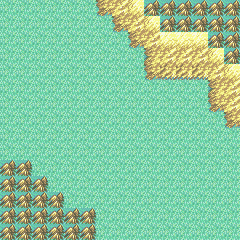
We only have the shadowy side left to do, and…
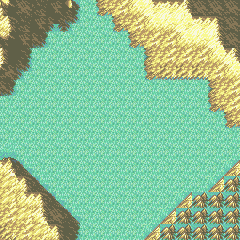
There! Shadowy side finished. You see how some of the peaks’ corners are dark in some spots? Keep those in mind when looking for something to go well with the other tiles.
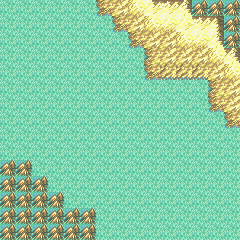
Let’s start on the next mountain. Same deal as before, we’re doing the lighter side first.
Pay attention to the four tiles in that bottom left corner. Remember that even without the lightest shade, there’s still some shading involved.
Let’s get the shape of the mountain down. We want a peak here, so we’re going to put one in that spot along with some shadowy corners.
Since we know what shape the mountain is going to be, filling in the middle parts should be easy enough.
Let’s go with a left turn.
Now let’s finish off the top there, and clean up those bottom tile just hanging there since we didn’t need the space this time.
And there we go! Another mountain completed.

No, your scrollbar didn’t lie to you. We still have more mountains to do.
This is mostly going to have the shadowy side, so let’s get the peak part out of the way. There are some pretty cool tiles that can look nice if you use them with some compatible tiles.
The rest is shadowy tiles. Let’s use more than just one to spice things up a little. (And a small nub at the top because why not)
On to the next mountain. Let’s get those corner’s done first.
We’ve done this before, so I’ll spare you the details. I went for the brightest shade for this one.
See how that shadow transition tile up there lets the mountain continue upward almost unimpeded?
Let’s fix those small errors, and clean up a bit.
Now it’s time to cover a mountain from all sides.
Connecting the mountain to the ground with a bit more flair this time using different tiles.
Let’s make this mountain curve to the right a little bit using the same trick as the first mountain.
The shadowy tiles come in here. Let’s remove that extra tile, and add a little nibble at the top there.

Time for some shadow transitions. You probably noticed the other tile that’s both a peak, and connects the mountains to the ground.
Well we’ve got that for shadow transitions too. There are more than what I’m using. You should see what strikes your fancy.
Did you notice what shade I’m using?
More peaks, but with a twist. See, I wanted to use one of those unusual tiles that’s on the upper-left mountain, so I had to be creative with the other tiles.

Alright, let’s add those finishing touches with those shadowy corners, that top nub, and removing that extra tile.
There is one last detail about those grass/mountain transition tiles.
FE8 might not use them much, but there are actually some transition tiles for those too:
See the upper right mountain? It the grass around it is shaded for the mountain being right there.

Great! We’re done with that mountain. And there you have it. A few mountain examples to help get you on your way to making pretty peaks.
Here's some of the mountain tiles I used
MountainLegend
The lighter grass/mountain transition tiles (and corners):
Shaded grass for those transitions:
The shadowy tiles:
Shadowy transition tiles:
Different shaded mountain tiles (And transitions):
Bottom tiles that act as transitions:
Straight peaks:
Peaks straight on top, but slanted on the bottom:
Peaks straight on the bottom, but curve on the top:
Peaks slanted on the bottom, and curved on the top:
Peaks that are horizontal:
Single tile peaks:
Smaller mountains used on the shadowy base of mountains:
Oddballs for right turns (Or just don’t follow normal rules):
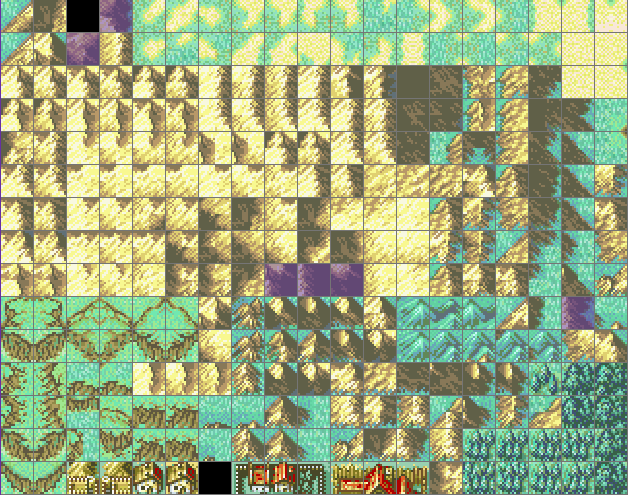
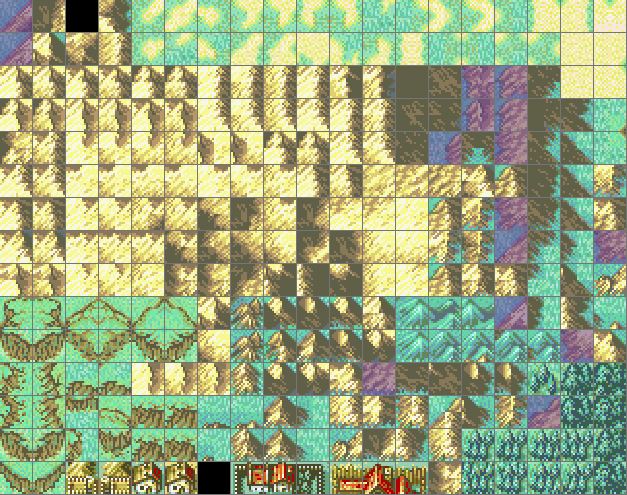
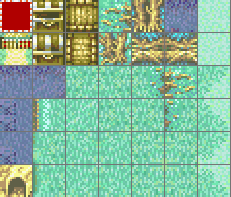
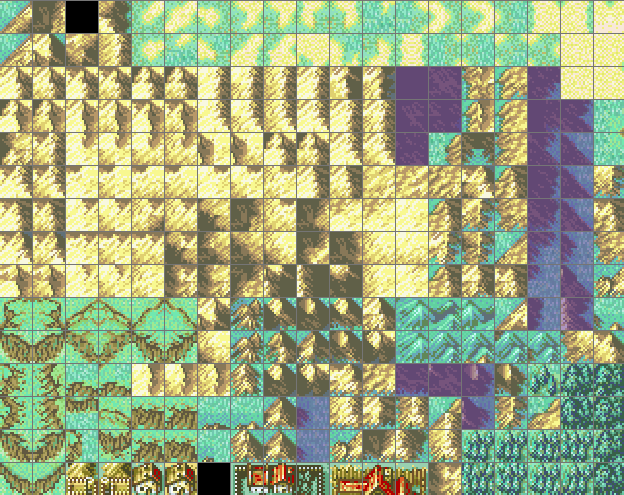
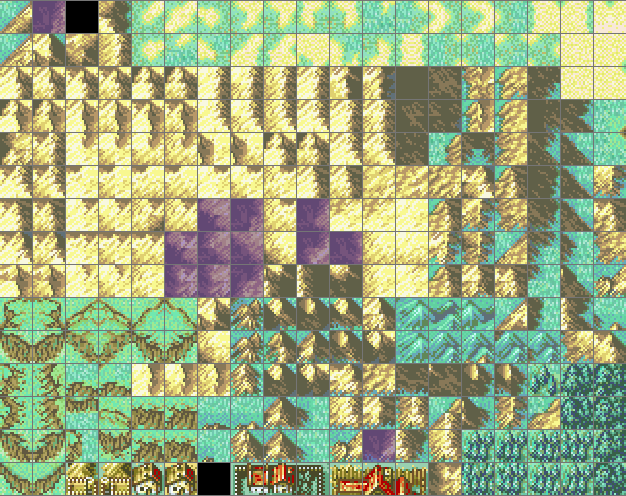
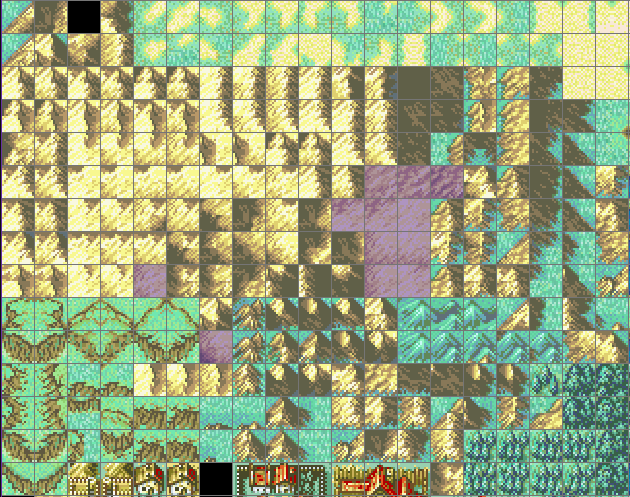
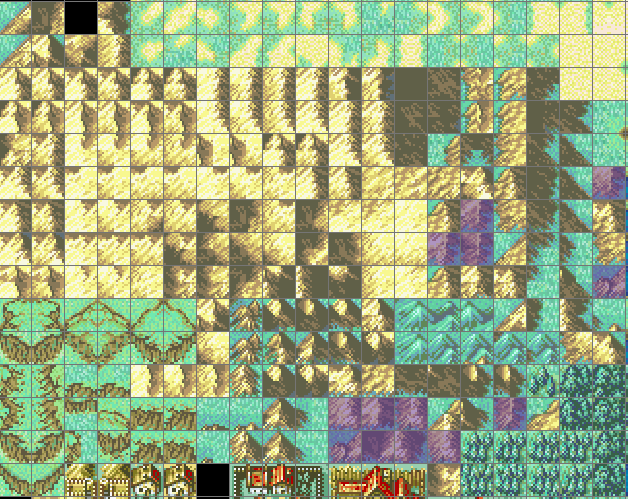
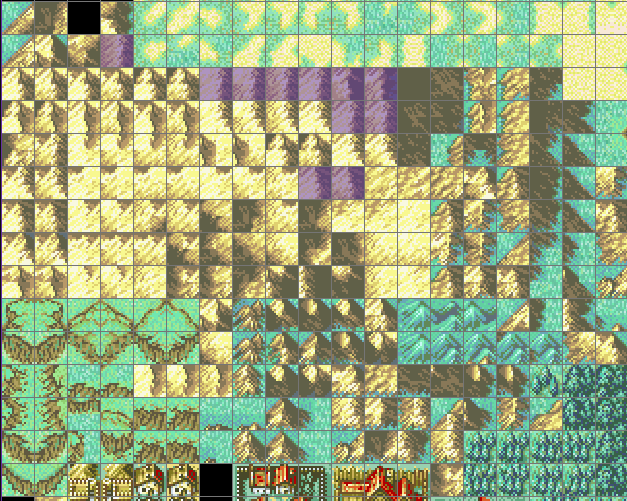
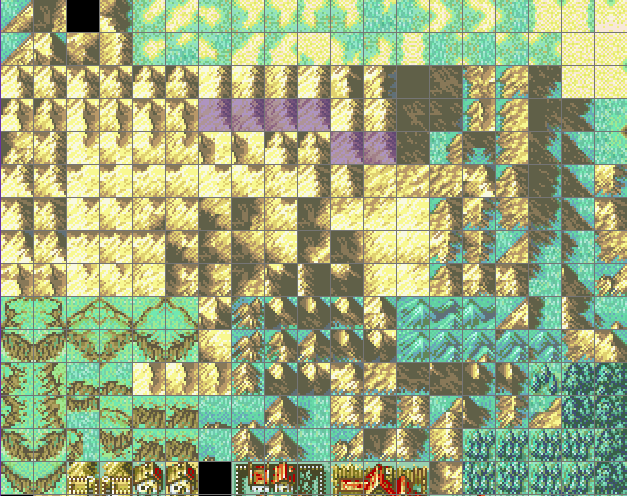
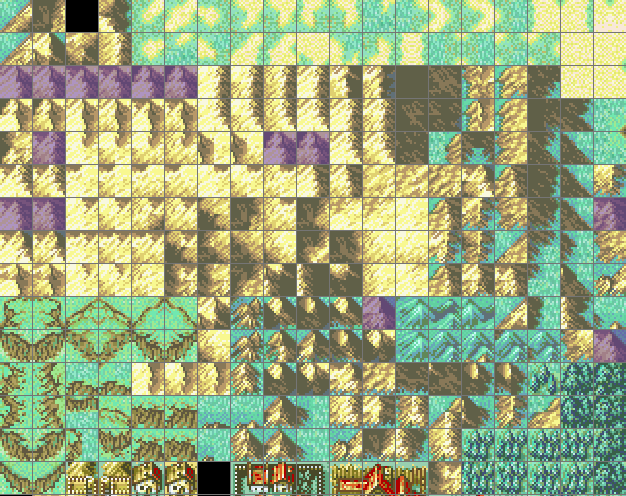
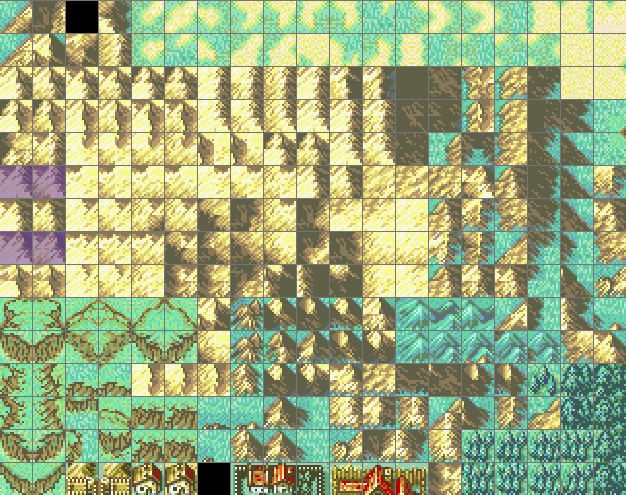
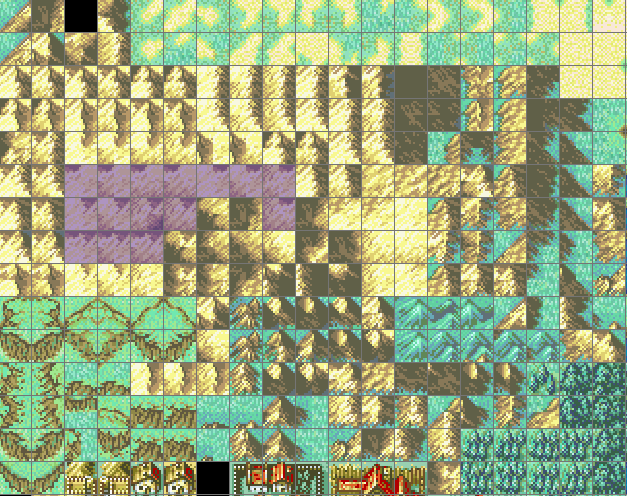
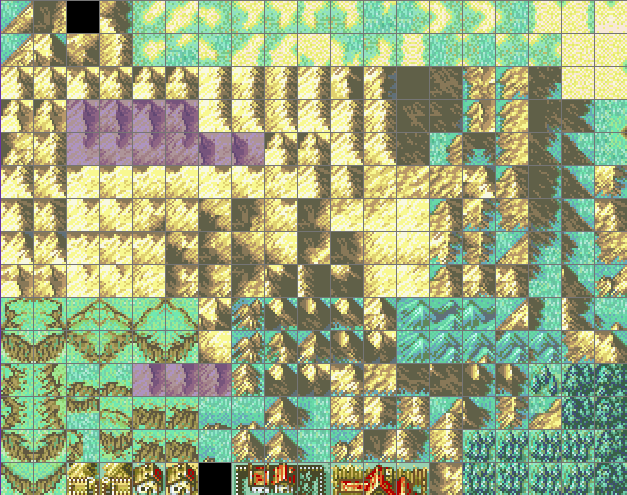
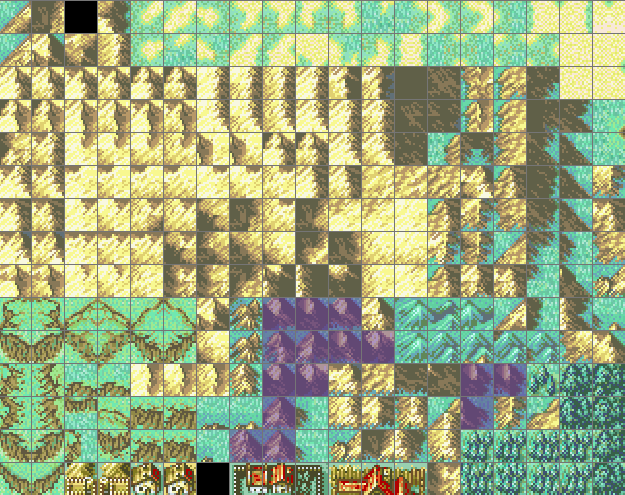
Here’s the map, and tileset I used. Feel free to use this as a cheat sheet of sorts to help you out.
Shout out to Peerless for being the strange person with a distaste for plastic trees.
If there’s anything I missed or got wrong feel free to let me know.