Hey! Thanks a ton for the advice. The portrait format overlay and the explanations on the color limit really helped. I’m going to write my step-by-step process for my own self-reference and in case anyone else stumbles here. You can critique/optimize steps if you’d like:
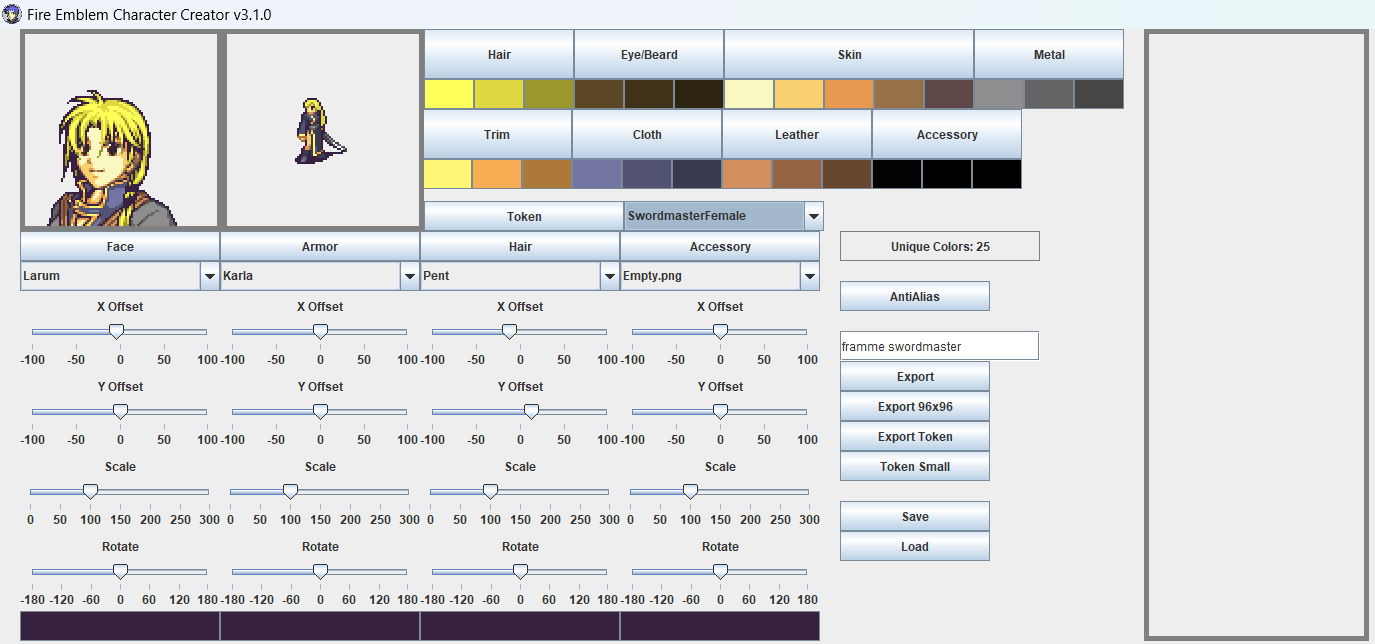
Step 1: Create a portrait in the Character Creator.
Step 2: Reduce the unique colors down to 15/16 using the color selectors.
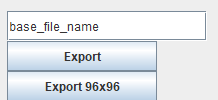
Step 3: Export the portrait as a 96x96 image.
Step 4: Open two MSPaint tabs, one for the portrait and the other for the portrait format overlay.
Step 5: Select All on the portrait and copy it onto the overlay. Fit it into the portrait box.
Step 6: For mini portraits, take a 64x64 of the portrait that (ideally) includes their hair, face and upper chest. Reduce that image by 50% for 32x32, and fit it into the mini portrait box.
Step 7: For talking frames, take a 32x16 of the portrait’s mouth and upper neck (Use vanilla portraits as a reference). Make sure the initial coordinates are divisible by 8, so the talking frames fit properly into FEBuilder. Fit them into the talking frame boxes below the portrait.
Step 8: For blinking frames, take a 32x16 of the portrait’s eyes. Follow the same coordinate rule above. Fix them into the blinking frame boxes beside the portrait.
Step 9: Manually edit the talking/blinking frames in Usenti using the portrait’s base features as a reference (If you used Larum’s face in the Character Creator, use Larum’s talking frames)
*Experimenting with giving the base portrait’s colors to the Character Creator portrait, so you can copy and paste the talking frames in MSPaint without breaking the color limit.
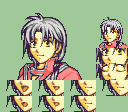
This is what I got after two days, and it seems to work fine in FEBuilder. Any thoughts on the procedure or the final product? Thanks again for the help!
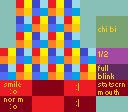 You can use this image as an overlay for where everything needs to go. (Blinking Frames, Mouth Frames, and Minimugs aren’t handled by the program but I’ll explain those later.)