GitHub is the premier option for collaboration and sharing of your buildfile with others (or yourself across multiple computers). Git can be rather complicated, but for a very basic usage you really only need to know a handful of concepts, and there’s even a neat GUI tool you can use for it.
Getting Started
You will need a GitHub account to host your buildfile on. For ease of use, I highly recommend using GitHub Desktop. It is what offers the aforementioned GUI for using Git. Download, install, and log in to the application, and you’re ready to start.
At this point, there are 2 cases we’ll cover: taking an existing buildfile that is not a Git repository and turning it into one, and making a new buildfile from someone else’s Git repository. We’ll start with the former case:
Turning an Existing Buildfile into a New Git Repository
1. Making the Repository
In GitHub Desktop, go to File -> New Repository. Give it whatever name you want, and set the location. The folder you specify as containing the repository must be empty!
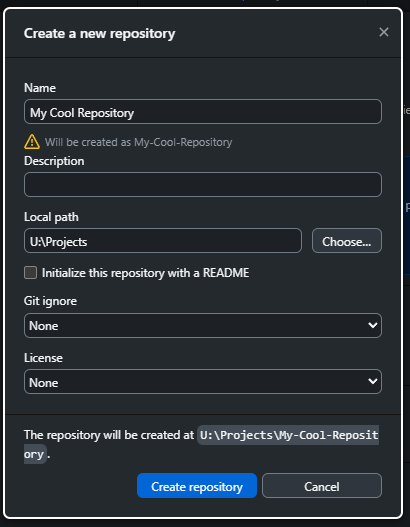
We will add your buildfile to it later, right now we’re just making the git repository skeleton. Hit Create repository and once it’s finished, you’re ready for the next step.
2. Adding Things to the Repository
Before we can start adding in the buildfile, we have to be wary of two things: checking for existing git data, and not accidentally facilitating piracy.
If your buildfile was originally a git repository that you downloaded, there may be a hidden folder called .git in the root directory. Do not copy this folder into your repository! This is where git stores information about what repository it is, and overwriting your new repository with some other repository’s data will effectively erase it. If you don’t see this folder, don’t worry about it.
Generally, your buildfile is going to have a ROM named something like FE8_clean.gba in the root directory: we don’t want to add this to the repository. Luckily, git has a system specifically for excluding specific files! If your buildfile was originally someone else’s git repository, you may have a file in it called .gitignore. if not, you’ll need to create it in the root directory of your new, otherwise-empty repository (with no file extension!). The contents of this file define what kinds of files are not saved when we add things to the repository, so we can use this to exclude our ROMs. If your buildfile already has a .gitignore you can copy it over. Otherwise, copy the contents of this example into your .gitignore file:
Example .gitignore Contents
# Windows image file caches
Thumbs.db
ehthumbs.db

# Folder config file
Desktop.ini

# Recycle Bin used on file shares
$RECYCLE.BIN/

# Windows Installer files
*.cab
*.msi
*.msm
*.msp

# Windows shortcuts
*.lnk

# rom stuff
*.gba
*.sav
*.sgm

# python cache
__pycache__

# =========================
# Operating System Files
# =========================

# OSX
# =========================

.DS_Store
.AppleDouble
.LSOverride

# Thumbnails
._*

# Files that might appear in the root of a volume
.DocumentRevisions-V100
.fseventsd
.Spotlight-V100
.TemporaryItems
.Trashes
.VolumeIcon.icns

# Directories potentially created on remote AFP share
.AppleDB
.AppleDesktop
Network Trash Folder
Temporary Items
.apdisk
Once this is done, we have to commit the change. Open GitHub Desktop, and you’ll notice a list of changed files on the left panel. To actually save these changes to the repository, you have to commit the changes. Each commit needs a name that describes what it contains, but if you’re only changing 1 file, GitHub Desktop will fill it in for you automatically if you’d like.
The bottom left section is used for specifying a summary and optional description for your commit:
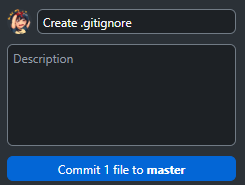
Once you’re done, press the Commit button at the bottom to save your changes to your repository. This first commit should only be the .gitignore file we just added.
3. Adding the Rest of the Buildfile
This is the easy part. Simply copy over the rest of your buildfile to your new repository’s folder (remember, do not copy the .git folder, if applicable). Then, in GitHub Desktop, simply commit your new changes. Congratulations, you now have your buildfile as a git repository!
4. Uploading to GitHub
Currently, the state of your git repository is only stored locally on your computer. To upload the changes to GitHub so others can see them, you need to push your changes. Because we haven’t pushed anything in this repository before, there should be a button near the top right of the GitHub Desktop window labelled Publish repository:

Pressing this will allow you to upload the repository to GitHub in its current state. If you want to share this with someone else, make sure that Keep this code private is NOT checked, then press Publish repository. Once it uploads, your repository will now exist on your GitHub account!
After you’ve published the repository once, when you have more commits locally made after publishing it, the Publish repository button is replaced with a Push to origin button:
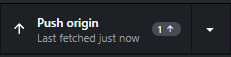
This will update the version on GitHub to match the version you have locally.
And that’s it, we’re done. Remember to commit and push your changes regularly if you’re sharing your buildfile’s contents with others.
Making a New Buildfile from an Existing Repository
1. Forking the Repository
If you do not have a buildfile yet but want to work off of someone else’s template, there is a much easier method than the above for doing so. On GitHub, when you’re logged in and looking at someone else’s repository, there should be a Fork button, as so:
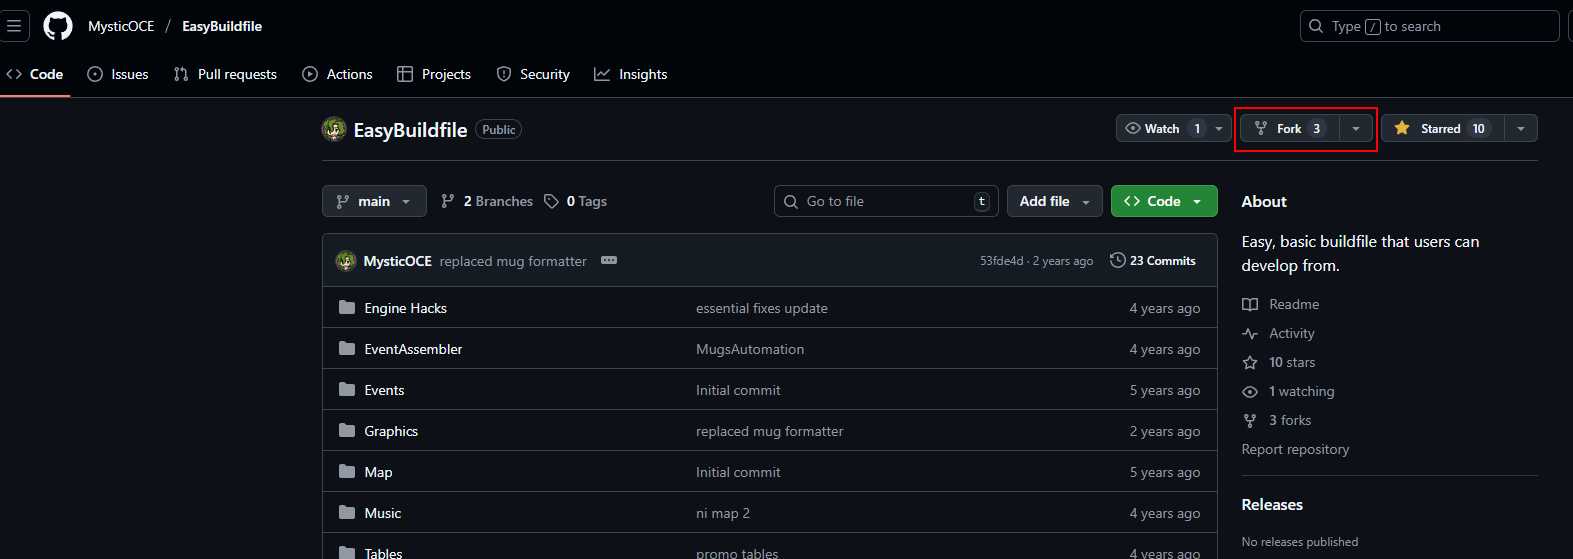
Pressing this button allows you to make a copy of the repository you’re looking at on your own GitHub account. You don’t have to change any of the default information unless it tells you that you have to, you just have to hit Create fork. Now you have a copy of the repository on your account!
2. Downloading your Fork
In GitHub Desktop, go to File -> Clone repository. It should pull up a list of every repository on your account: select the one you just forked, specify where you want to put it, hit Clone, and you now have your fork on your computer. Any changes you make to this fork only apply to your copy of it, not the original, so you’re free to do whatever you’d like with it. Remember to commit your changes and push them to GitHub!