Content Rating: 16+ (References to alcohol, strong language)
Intro
Today I’ll be sharing the second developer diary for Gravitas: Noblesse Oblige [GNO] with you all.
Read time: ~10-15 min
Word Count: ~2500
Dev Diary 2 - Combat
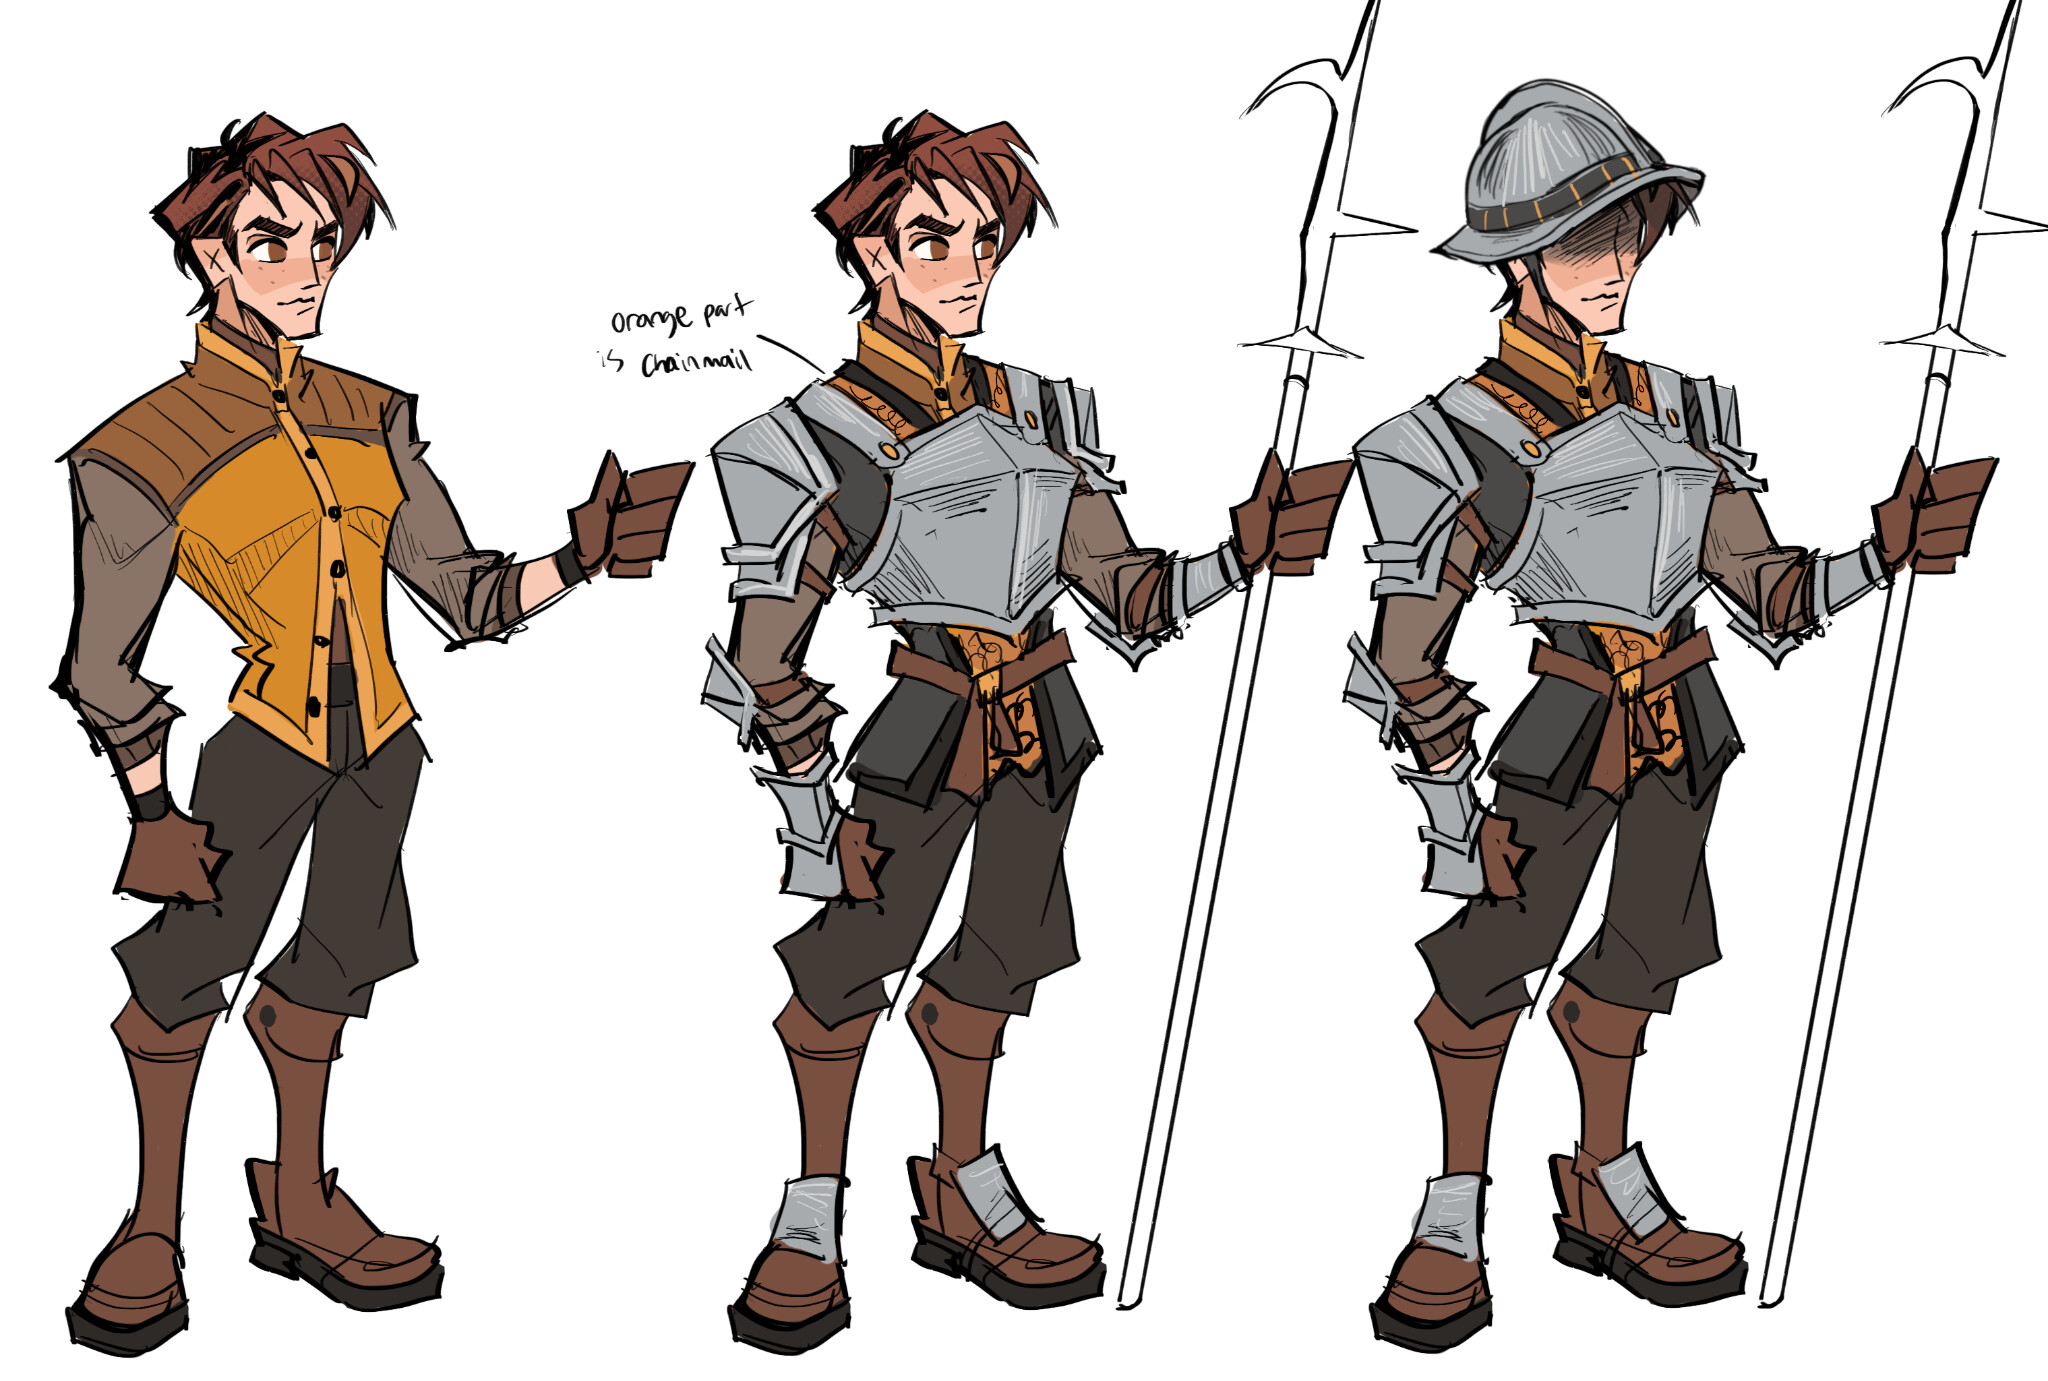
Above: Concept art of Oliver. Art by Tobey.
In this dev diary I’m going to walk you through a battle I set up to highlight the various mechanics you’ll see in the game, but I’ll also include a list of the key mechanics I will be discussing:
-
Deployment
-
Troops and Abilities
-
Turn Order & Phases
-
Zone of Control
-
Charge Bonuses
-
Flanking
-
Morale
Also worth noting here a few major differences to Fire Emblem, those being that there are no counter attacks, and there is no doubling. The notion of an enemy phase or player phase unit is not really a thing in GNO, instead play is generally more aggressive. Also, you’ll see ‘Ostia’ pop up in a few places here. I named a city Ostia as a reference to the historic port of Rome and have realized that in hindsight that will lead to confusion among other FE fans, because for some reason that didn’t dawn on me for ages. I have been calling it Ostia for years now and I will not be changing it.
Now then, onto the battle!
Battlefields & Deployment
Obligatory WIP reminder for all screenshots. In the near future we’re doing a big revision to the UI/UX during battles to add some clarity for the player, so I won’t be talking much about the interface as it is subject to a lot of change at the moment.
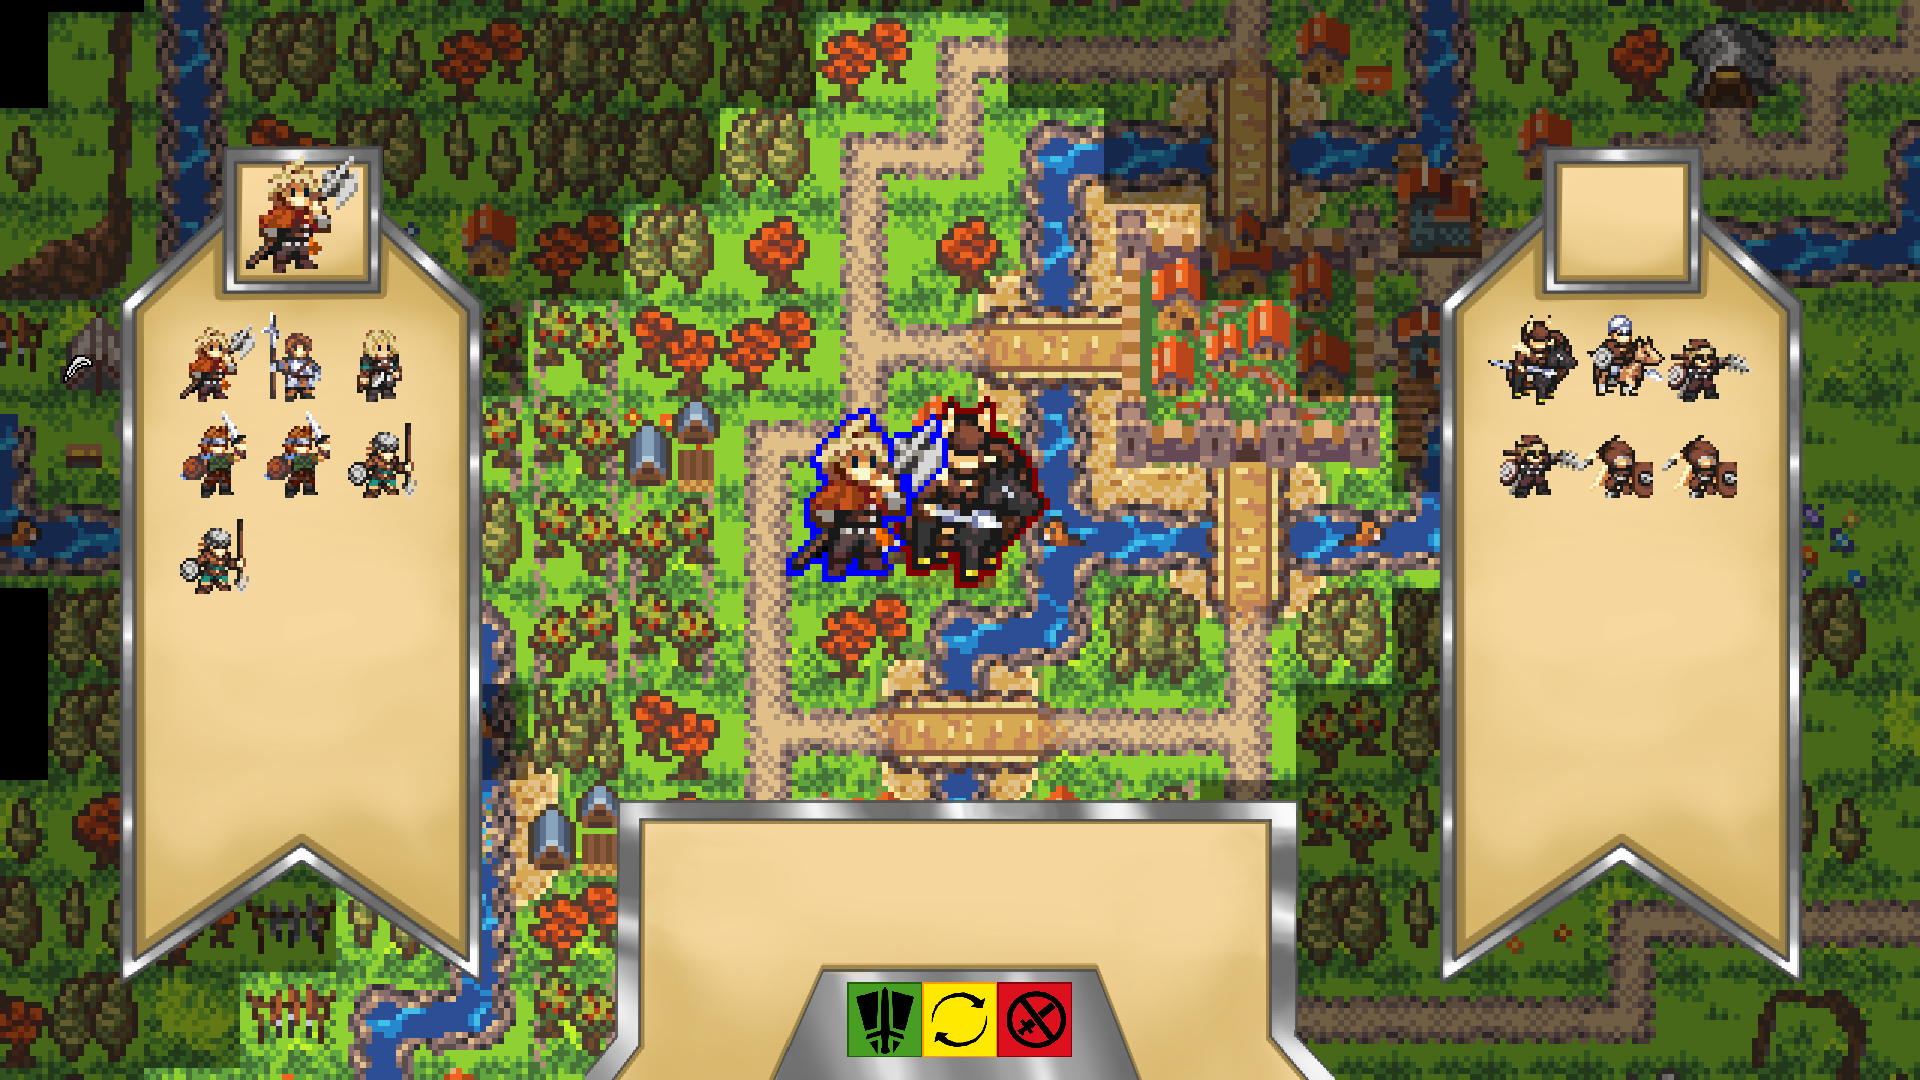
In the battle preview above we can see both our Troops and the enemy before we commit to the attack. Since we’re attacking them in the forest, we get a forest map once commencing the battle, which you can see here:
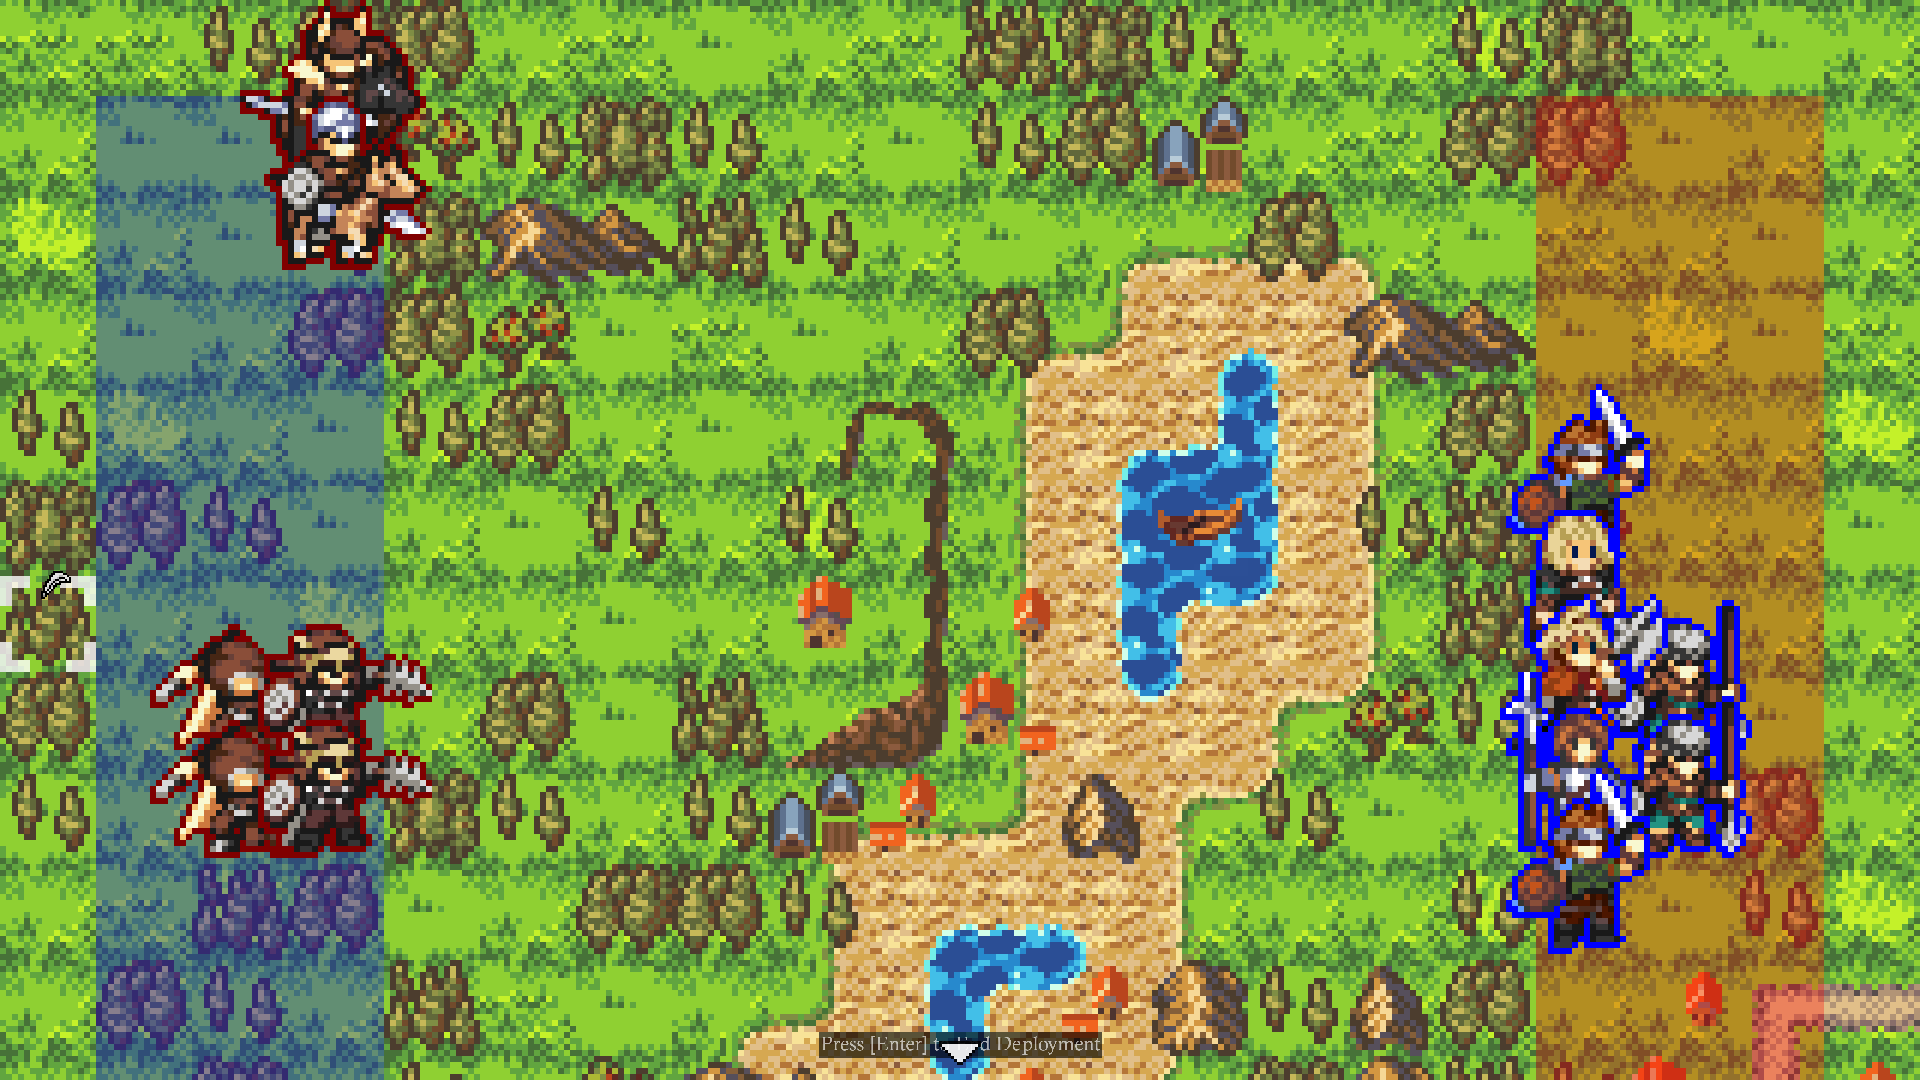
Since we’re the attacker, we deploy our troops in the red area and as the defender, the enemy has deployed in the blue area, placing their cavalry on one of the flanks and their ranged units behind their infantry. If you’re wondering about the colors, I might change them to match your nation’s colors (in my case blue), but for now we’re just using red for attackers and blue for defenders.
Before I position my troops for the start of battle, let go over our strengths and weaknesses, as well as the enemy. So, who’s on the board?
August
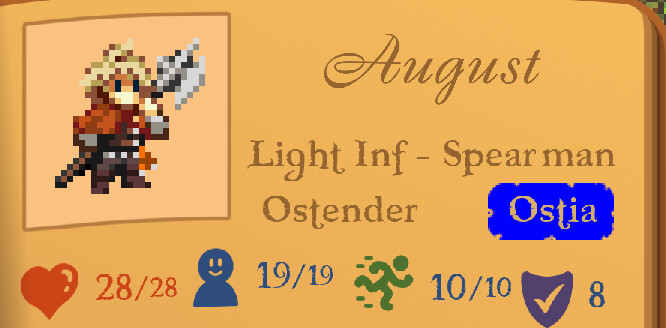
Our main character and lord is a special unit for he has been blessed by the Goddess Meridian and wields a unique power, Thermal Exchange! (Tool tip needs a little clean up)
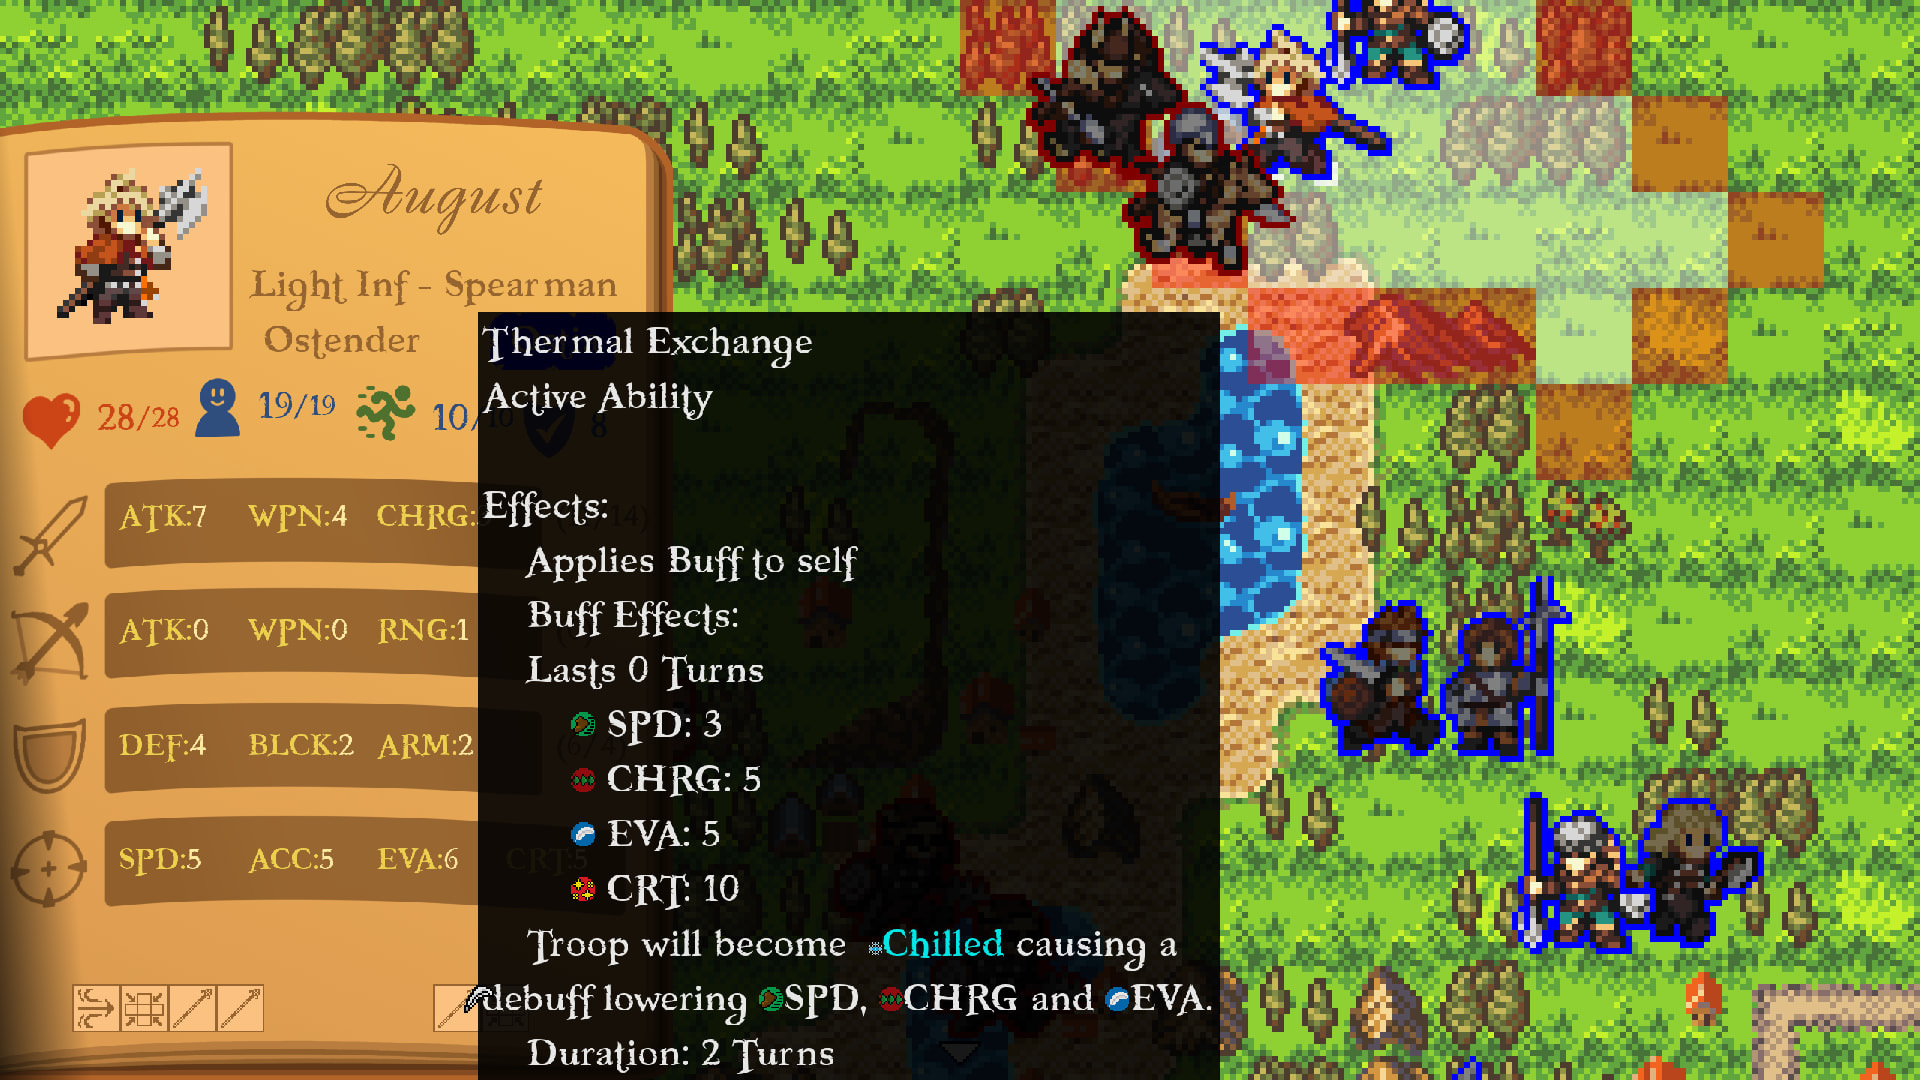
Meridian, also known as the Mediator, is all about compromise and trades, and so this active ability allows August absorb and spend heat energy in return for a speed boost. It will give him a few stat buffs for 1 turn and then we will suffer the Chilled debuff on the following turn. Alongside this divine power, he has some staple abilities most spearmen have, Spearwall and Plant Spear. Spears are defensive units and both trigger after remaining still for a turn and fighting charging enemies, granting a defense boost and effective damage against cavalry respectively. He’ll be useful on the flanks to fight the enemy cavalry.
Oliver
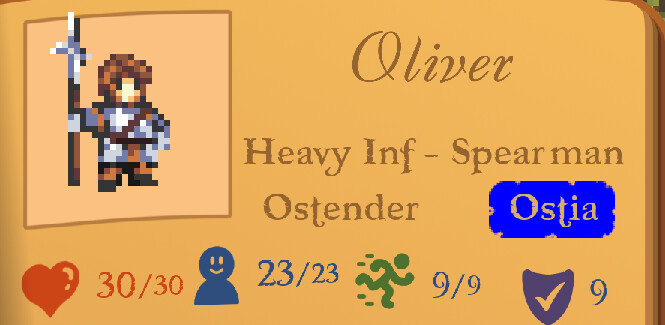
Oliver is our bulkiest unit by far and shares many of August’s abilities as another spearman, however he is wielding a Billhook, granting him a bonus against other spearman. His melee defenses are great, though since he doesn’t have a shield to block incoming arrows, his ranged defense is about on par with August.
Reiner
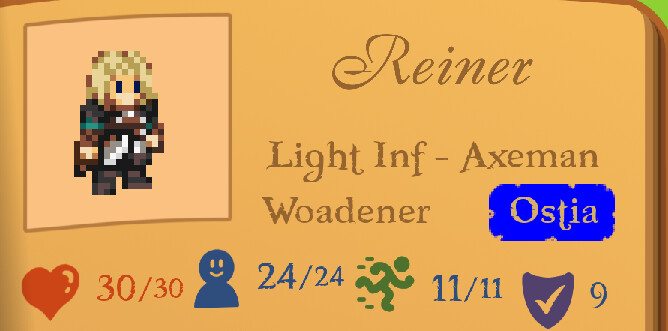
August isn’t the only one who has resonated with a god’s domain, for Reiner bears the Thunder Pulse! Resonating with the Lover’s domain has made it so every beat of his heart generates electricity and the result is an axeman with a crit rate that rises every turn and after every combat until he lands one, at which point it resets. All that is to say, big damage. Unfortunately, Reiner can’t wear metal armor as it would cause his power to spark on him, so he has pretty low armor. It’s also worth noting that Reiner has some of the highest morale in the game.
Journeyman - Ostender Light Infantry
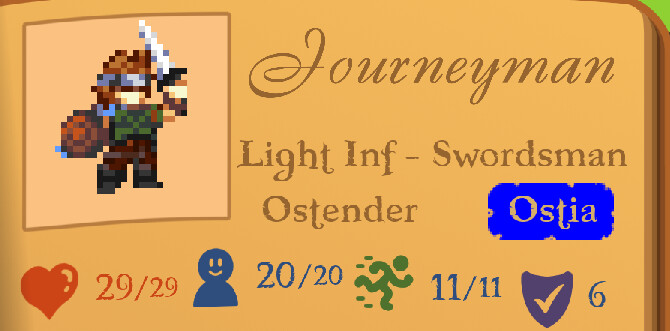
These wayward adventurers are the most accessible Ostender troop and are no strangers to rough terrain. The main advantage they have here are that they can pass through rough terrain without being slowed down, giving them excellent maneuverability for setting up flank attacks. They’re also a little more evasive than most troops. They have some other abilities, but they won’t come into play unless you’re crossing a river.
Trapper - Ostender Skirmisher
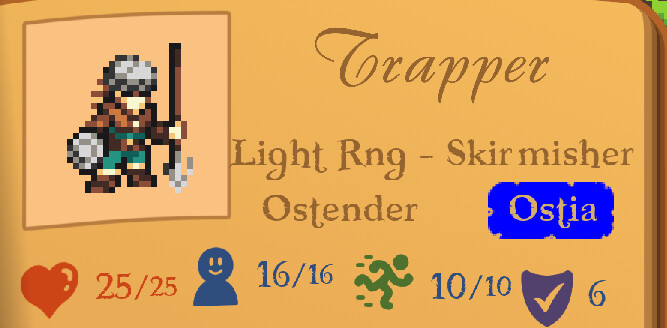
This troop, recruited from your Hunter population, is excellent pairing with the Journeyman as he also boasts the ability to traverse rough terrain unimpeded. Additionally, he suffers no accuracy or damage penalty against foes in forests and as a master of his craft he reduces the evasion and movement of those he hits with his Ensnare ability.
Now, what are we up against?
Deadskin - Lyri Infantry
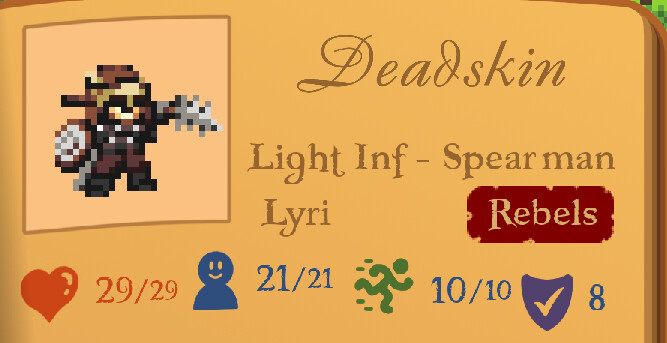
The Lyri are renowned for their leather working and have THE premier light infantry unit, the Deadskin. Wielding a savage barbed javelin, they deal effective damage against cavalry, so it’s good that we didn’t bring any. In addition to melee stats that can almost go toe to toe with heavy units without the draw backs, they have 2 uses of a ranged attack with their javelins giving them options in battle. This is pretty scary for me as I don’t have any great way to tank ranged damage. The only troops with shields I brought were the Journeyman who can’t beat a Deadskin head on.
Skiv - Lyri Skirmisher
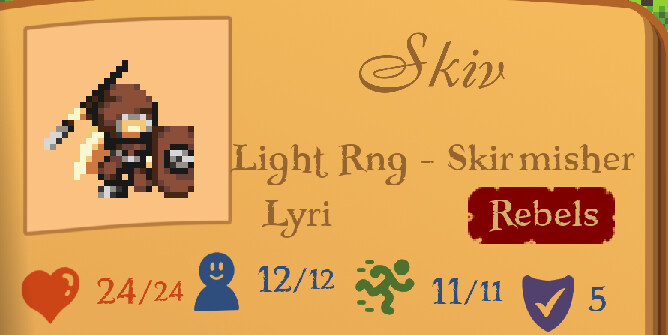
These dastardly little rogues are the Lyri Skivs. Like the Deadskin, they also use barbed javelins that are effective against cavalry. Aside from their high evasion, their stats aren’t anything impressive and they have horrible morale, meaning with one clean hit we might be able to rout them. They are pretty cheap though, which is nice if you can get your hands on them.
Raider - Lyri Cavalry
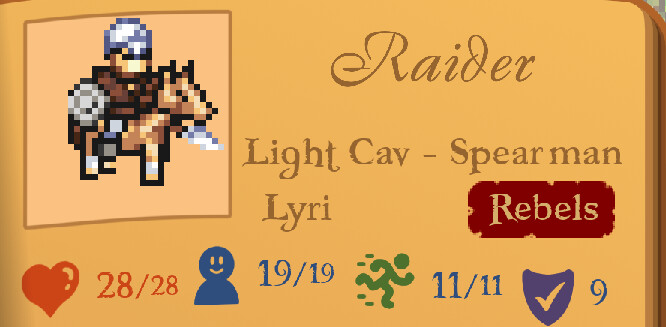
The Raider is a fraudster. They have the Lethal Charge passive which grants them +10% crit when charging and the active ability Blitz, which sacrifices defenses to give them another +5% crit and 2 extra charge damage. They have pretty typical stats for a light cavalry, lots of movement speed, middling bulk and decent charge damage. They’re just trying to cheat me. I guess that’s an honest day’s work for them?
Horn Hunter - Lyri Skirmish Cav
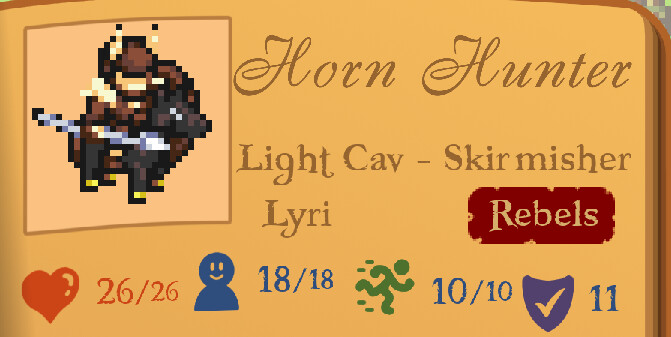
The velikirog isn’t going to hunt itself! Fortunately, this javelin unit doesn’t have barbs! Unfortunately, they apply their charge bonus to their ranged attacks as well as their melee. Given my already stated vulnerability to ranged damage, it would appear I’m half way up shit’s creek. Let’s hope the spears can double as paddles.
The Gameplan
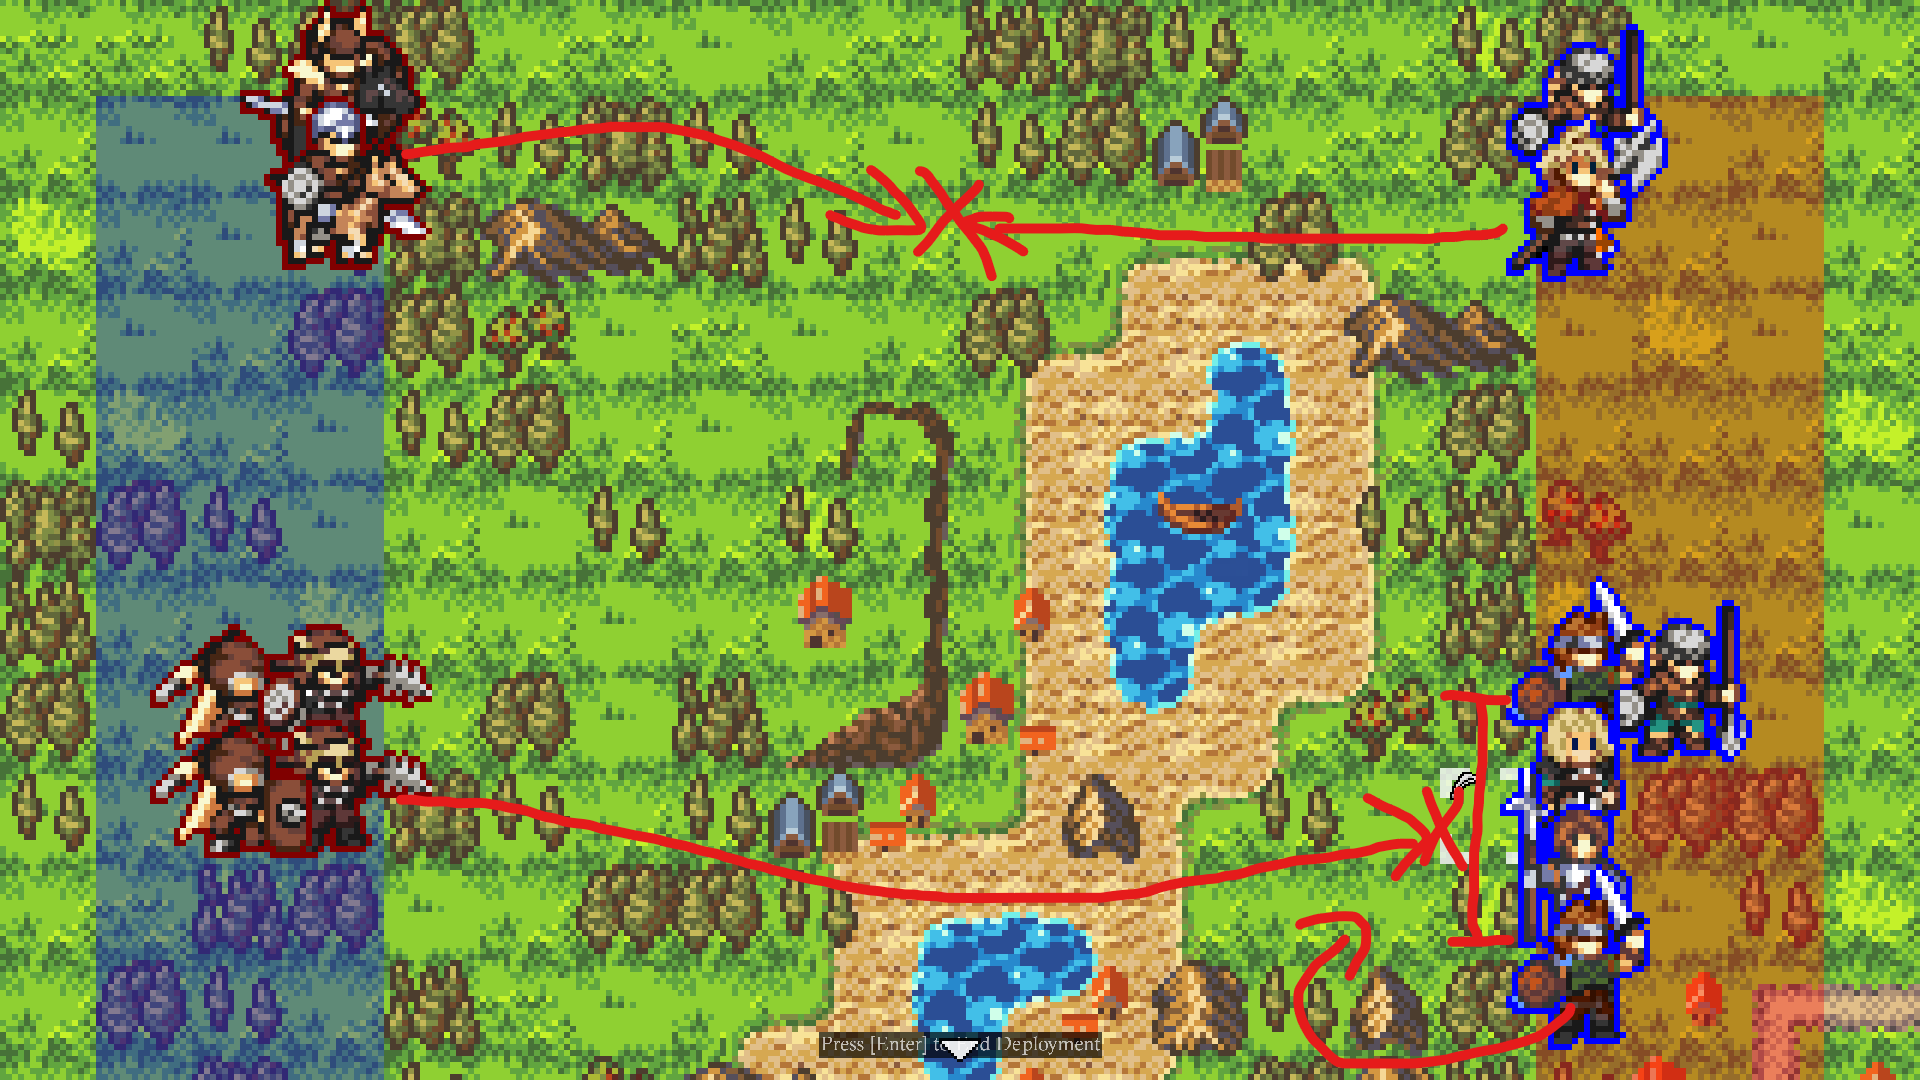
Using my expert MS Paint skills you can see what I’m planning to do. I’ve deployed August and a Trapper in the North to intercept the Raider and Horn Hunter. Idea here is to bait them into attacking August while I have Thermal Exchange up (hopefully while I’m in a forest) to hopefully dodge their attacks while they’re charging, which is when they’re the scariest. The Trapper can keep up with August thanks to his ability to pass through the forests unimpeded. Together I think they should be able to defeat the two. I know the Horn Hunter will try to stay at range until it’s out of ammo, so I’ll try to get August to attack him first, trapping him in my zone of control so he’s stuck fighting in melee.
In the center I’m going to form a line 1 tile in front of where I deploy and wait for the enemy to approach, giving Reiner a chance to get about 2 stacks on Thunder Pulse. I could probably try to back up to squeeze out a third turn of it, but then my forces are further apart and I like the spot I marked as I should easily be able to run a Journeyman around the mountain tile to get into the Skivs or deliver a flank attack.
Let’s see how it plays out!
Opening Moves
We start in the Maneuver Phase and I get to move first since I’m the attacker. During this phase all we’re doing is moving troops. Once everyone has moved, we go to the Combat Phase, where anyone that moved >1 space will be considered Charging and add their Charge bonus to their melee attacks.
I run a Journeyman forward, but not too close so I’d be in enemy range next turn. I want to have more control over the turn order next Maneuver Phase. I’ll explain when I get there. I ran the Journeyman up because the enemy will prioritize moving troops closest to a foe. This helps ensure they move their main body before their cavalry. We can see a Deadskin takes the bait and it’s back to my move.
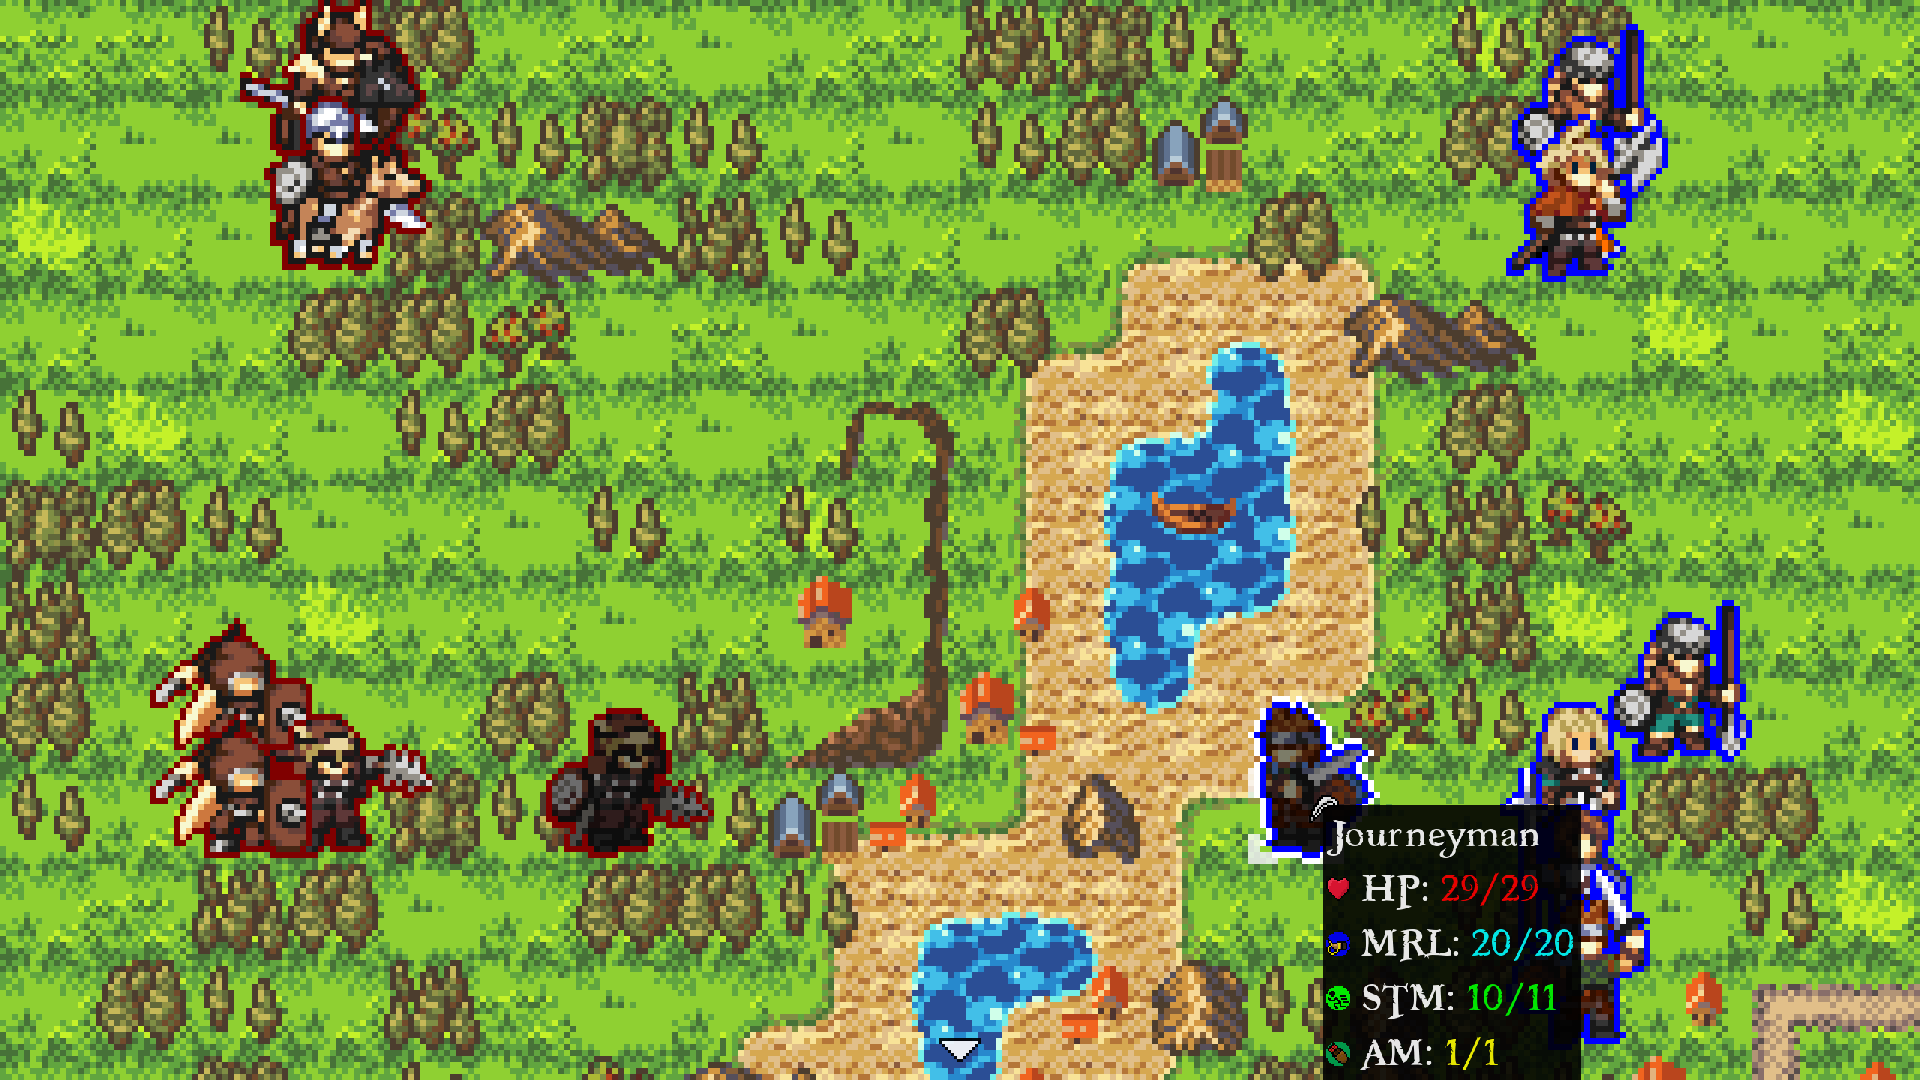
I move the rest of my main force into position, deciding to place Reiner in the forest since he’s squishier than Oliver, and the enemy advances. They also move the Raider up and I’ve highlighted what his movement range is going to be next turn.
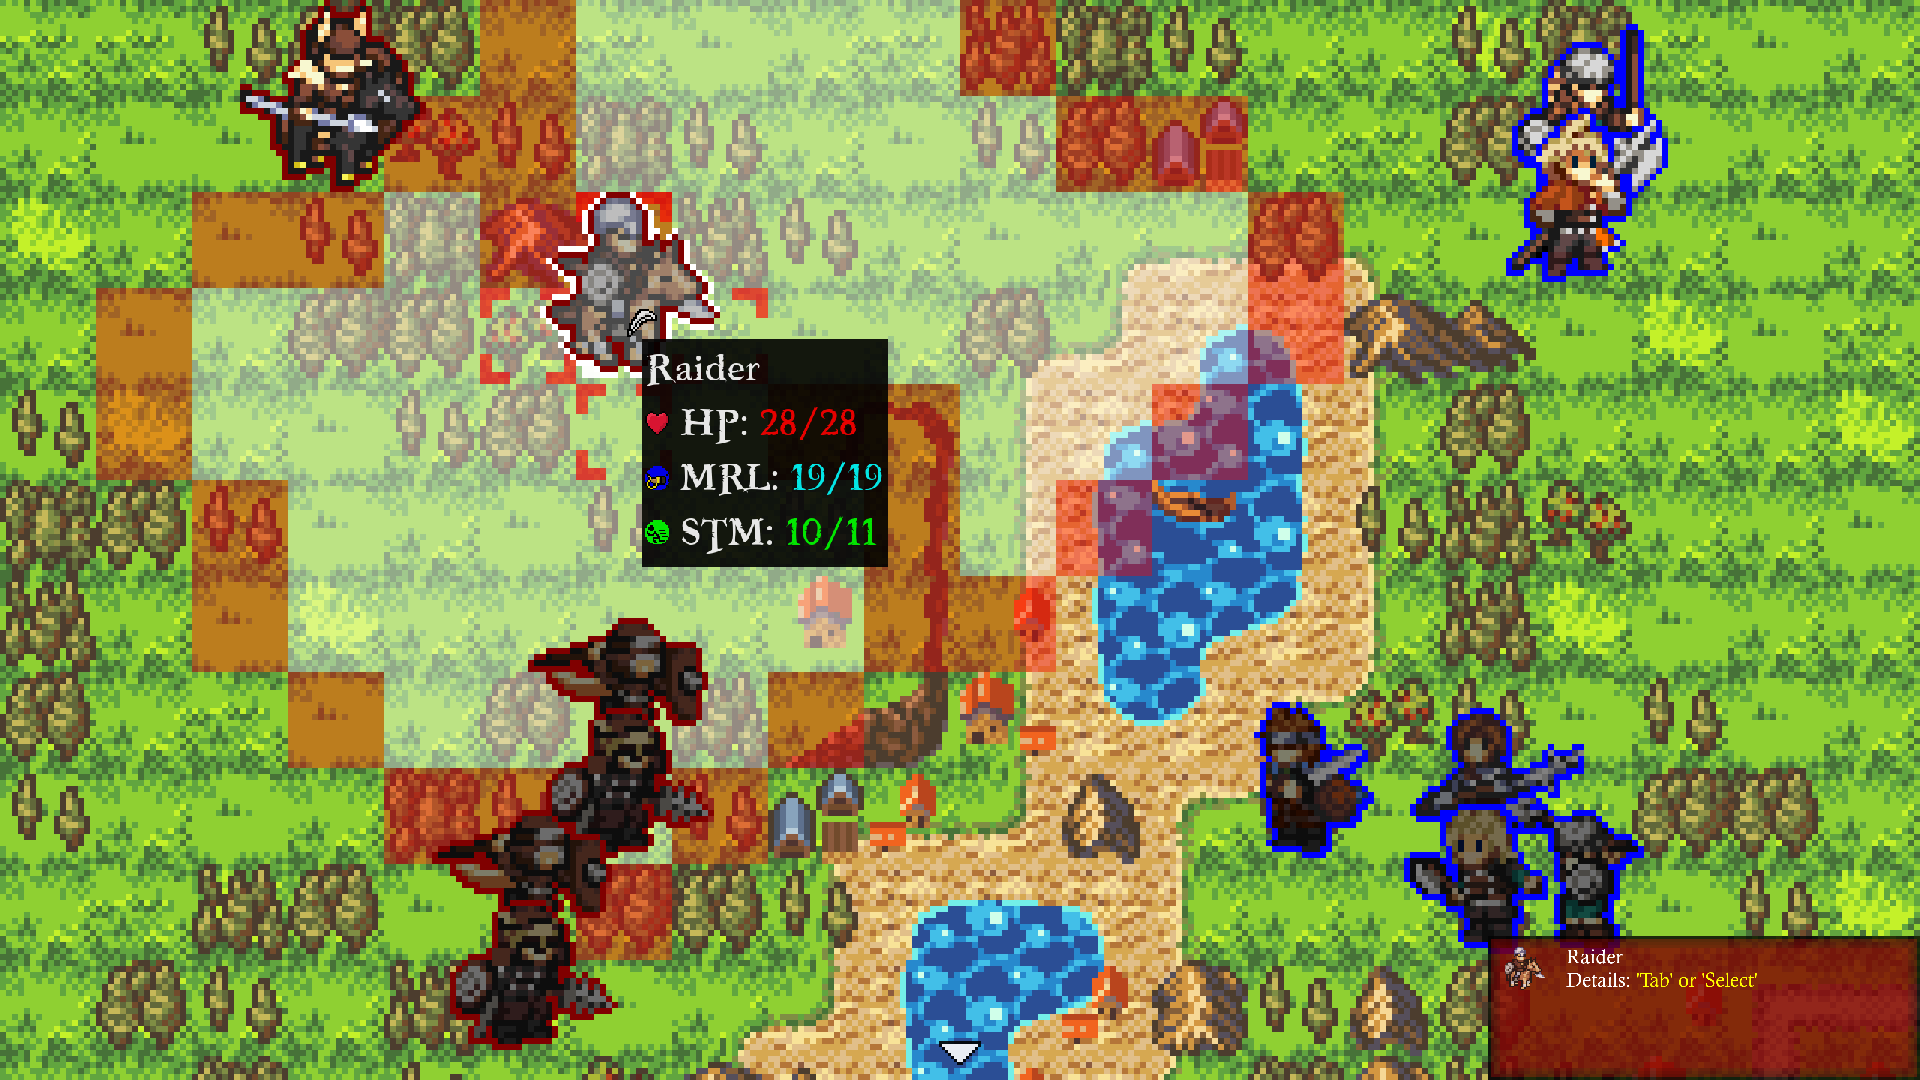
I could rush forward now and move into range. This way on the next Maneuver Phase I could choose to move August first. Using my Zone of Control I could lock the Raider down so they can’t get a charge without giving me a free opportunity attack. However, I elect not to because I’d rather ensure I can get into melee with the Horn Hunter and from here I need an extra turn for him to get close enough due to all the trees. If August could ignore the terrain, like the Trapper, this wouldn’t be a problem. Also getting too aggressive now could cause one of the Skivs to peel off in August’s direction and I don’t want to take on a 2v3 up here, I’m asking to getting flanked. Here’s where I end up:
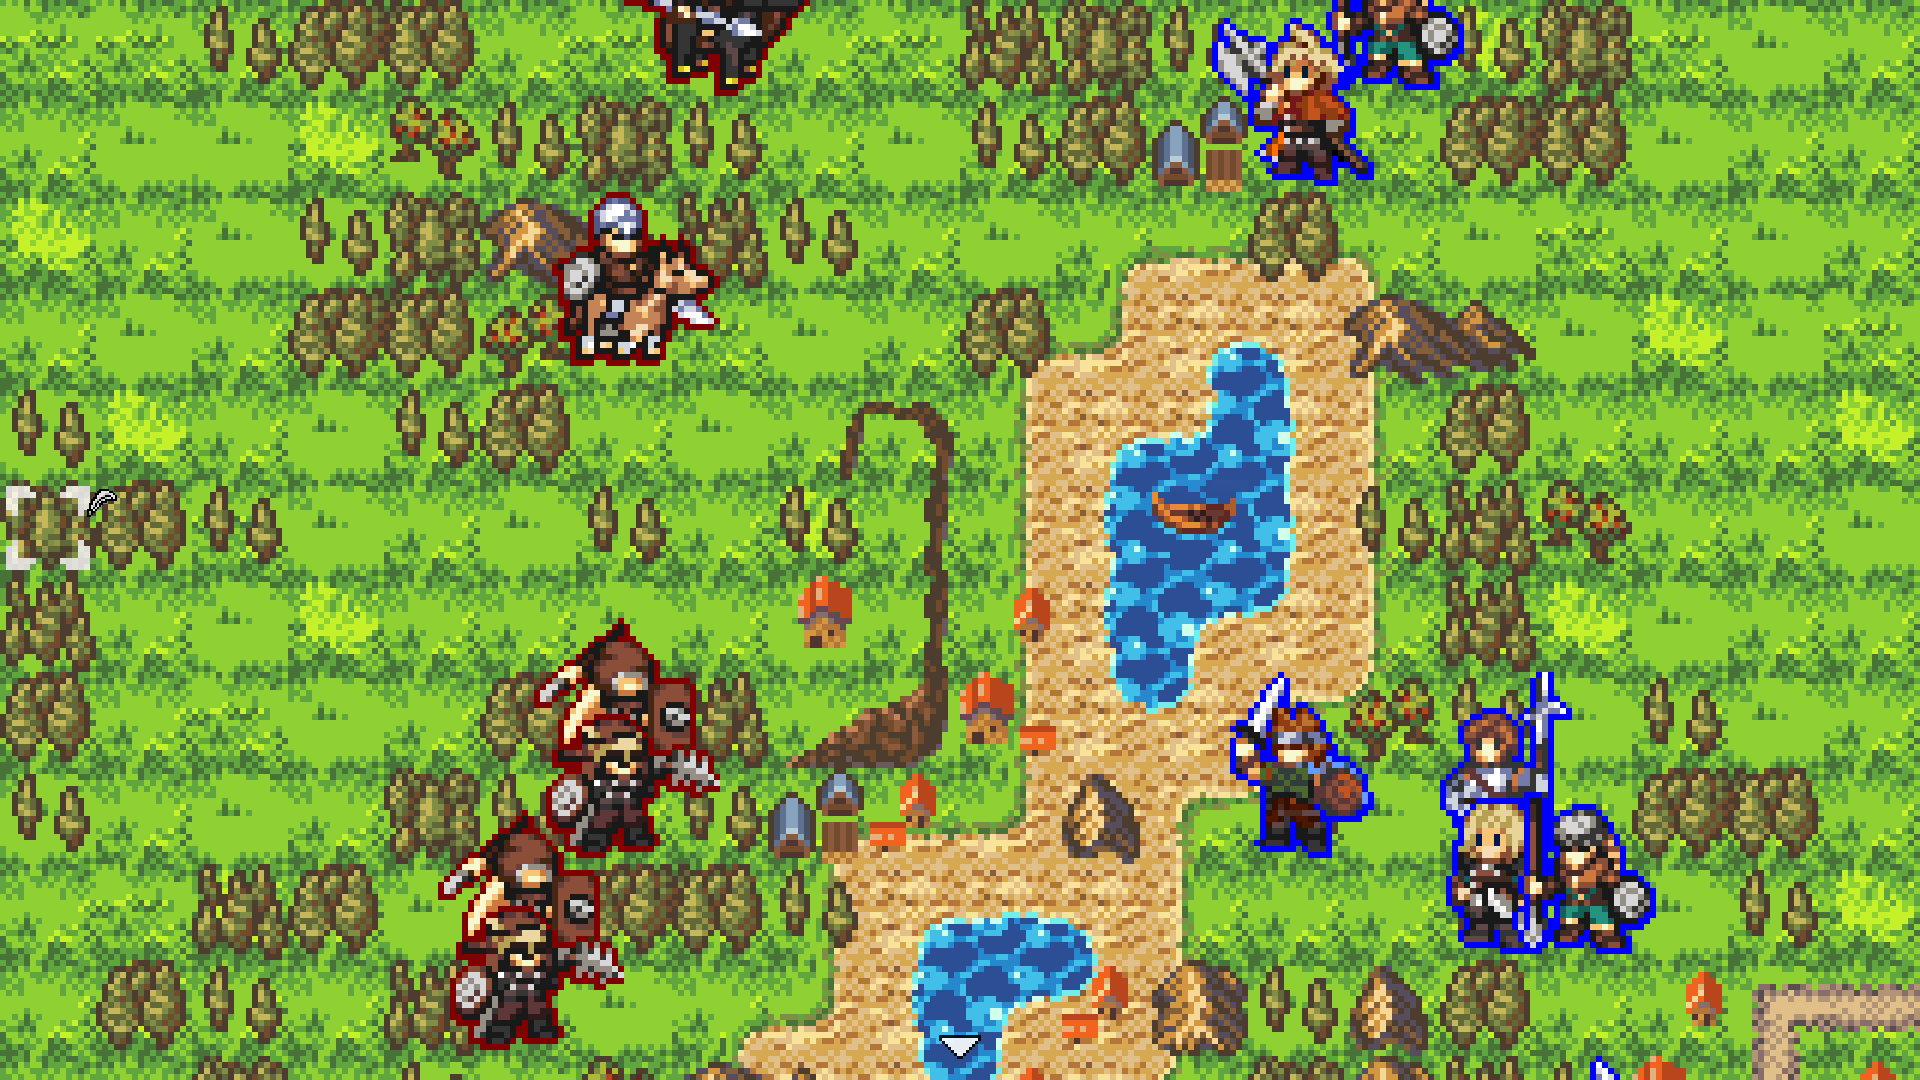
This position is great for me because with the mountains, August’s Zone of Control will prevent the Raider from reaching my Trapper no matter which way he goes, keeping my ranged unit safe. I’ve left August in range of the Horn Hunter so that I know which tile he’s going to move onto, the forest 2 tiles left of August. I can safely predict this because I know they’ll move their melee troops first and the Raider will occupy the only other tile where the Horn Hunter could attack him. It’s a little awkward, for reasons I’ll explain shortly, but this will work. In the meantime, let’s go back to our troops in the south. I’ll leave the Journeyman up front where he is for now as no enemies can run up and use their Zone of Control to lock him down. Remember when I said I wanted to move him up, but not into enemy range? This is why. If I had done that, he would’ve been the first troop I’d need to move, otherwise I’d need to suffer an opportunity attack or move my own infantry up into a position where I wouldn’t get the extra turn to build up Thunder Pulse and where it’d be harder to flank due to those mountains in the middle. I begin making my moves and here’s where we end up:
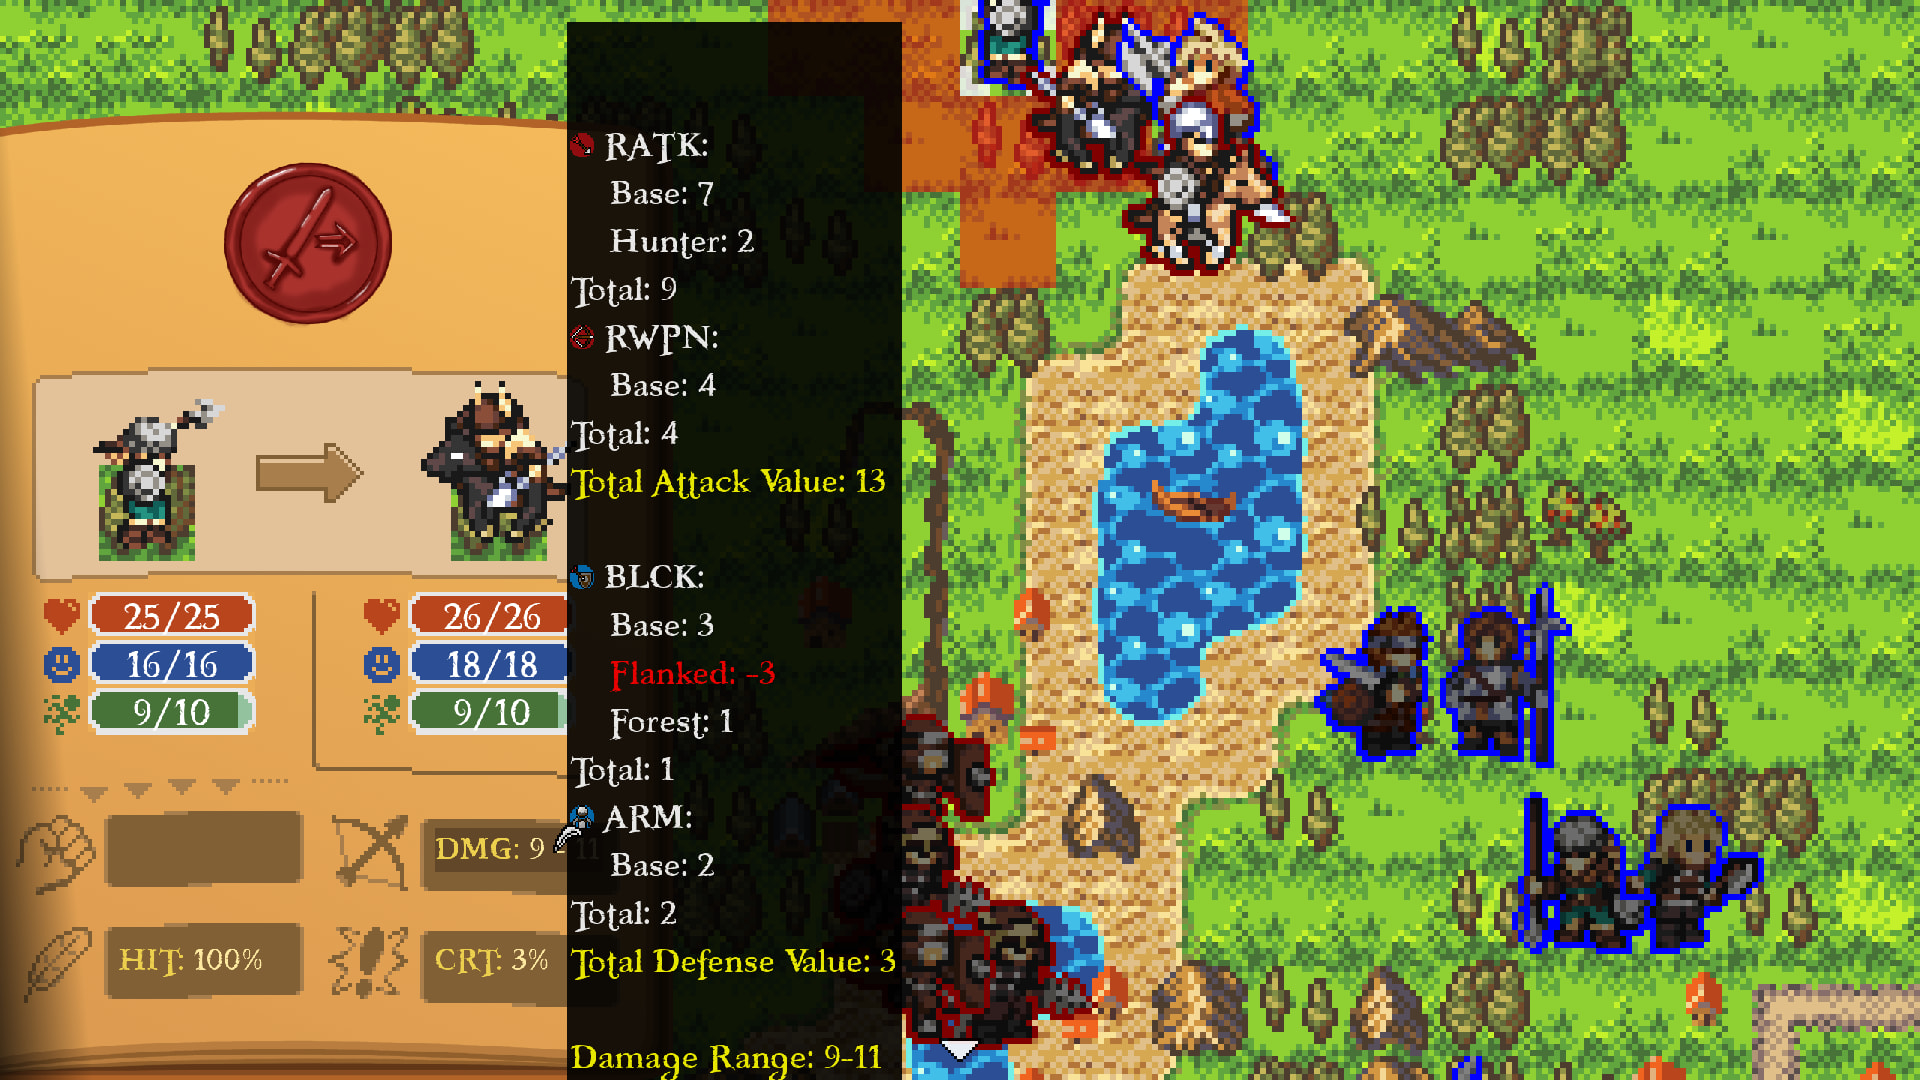
When I said the positioning was a little awkward, it was because in order to lock down both the Horn Hunter and Raider, I didn’t get to move more than 1 tile, so I don’t get my charge bonus, which Thermal Exchange boosts, these are pretty good terms of engagement. As a ranged troop, the Horn Hunter doesn’t have a Zone of Control and my Trapper can slip by to set up a flank shot on them since August is on the opposite side of the enemy. The flank attack will reduce the enemies Defense/Block. We’re in the Combat Phase now, so here’s how things play out:
-
Trapper attacks Horn Hunter
-
Horn Hunter chooses to attack the Trapper since his hit rate on August is so low, he hits and oof that’s almost half my Trapper’s HP due to the Horn Hunter’s charge bonus. One more and his morale is going to be 0…
-
August attacks the Horn Hunter and thanks to Thermal Exchange’s buff, we land a crit! This is actually huge, because it routs the Horn Hunter who will now try to flee without attacking me!
-
The Raider misses August with a 25% hit rate
-
Turn ends and August is afflicted by the Chilled debuff, massively reducing his evasion and movement speed this turn.
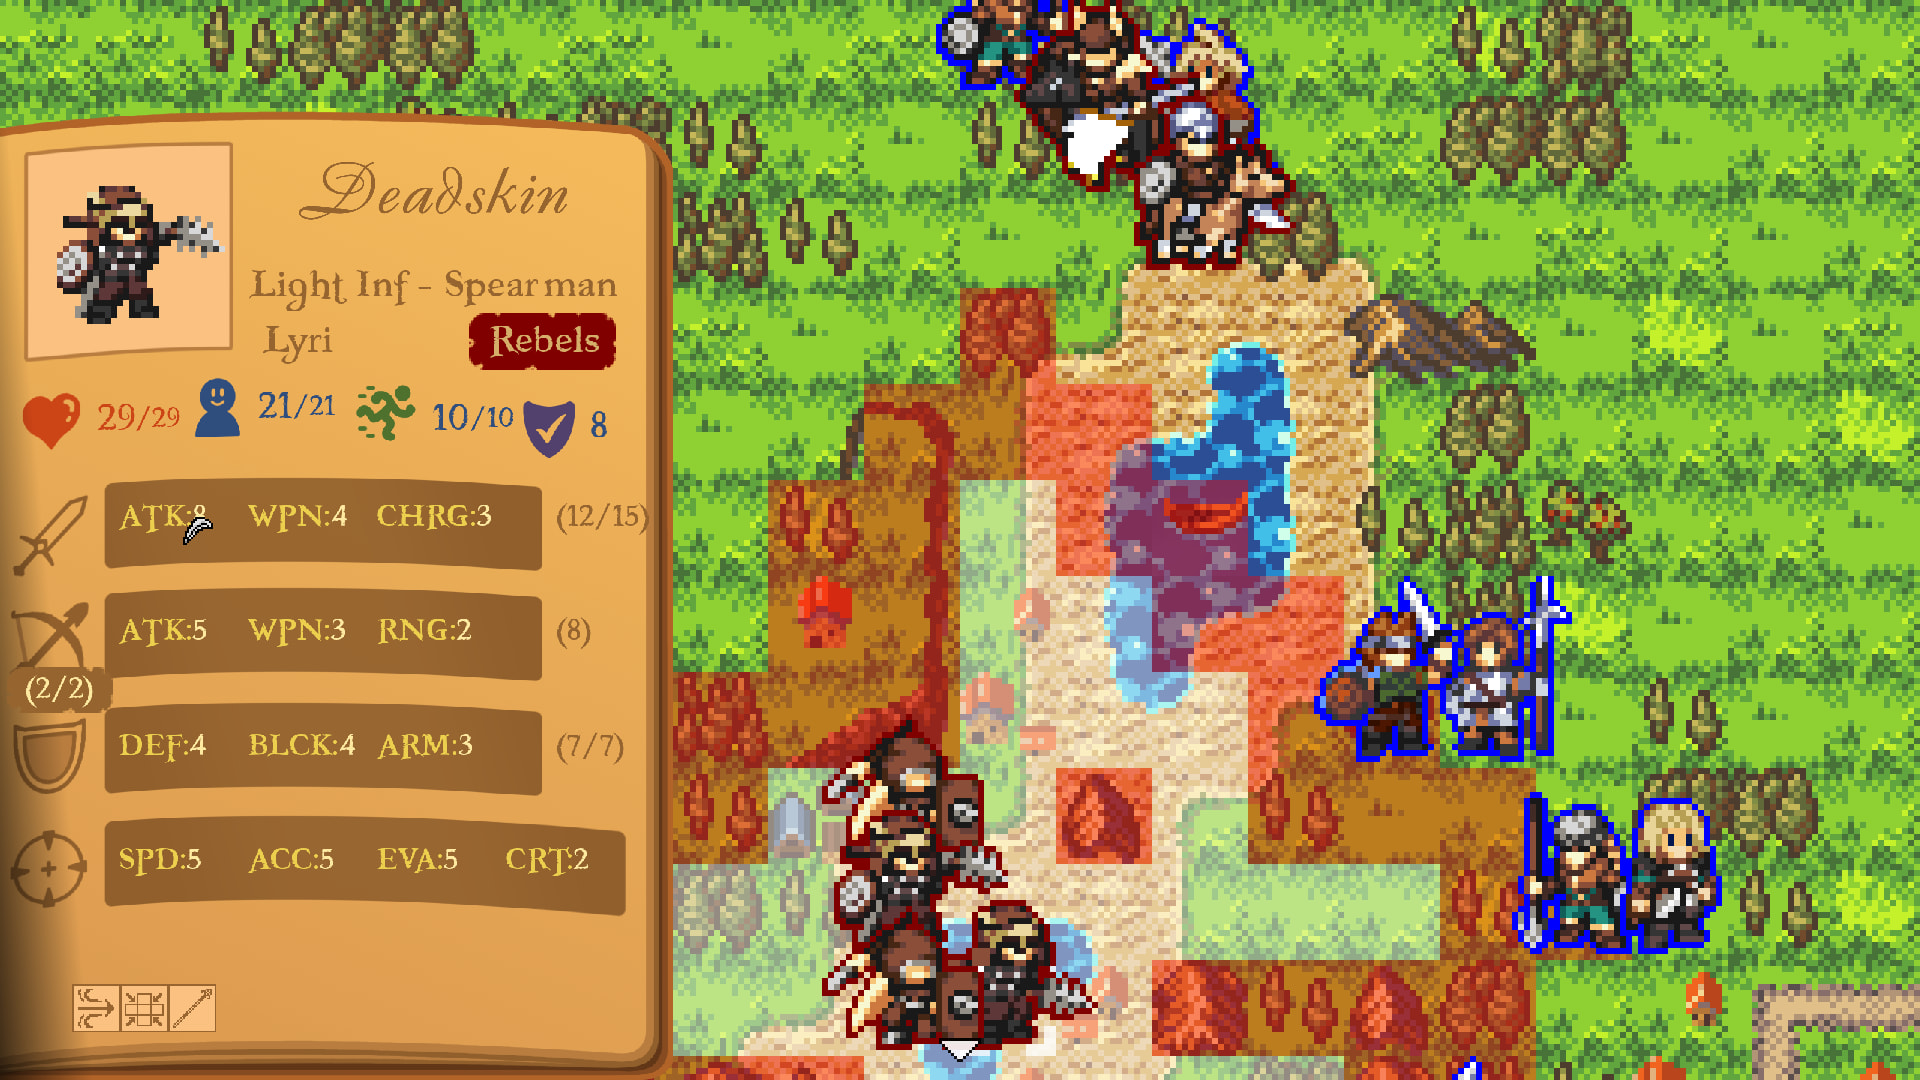
We’re back to the Maneuver Phase and the first thing I want to due is move Reiner back into the forest. I didn’t explain why I moved him out of it before, so let me do that now. I want to give him a running start so his charge bonus applies to his next attack. He’s up to 50% crit right now, so if I get to deal double damage from landing a crit, I want the charge bonus to also be doubled. I move him up so that he’s no in melee range of the Deadskins and he has the protection of the forest to help him a little. Here’s how the main engagement forms up:
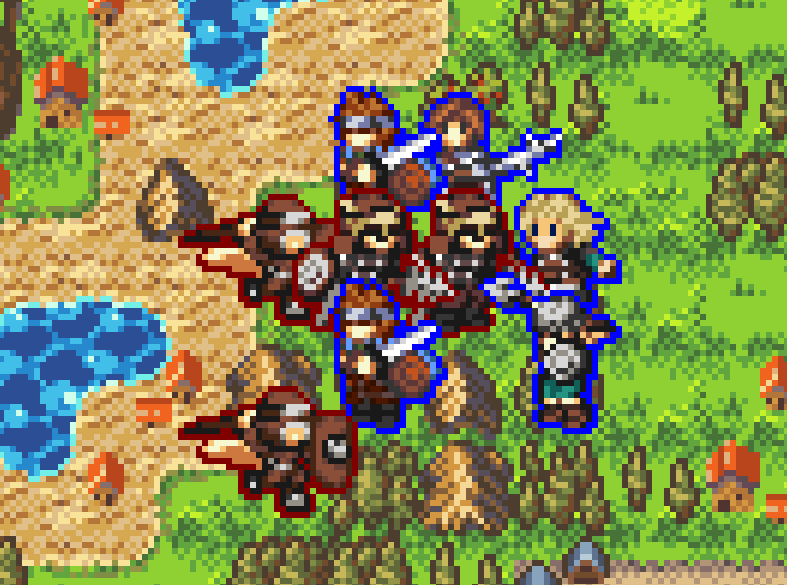
Pretty good for me! Reiner and Oliver will get their charge bonuses and the Journeymen managed to pincer the other Deadskin! The only awkward thing is that one of the Skivs is going to get a flank attack on my Journeyman. I’ll have him attack first to make sure he gets his damage in. Here’s the play by play:
-
Journeyman attacks for 11 dmg
-
Deadskin attacks back
-
Trapper attacks Raider (I do this early because they’ll reduce enemy evasion)
-
Raider hits August for 4 dmg (not so scary when they aren’t charging
-
August hits back
-
Deadskin attacks Reiner for 8 dmg
-
Reiner attacks back, landing a crit for 22 dmg!
-
Skiv 1 misses my Journeyman in the forest (phew)
-
Trapper hits off Deadskin (probably should’ve had him go before Reiner to debuff, but I was looking forward to seeing if I would crit, so I got antsy)
-
Skiv 2 hits my Journeyman, routing him (he did his job and I salute)
-
Oliver finishes off Deadskin
-
Journeyman hits Deadskin and routs him
Here’s where we are now.
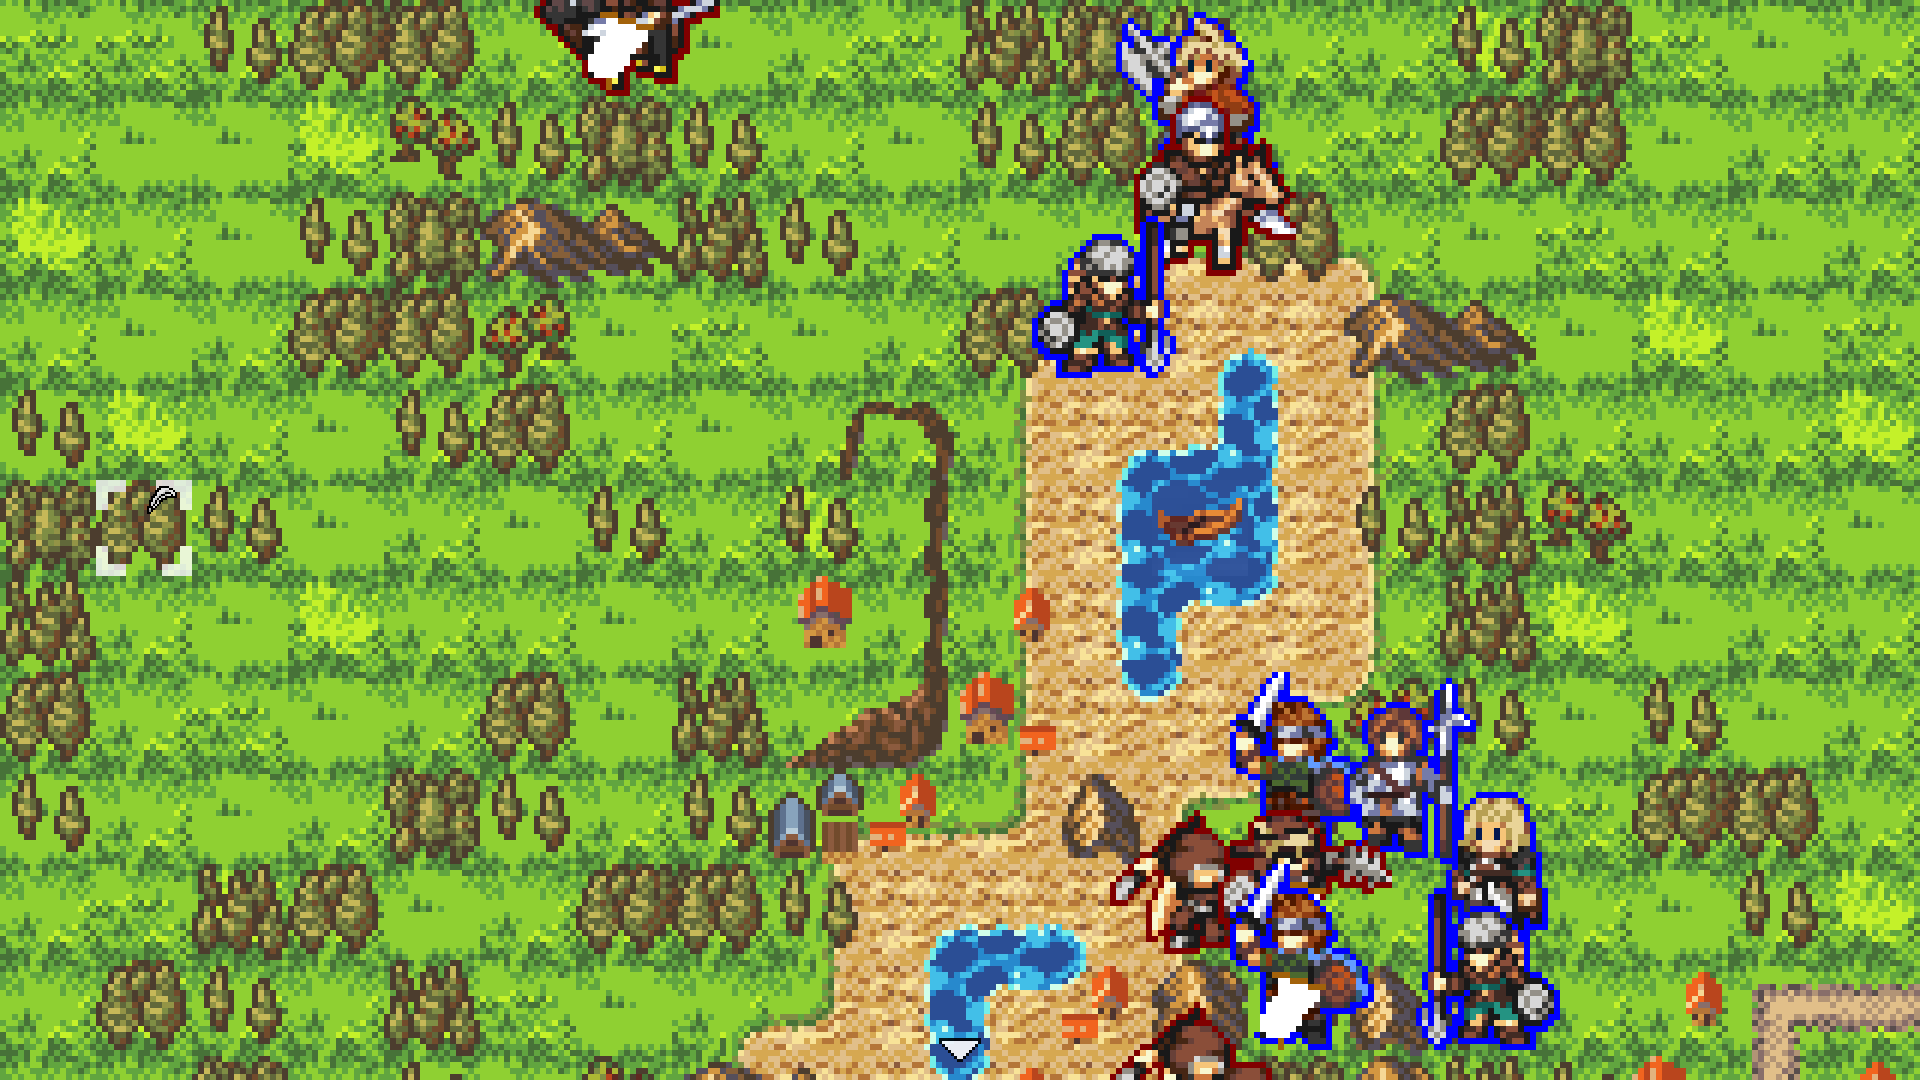
Smooth sailing! From here all I need to do is mop them up. The Skivs have no one with zone of control to stop me from getting up in their face and they’ve already lost a bunch of morale after their allied Deadskin died. The Raider is likewise sitting on 2 morale, so I’ll conclude this diary here.
The key thing I hope I got across is how much depth there is to controlling the terms of engagement by planning out your turn order and utilizing zone of control offensively to limit your opponents options. It really is something I’m proud of in terms of the game’s design, so I’d love to hear what you think!
Thank you so much for reading! The next developer diary diving into the region of Ost and its culture will come out in 3 weeks (Oct 16th), I hope to see you there!