It’s been a while, and I’ve finally learned how to streamline this process, reducing most of the workload. The biggest issues were that:
-
Some maps are bigger than 512x512, but still fit within fe map dimensions. For example, 33x31 map size was previously invalid.
-
Setting the terrain for a ton of tiles is very much not fun. Previously I set up autohotkey shortcuts to make it tolerable while using febuilder, but it was hacky.
Before we begin…
Similar shades will often be turned into a solid colour, so you may want to adjust part of your source image.
→

For me, that means adjusting the grass. Colour adjustments must be done before using febuilder’s Colour Reduction Tool.
a) open in gimp2 > Colour Index to 80 colours > Color picker the ~6 grass colours to change to a dark green
b) Preview the end result by:
FEBuilder → Tools → Decrease Color Tool → Type 7 → set the dimensions to whatever your source image is
Step 1.
Extract 16x16 tiles using this website & download tiles.png.
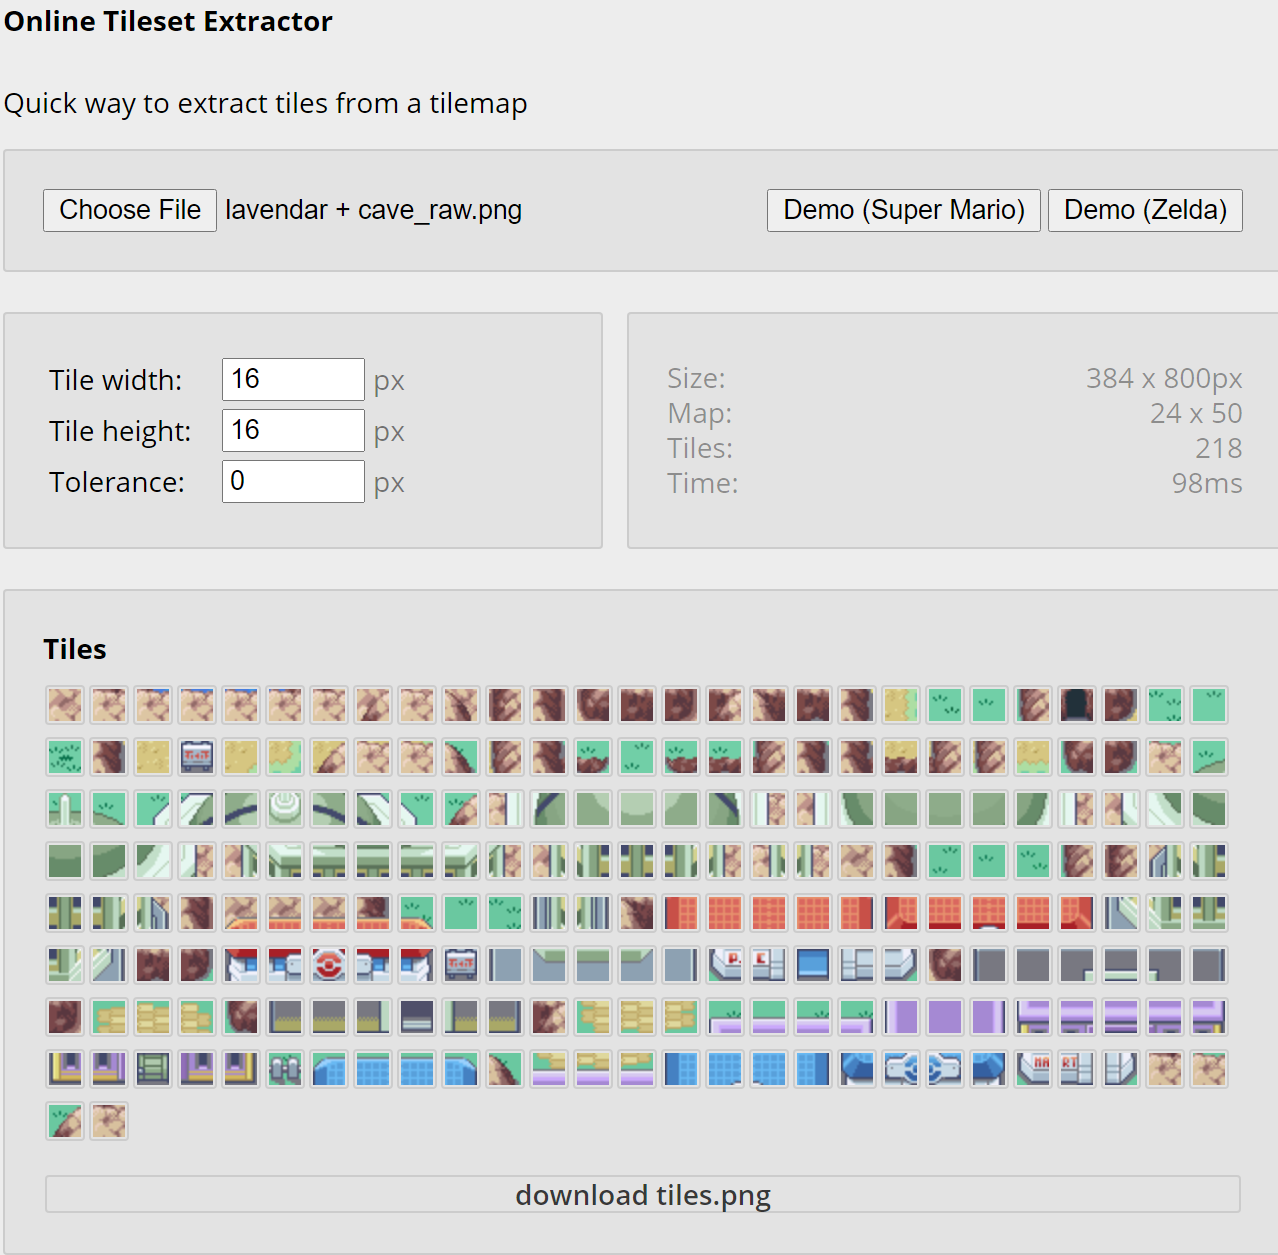
(Shoutouts to @rainlash for linking me it.)
Step 2.
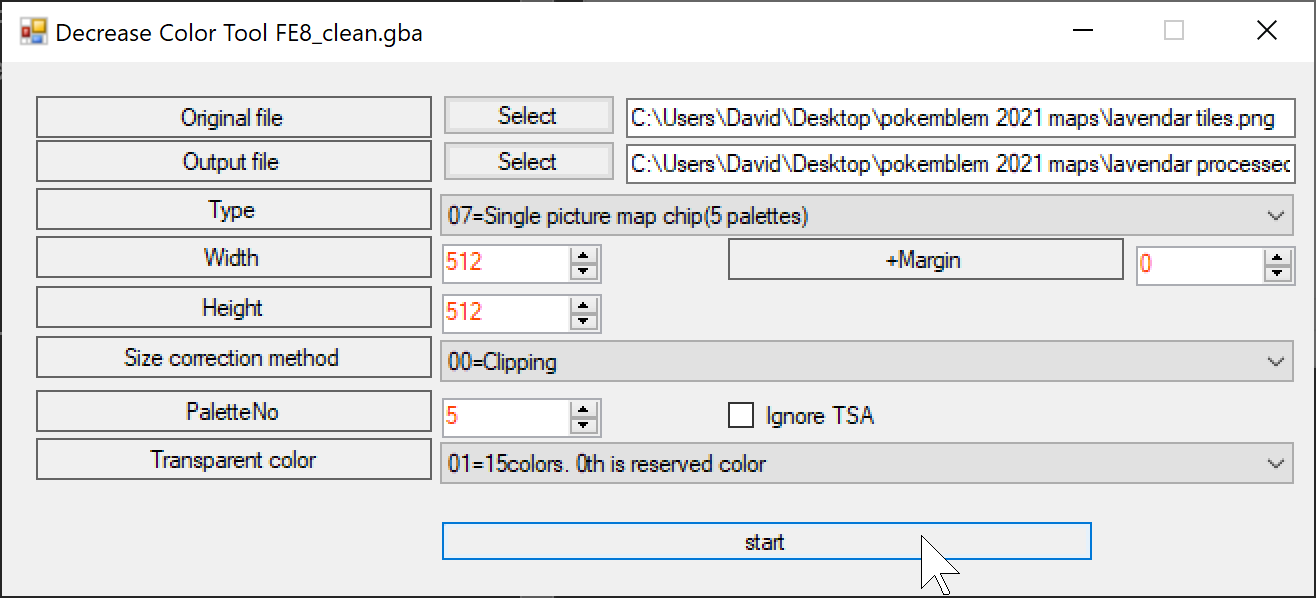
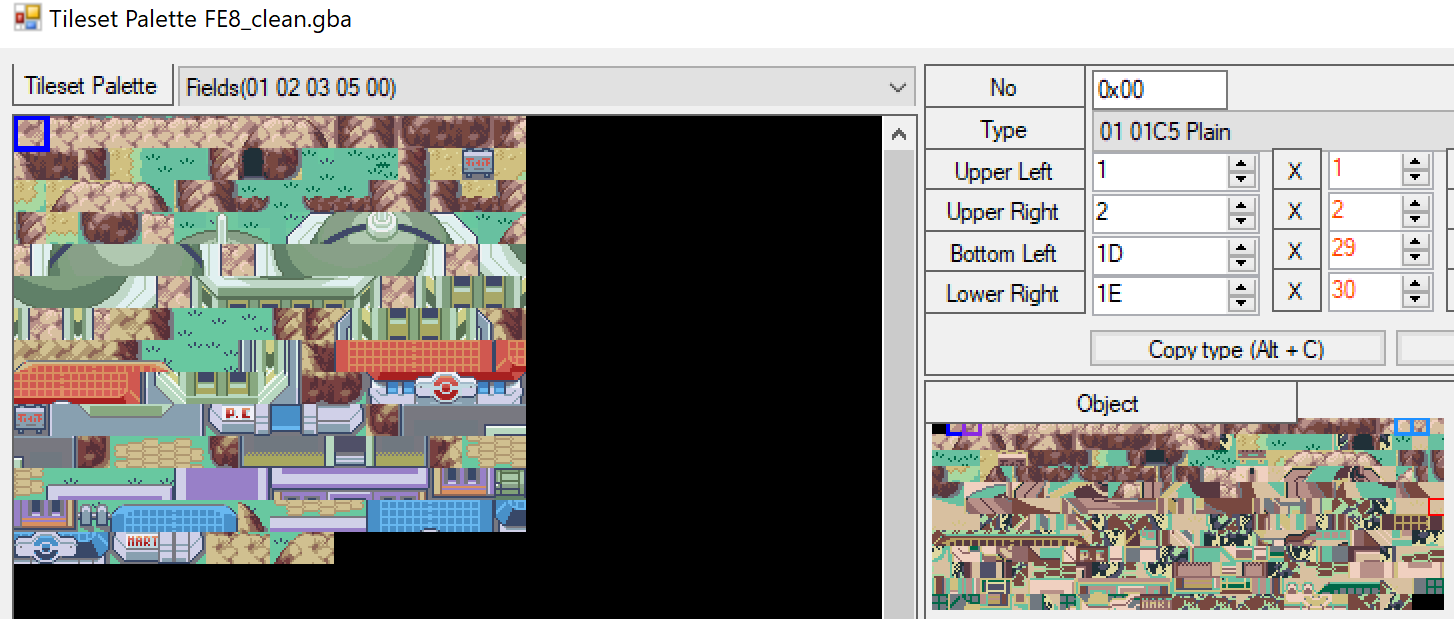
FEBuilder → Tools → Decrease Color Tool → Type 7
If you need tile animations, you may wish to reserve a palette (PaletteNo 4).
Step 3.
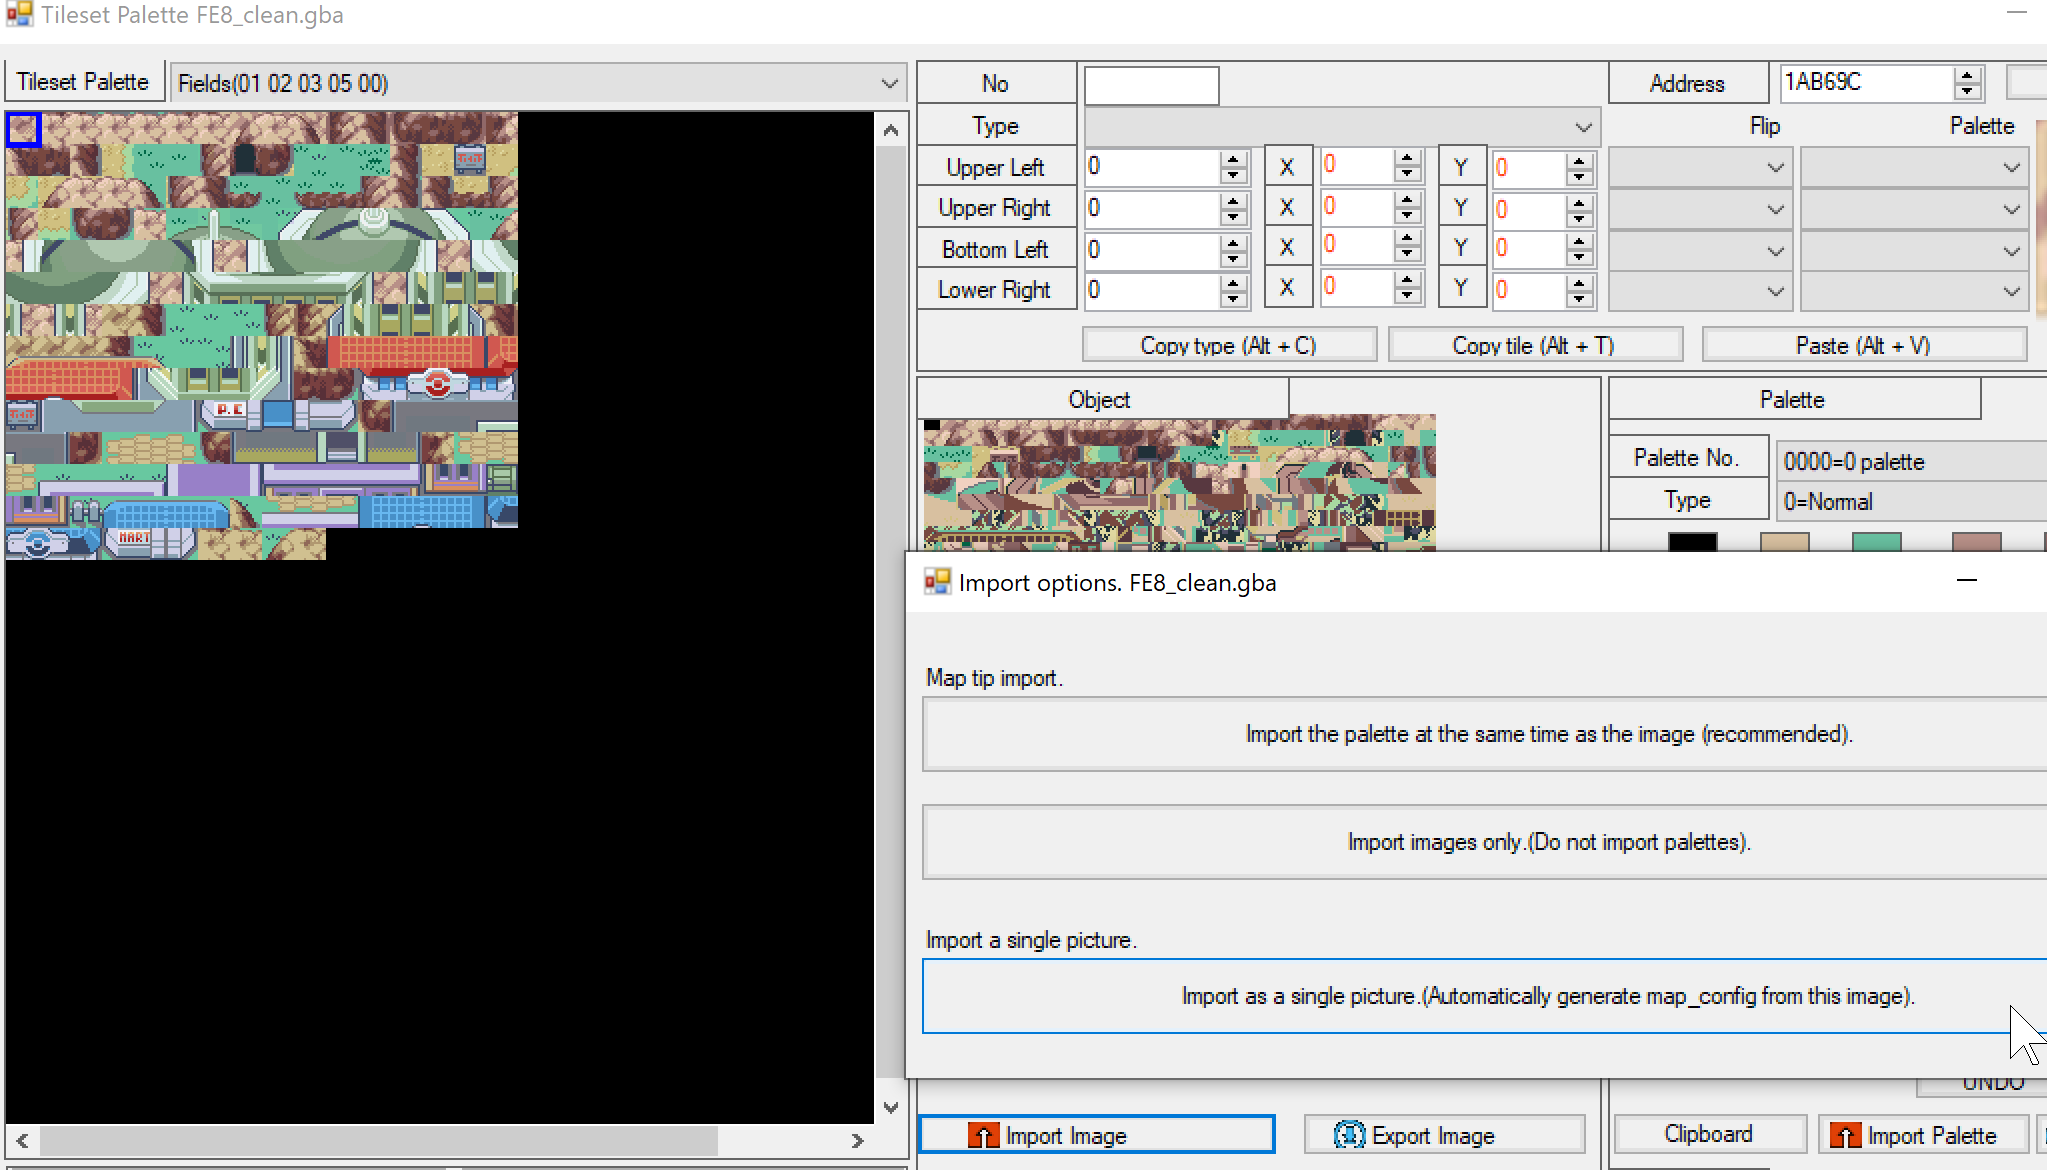
FEBuilder → Map Editor → Edit Palette → Import as single image
Step 4.
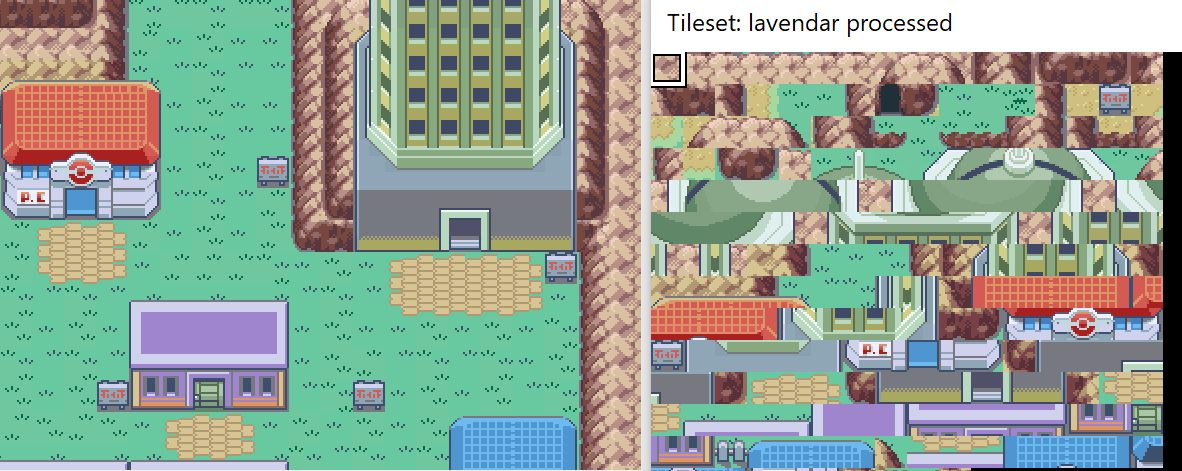
FE_Map_Creator
a) File → Load Tileset → Processed Tiles.png
b) File → Import Map Image → Source Image.png
c) File → Save as YourMap.tmx
Step 5.
a) FEBuilder → Map Editor → Import your .tmx
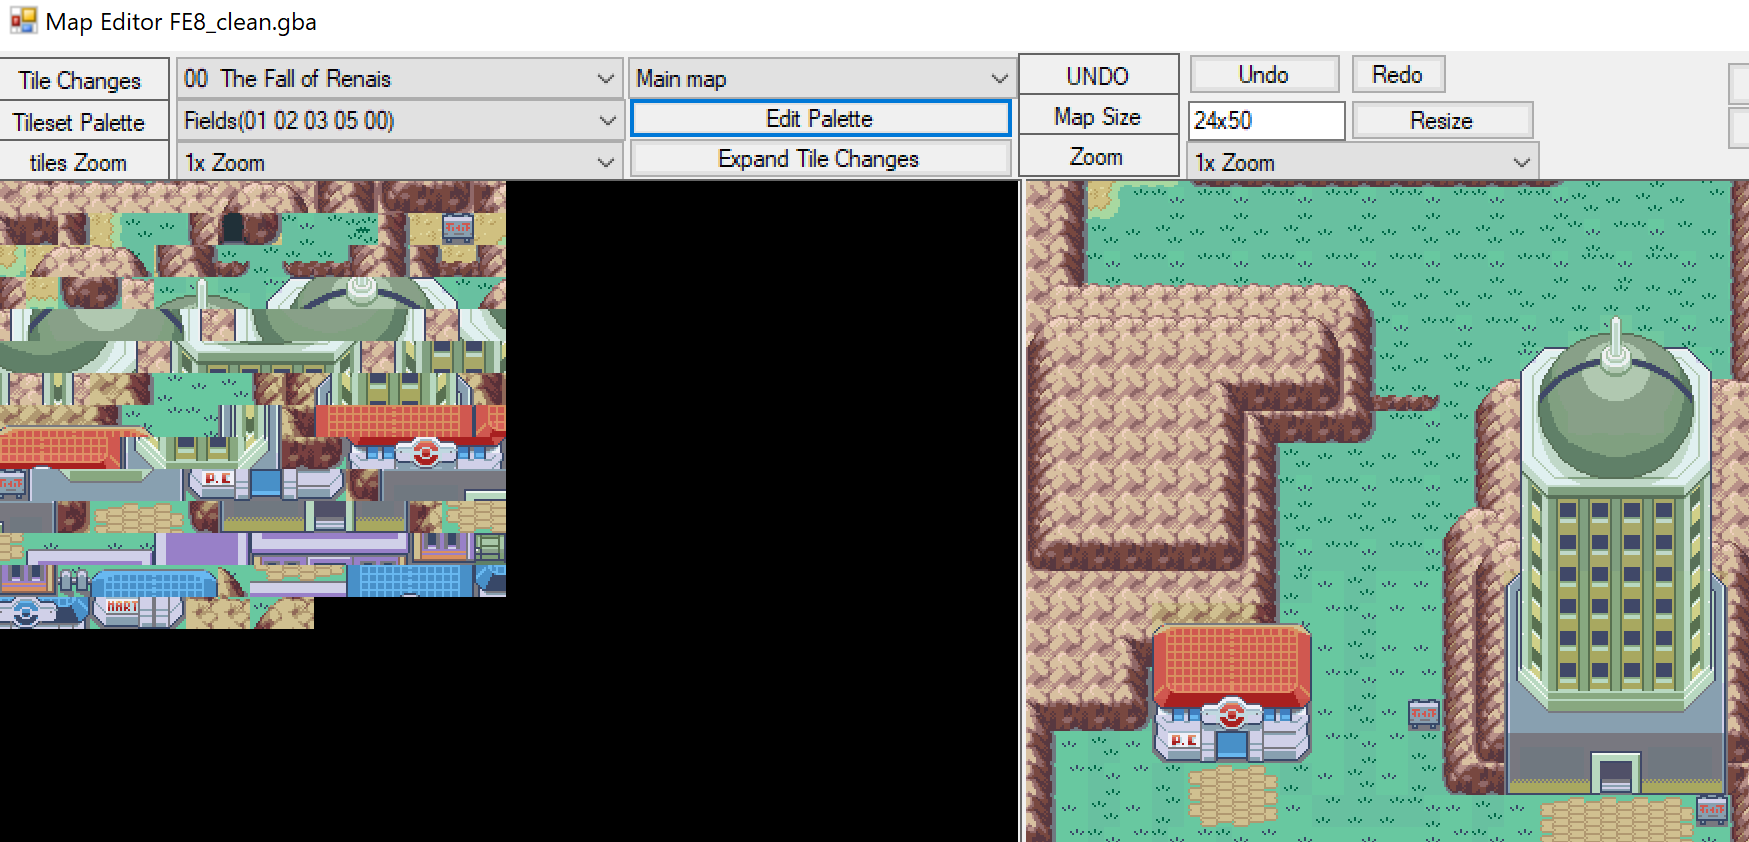
b) Set the terrain for your tileset.
Conclusion
This reduces the workload of setting the terrain by around 75% and allows for maps bigger than 32 in a dimension without manually repacking the image. That’s a win-win for me.