This is a very basic tutorial on how to use my map formatter script. I’d consider this to be a rough starting point rather than a complete tutorial.
This script converts a map made in the Tiled map editor into the format the FE5 expects a map to be in. After converting, you’ll have to do some extra work to get everything working in-game (this’ll be covered later).
First, let’s make a new map in Tiled. Maps must be orthogonal, finite, and should have a tile size of 16x16px. For simplicity I suggest selecting CSV as the tile layer format, too.
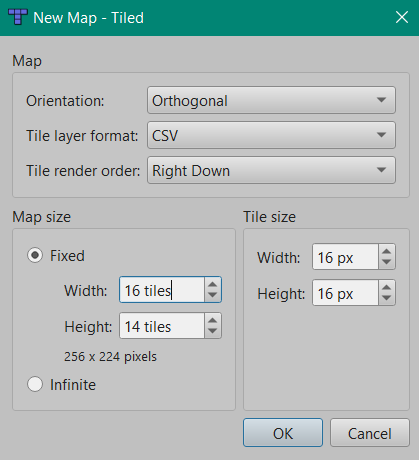
It’s important to consider that the minimum map size is 16x14 tiles (which is the size of the screen). The max size for a map is (x rounded up to the next multiple of 2) * (y rounded up to the next multiple of 2) <= 1536, so try not to make maps that are bigger than 40x38 or whatever. Additionally, you should remember to account for the impassible 1-tile border that FE5 has around its map edges when designing a map.
Since the layout of Tiled is editable, things might look a bit different on your end. I’ll try to explain how to find subwindows and settings, but you might have to do some looking around yourself.
Anyway, ensure that you have the Layers tab visible (on the toolbar, View → Views and Toolbars → Layers). Your Layers tab should look something like this:
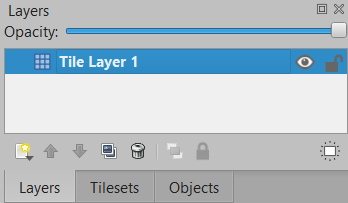
It’s important that you name this first layer Main (double-click the Tile Layer 1 text and change it to Main). Each map gets one Main layer. Any additional layers are treated as tile changes (which will be covered later).
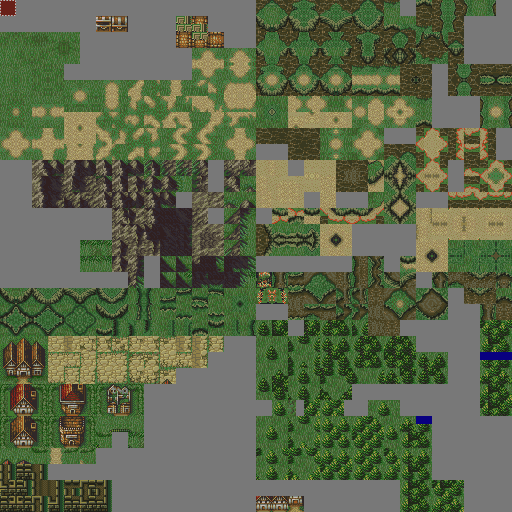
Next, we’ll need to specify which tileset the map uses. Tilesets are 512x512 images that contain all of the possible tiles that we could use on our map. Each map can only have one tileset. They look something like this:
First, ensure that you have the Tilesets tab visible (on the toolbar, View → Views and Toolbars → Tilesets). By default your Tilesets tab should look something like this:
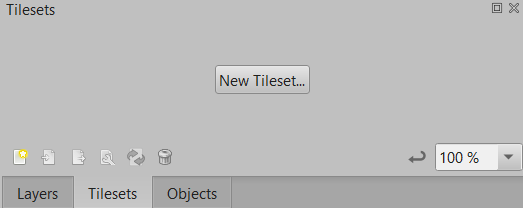
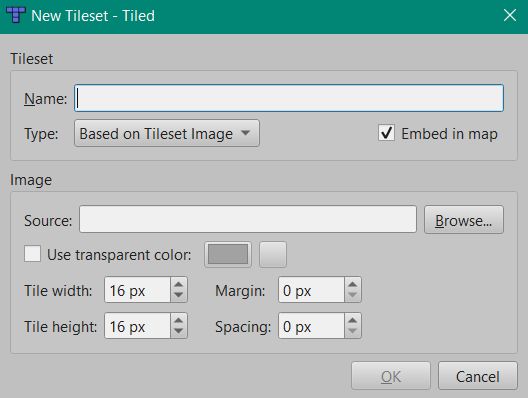
Click the New Tileset... button and you should be greeted with something like
Where it says Source: under Image, click the Browse... button and select your tileset image. Afterward, some parts of the window should be filled in automatically and you should end up with something that looks like
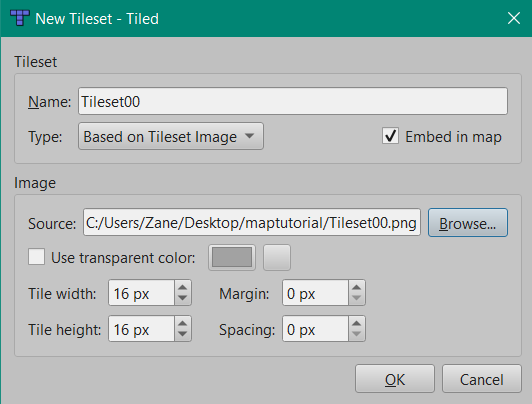
Under the Tileset section, the Name field can be whatever you want (it doesn’t matter, and by default it matches the filename of the specified tileset image). You should ensure that the Type is Based on Tileset Image and that you Embed in map rather than save the tileset as an external .tsx file.
Under the Image section, be sure that your tiles are 16x16px and that your margin and spacing are 0.
Afterward, your Tilesets tab should look something like this.

Now, you can click on tiles within this tab and then click on spaces on the map to place them down. You should play around with Tiled and maybe read the doc on their website if you’ve never used the program before.
It’s important to note that you can’t use Tiled’s tile flipping or rotation features when making these maps.
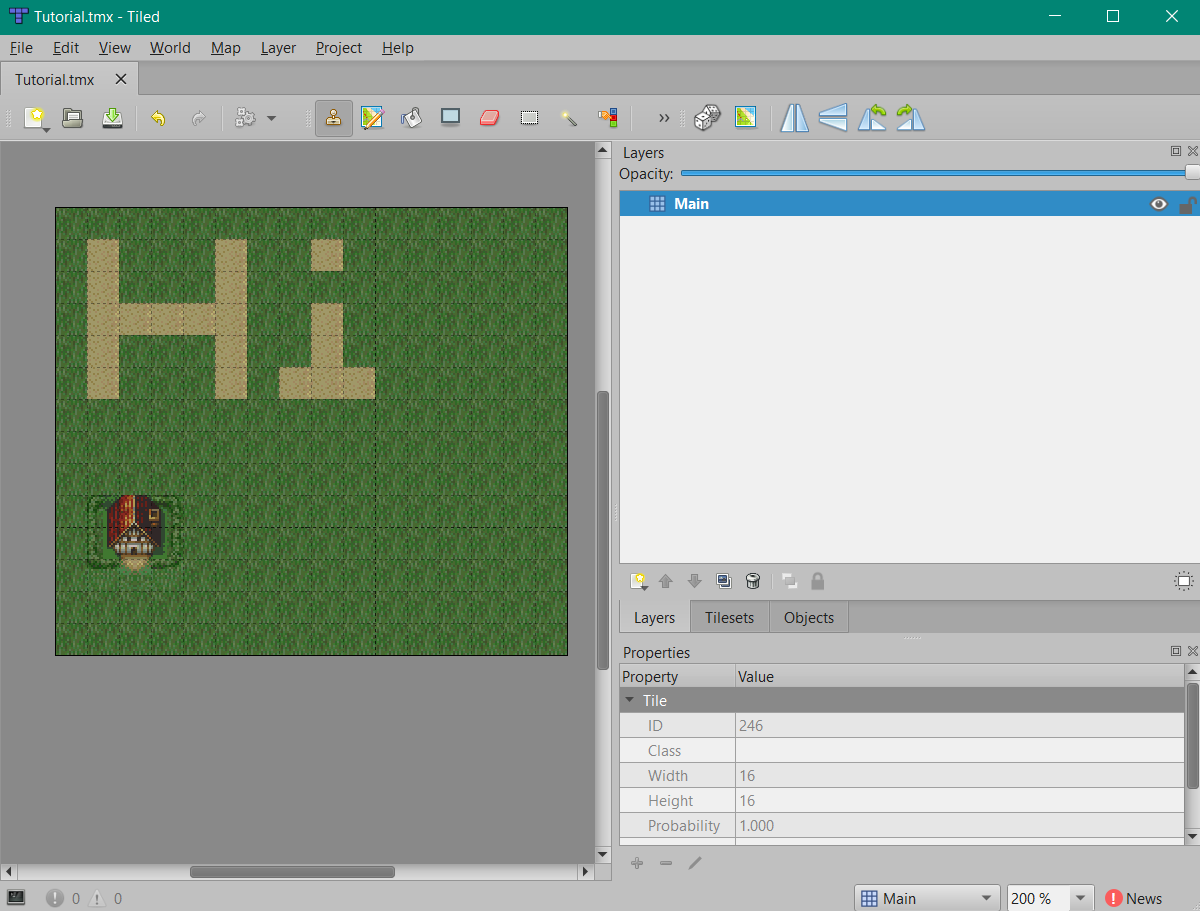
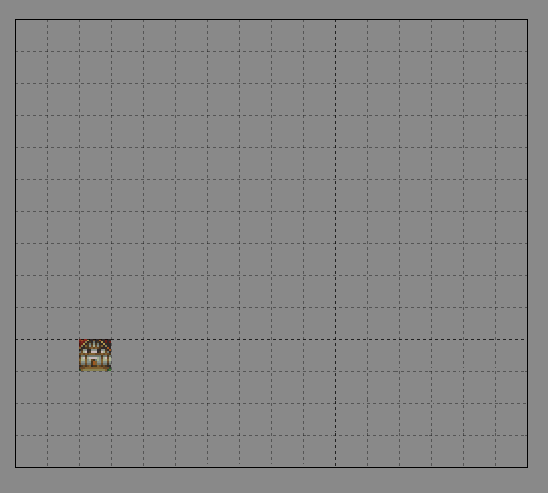
Make your map and be sure to save it using the Tiled map format .tmx. Here’s my masterpiece:
To actually use the format_map.py script, open your terminal and run
python path/to/format_map.py path/to/map.tmx
If I’ve got both the script and my map (named Tutorial.tmx) in the maptutorial folder on my desktop, I’d type something like
python C:\Users\Zane\Desktop\maptutorial\format_map.py C:\Users\Zane\Desktop\maptutorial\Tutorial.tmx
I’m not here to teach you how to use cmd/powershell/bash/etc., run python scripts, or generally understand your computer.
Since this example map has no tile change layers, the script will create a single file named TutorialMapMain.bin (and for you it’ll be named based on your map’s filename). You’ll need to compress this file before you can use it. I suggest using fe45_comp, which you can find in here somewhere. When configuring your chapter’s chapter data table entry, the Map field should be set to refer to wherever you put this.
Let’s add some a tile change layer for visiting the village. In the Layers tab, click the New Layer button (the icon is a page with a gold star) and make it a Tile layer. You can name your tile change layers whatever you want as long as they’re not named Main.
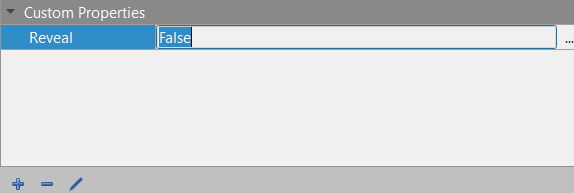
By default, tile change layers will reveal hidden units underneath them (this is used for rooms that are hidden until a door is opened). If you want a layer to not reveal units, you can add a property to the layer by right-clicking the layer’s name and clicking Layer Properties... to open the properties tab. Then, click the plus icon under Custom Properties.
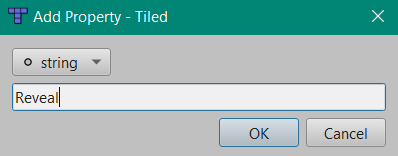
Be sure that the type is string and that the name of the property is Reveal. Set the value to False.
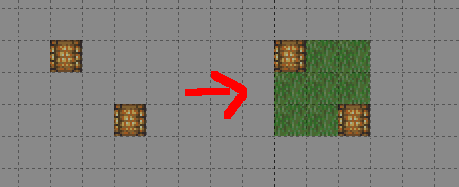
Anyway, back on the Layers tab, be sure that your tile change layer is selected as the active layer and place down the tiles you want to appear when the change is triggered.
Be sure that your change consists of a single rectangular region of tiles. You’ll need to fill in any transparent areas between tiles if necessary, such as
Saving and running the script again should give you two new files. The first ends with MapChanges.bin and this’ll need to be compressed before it can be used. This is for the Map Changes field of the chapter data table.
The second file ends with MapChanges.asm and contains a number of definitions that look like
TutorialChange_VillageVisited = 0
that you can use when writing your chapter events that expect tile change IDs. You’ll notice that the names of these definitions are generated based on the map filename and the change layer’s name.