If you are trying to make sprites as portraits and don’t know where to start or how to be effective, worry not because this tutorial might help you. I will give you my advice, as well as tips and tricks I wished to have known before making portraits. I’ll explain in further detail below, step by step.
This guide will be about the software known as usenti, it is very useful to make character portraits in the GBA style. It can be used instead of your regular editing software such as “MS Paint” or “Photoshop” but also as a complementary way. There is no wrong way to go about it.
I believe, if you want to make animations sprites, it is not the best software, I heard about asperite, but I haven’t used it myself, so I can’t really tell.
I’m no expert so if any of the information I provide is incorrect, please feel free to tell me about it.
Let’s take for the sake of this demonstration, my newest original character, named Maurice.
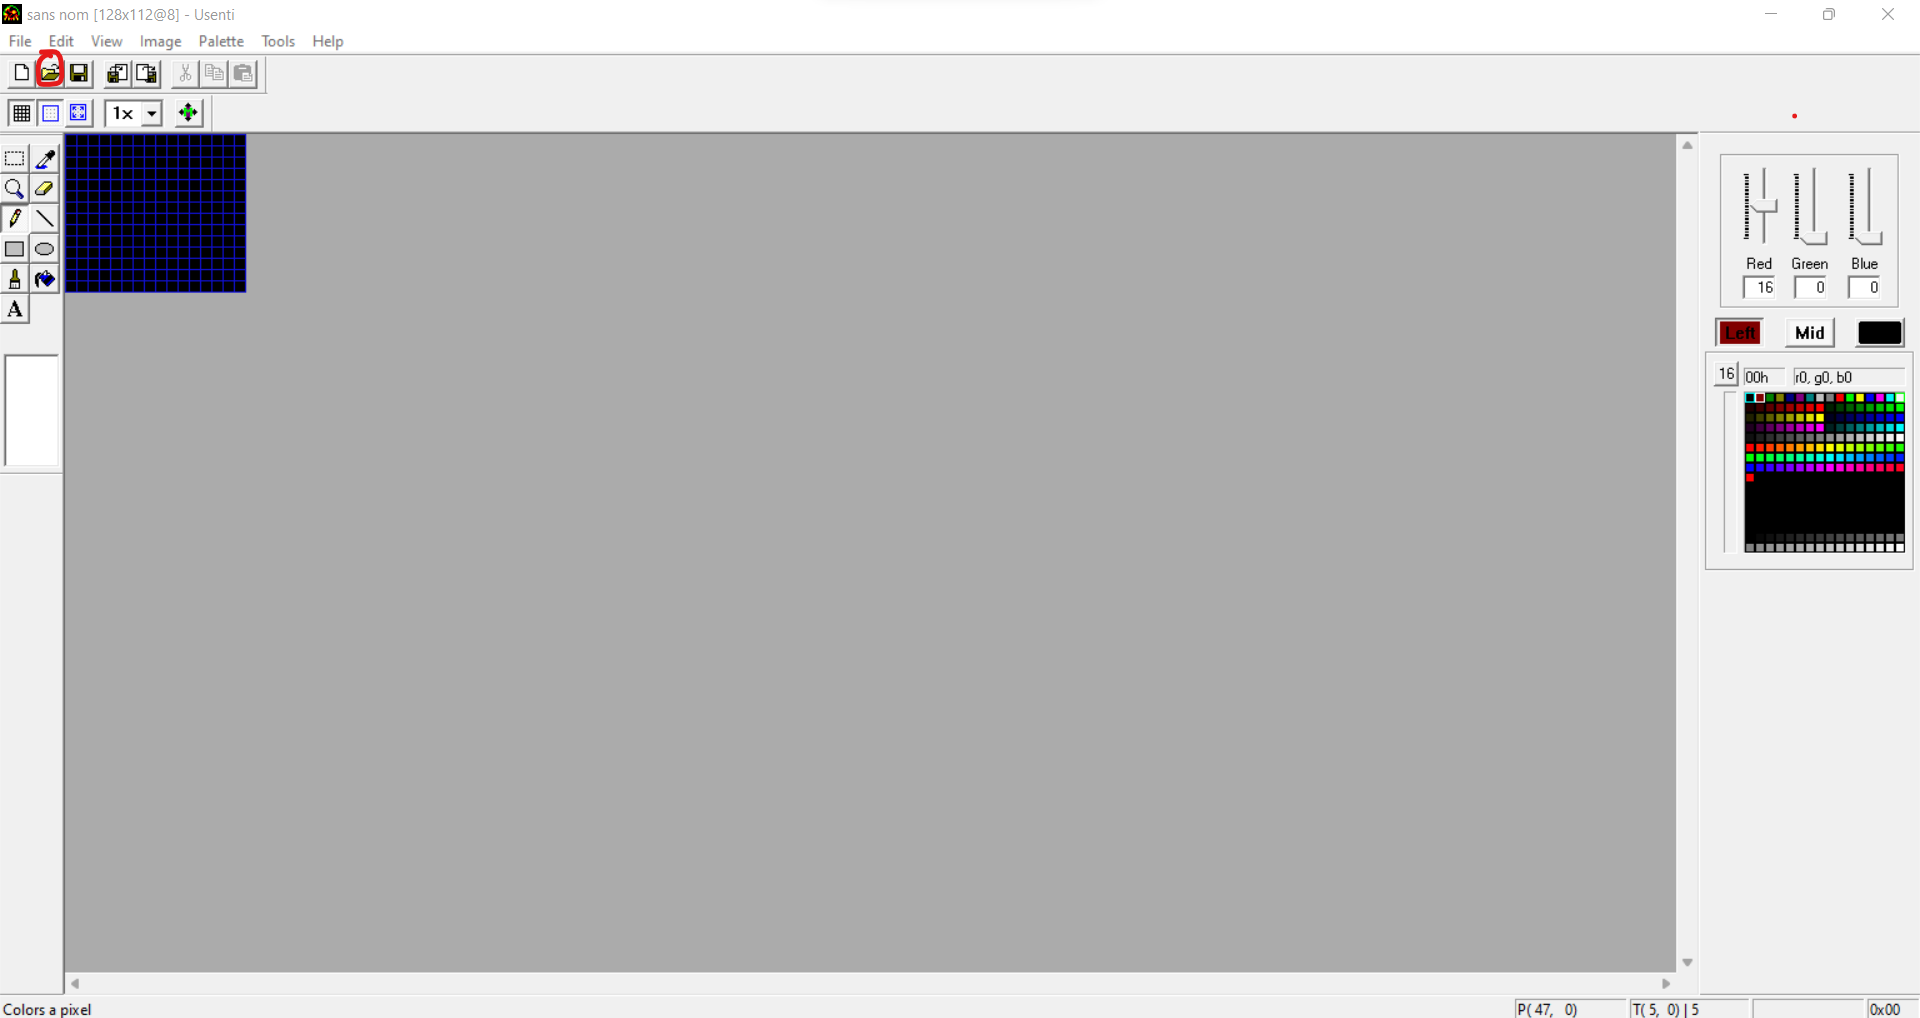
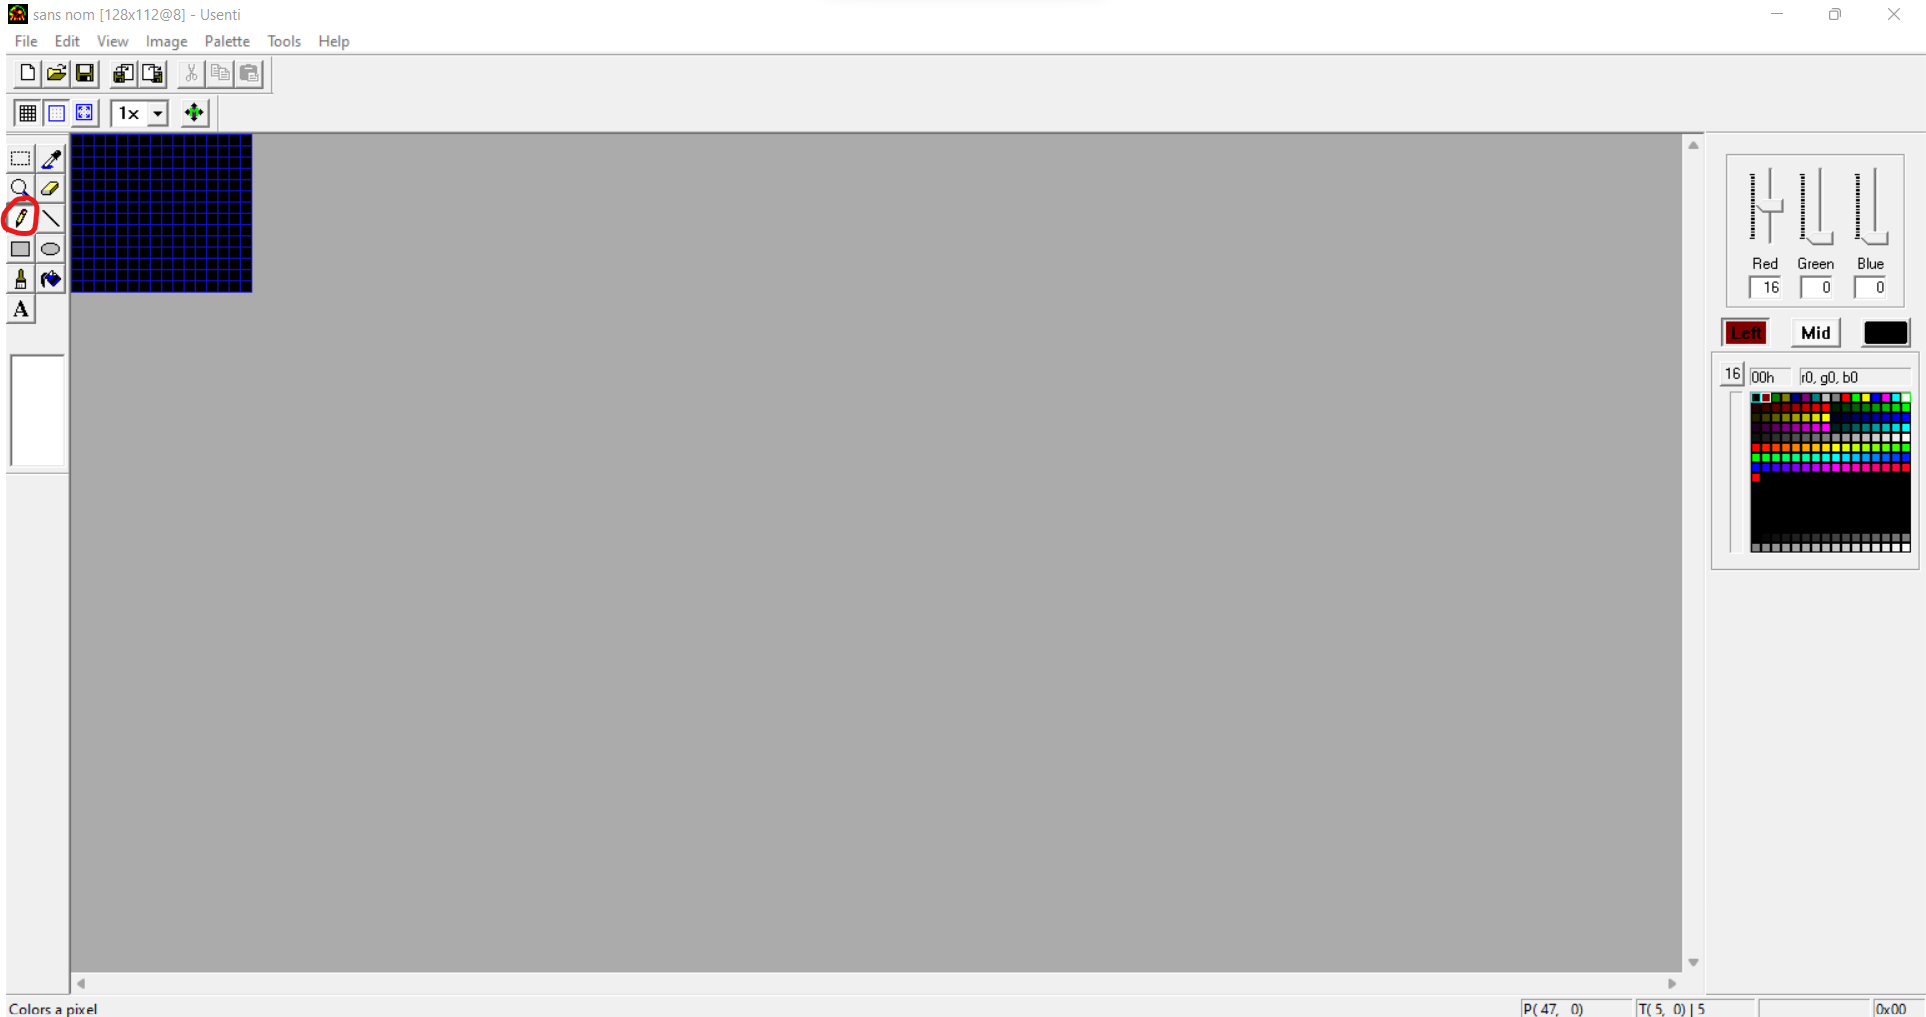
When opening usenti, you will be greeted with this menu.

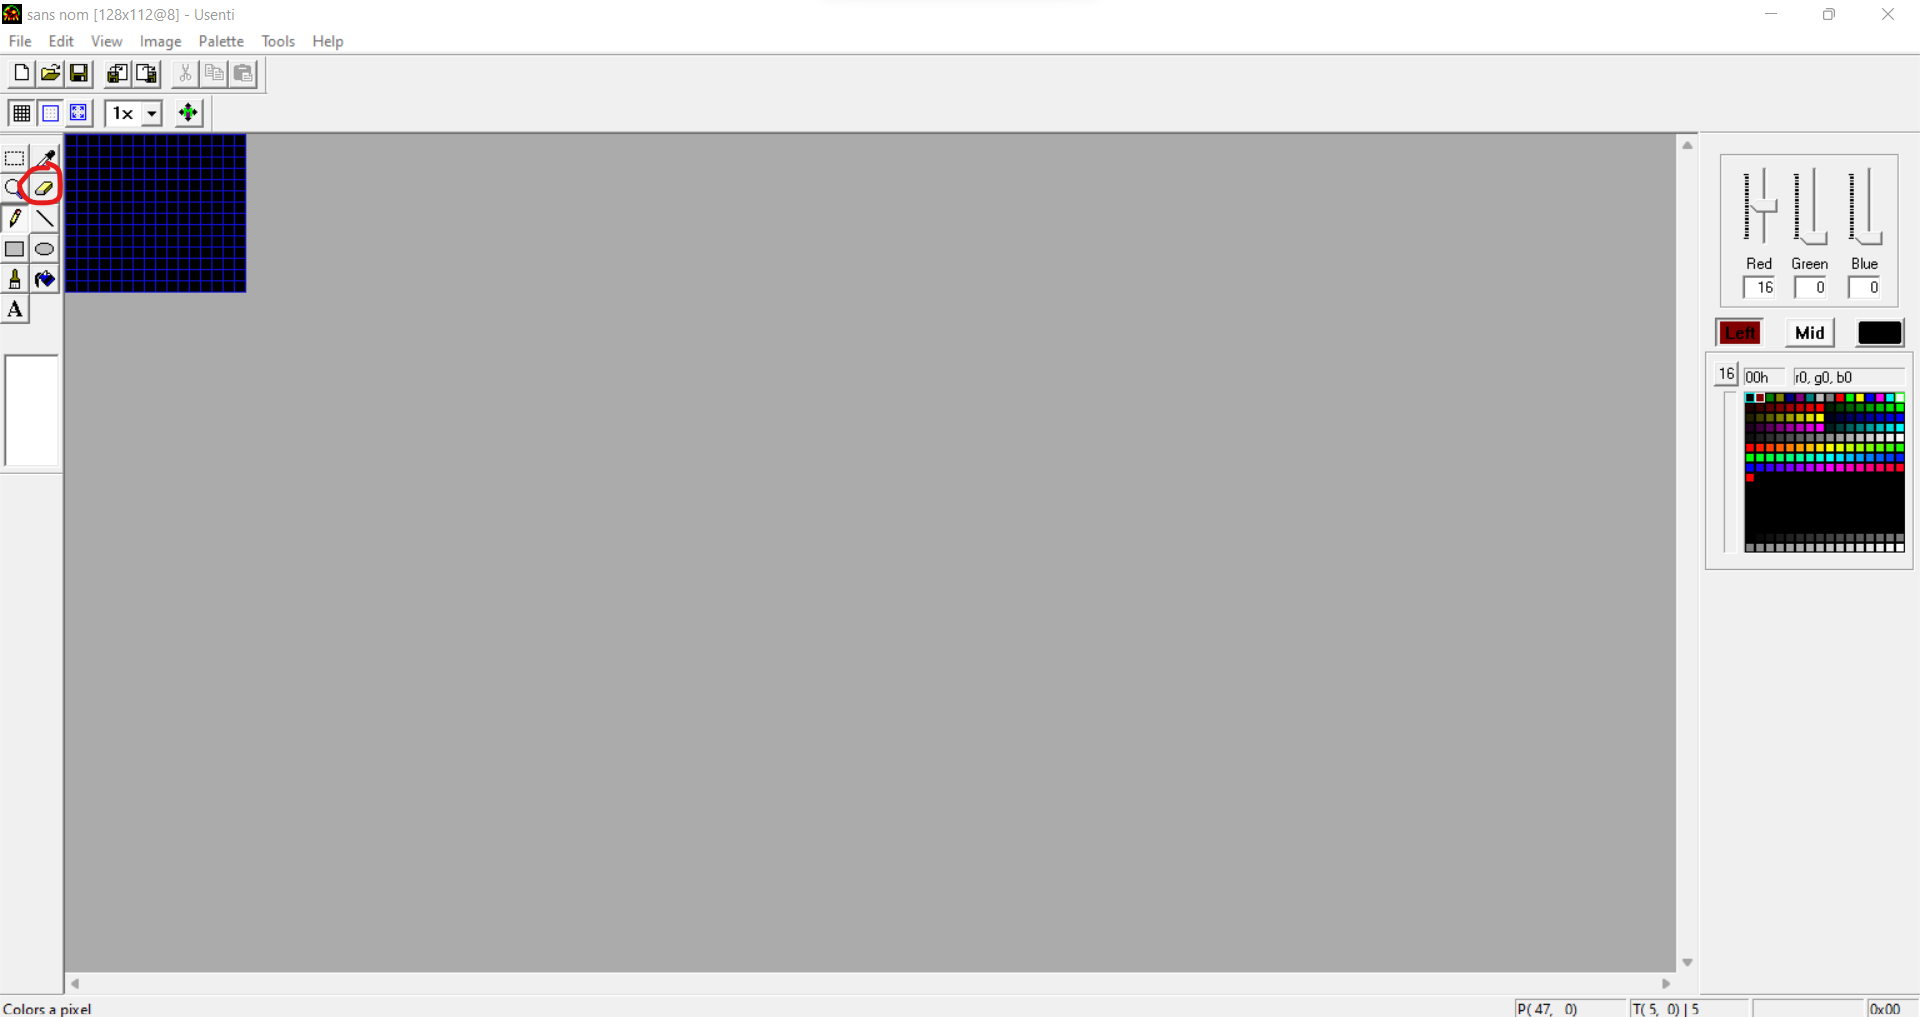
It might seem disorientating at first but fear not, I’ll go over every basic functionality, please feel free to skip over some parts because some might be obvious but I wish to be thorough. Please focus on the red circles to follow the instructions.
Basics

Opening a file
This option allows you to select the file you want to work with.
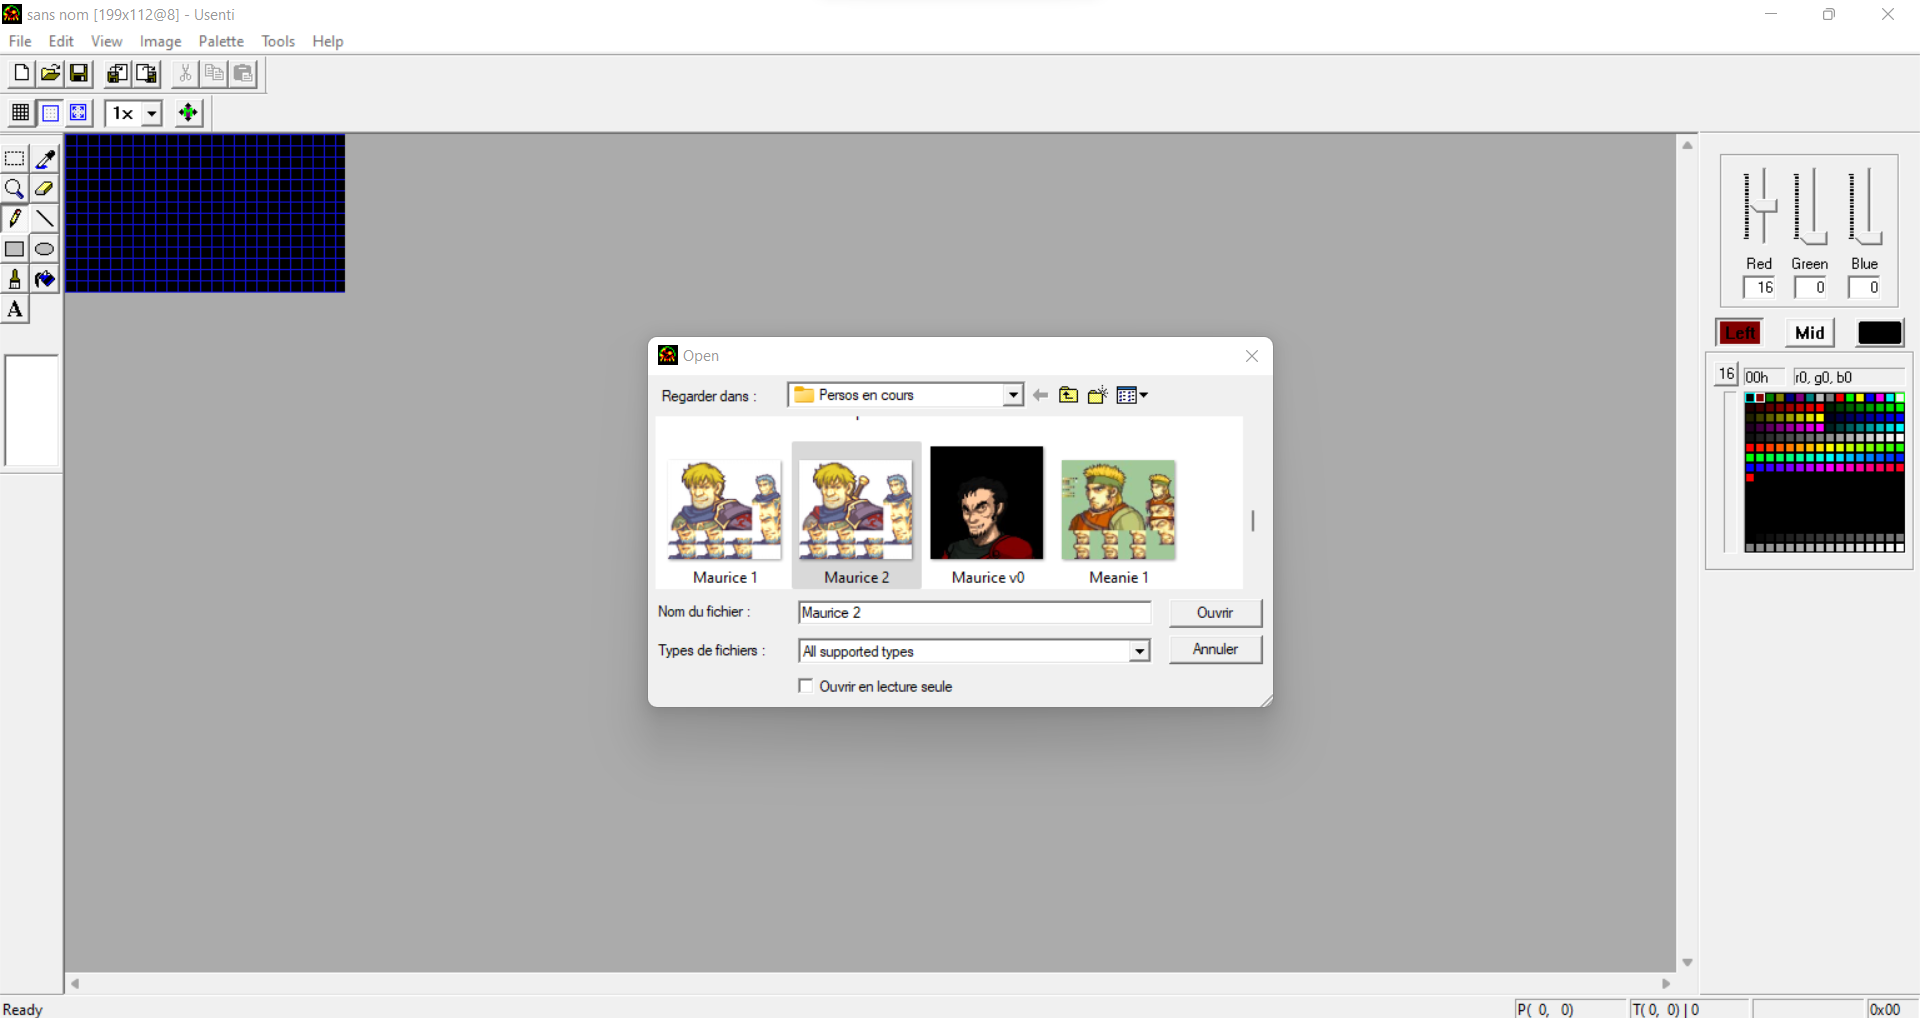
Then select the file you want and click on “Open”.
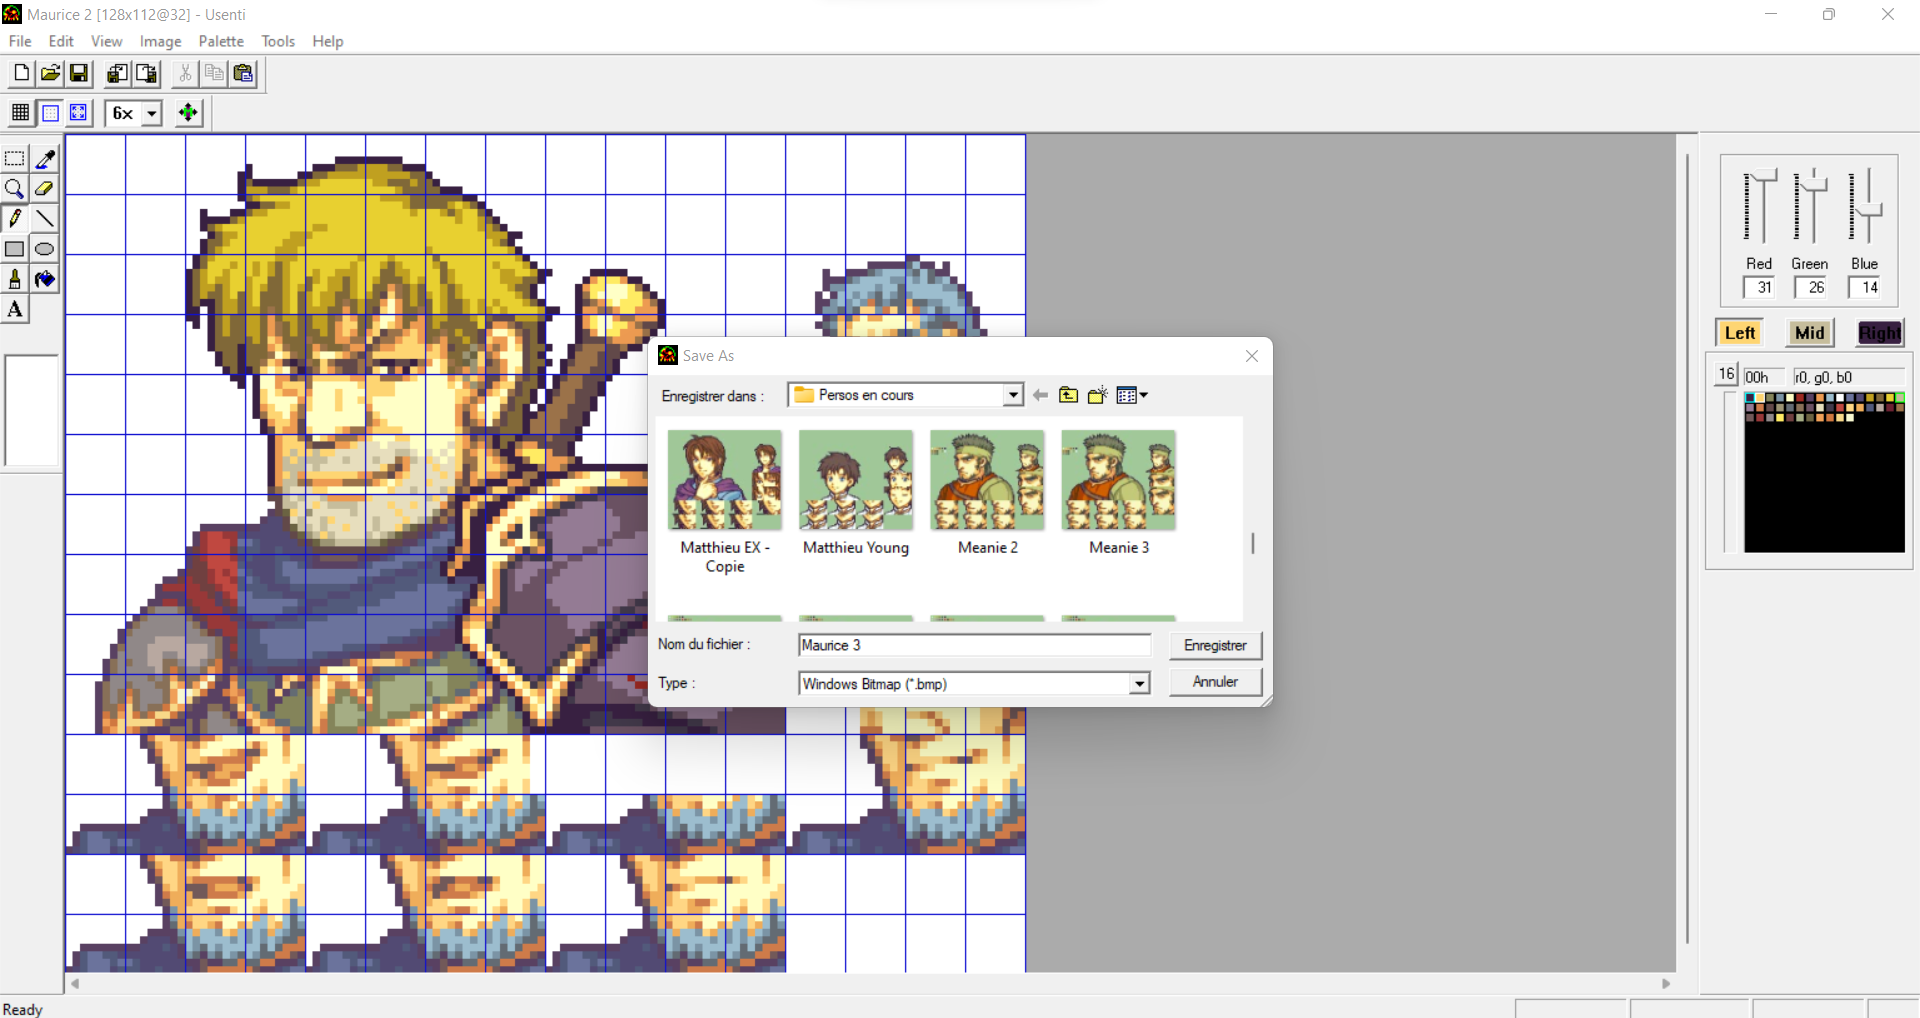
Saving

This option allows you to save your work, but beware, the format might not be the one you want for your file, so I would recommend clicking first on “File”, then “Save as”, you’ll be able to save your file as a .bmp file as shown below but you will likely want your file to be in a .png format.
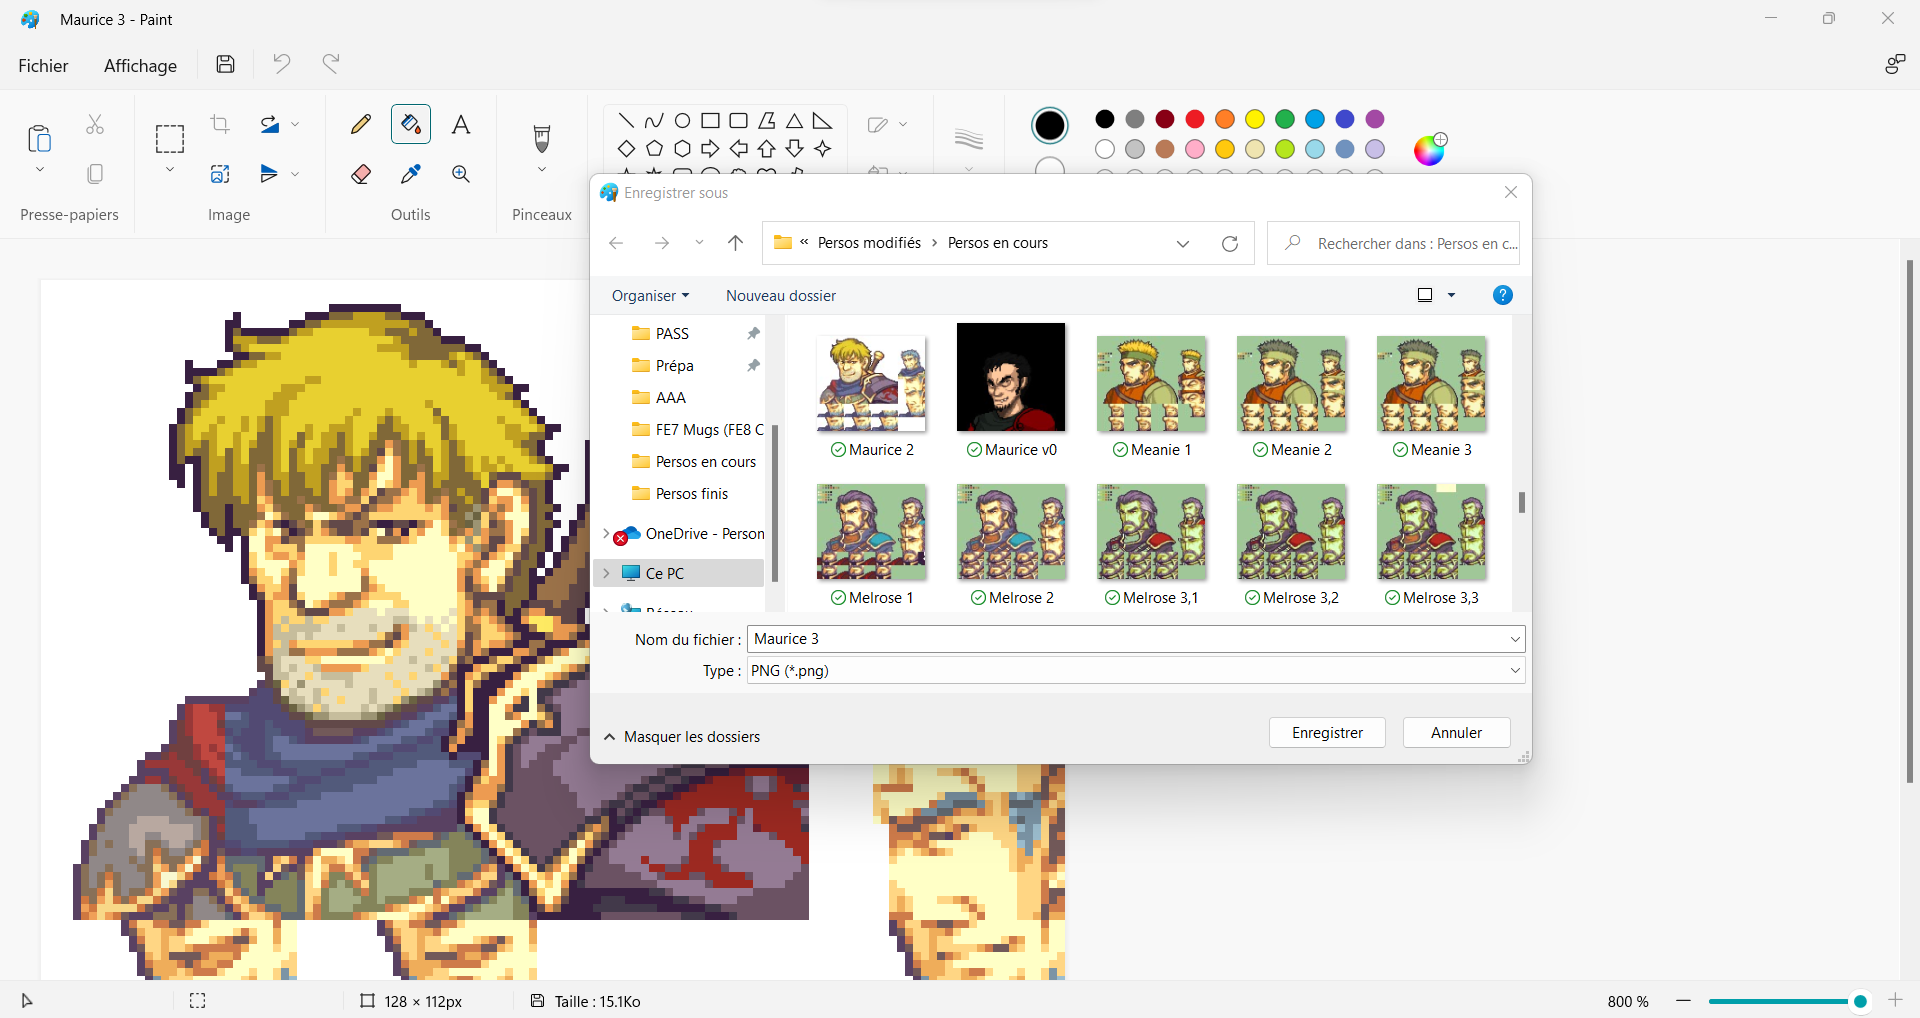
To do so, please open the software “MS Paint” or any other alternative you are using, then open the .bmp file and save it as a .png file as shown below.
Now, if you open your file as a .png on usenti, you’ll be able to see the progress you made with the colours, detailed further below.
Zooming
This option allows you to zoom your work, I would recommend x6 for seeing the whole sprite, x8 to better spot details and even x16 if you want to have pixel-perfect precision.
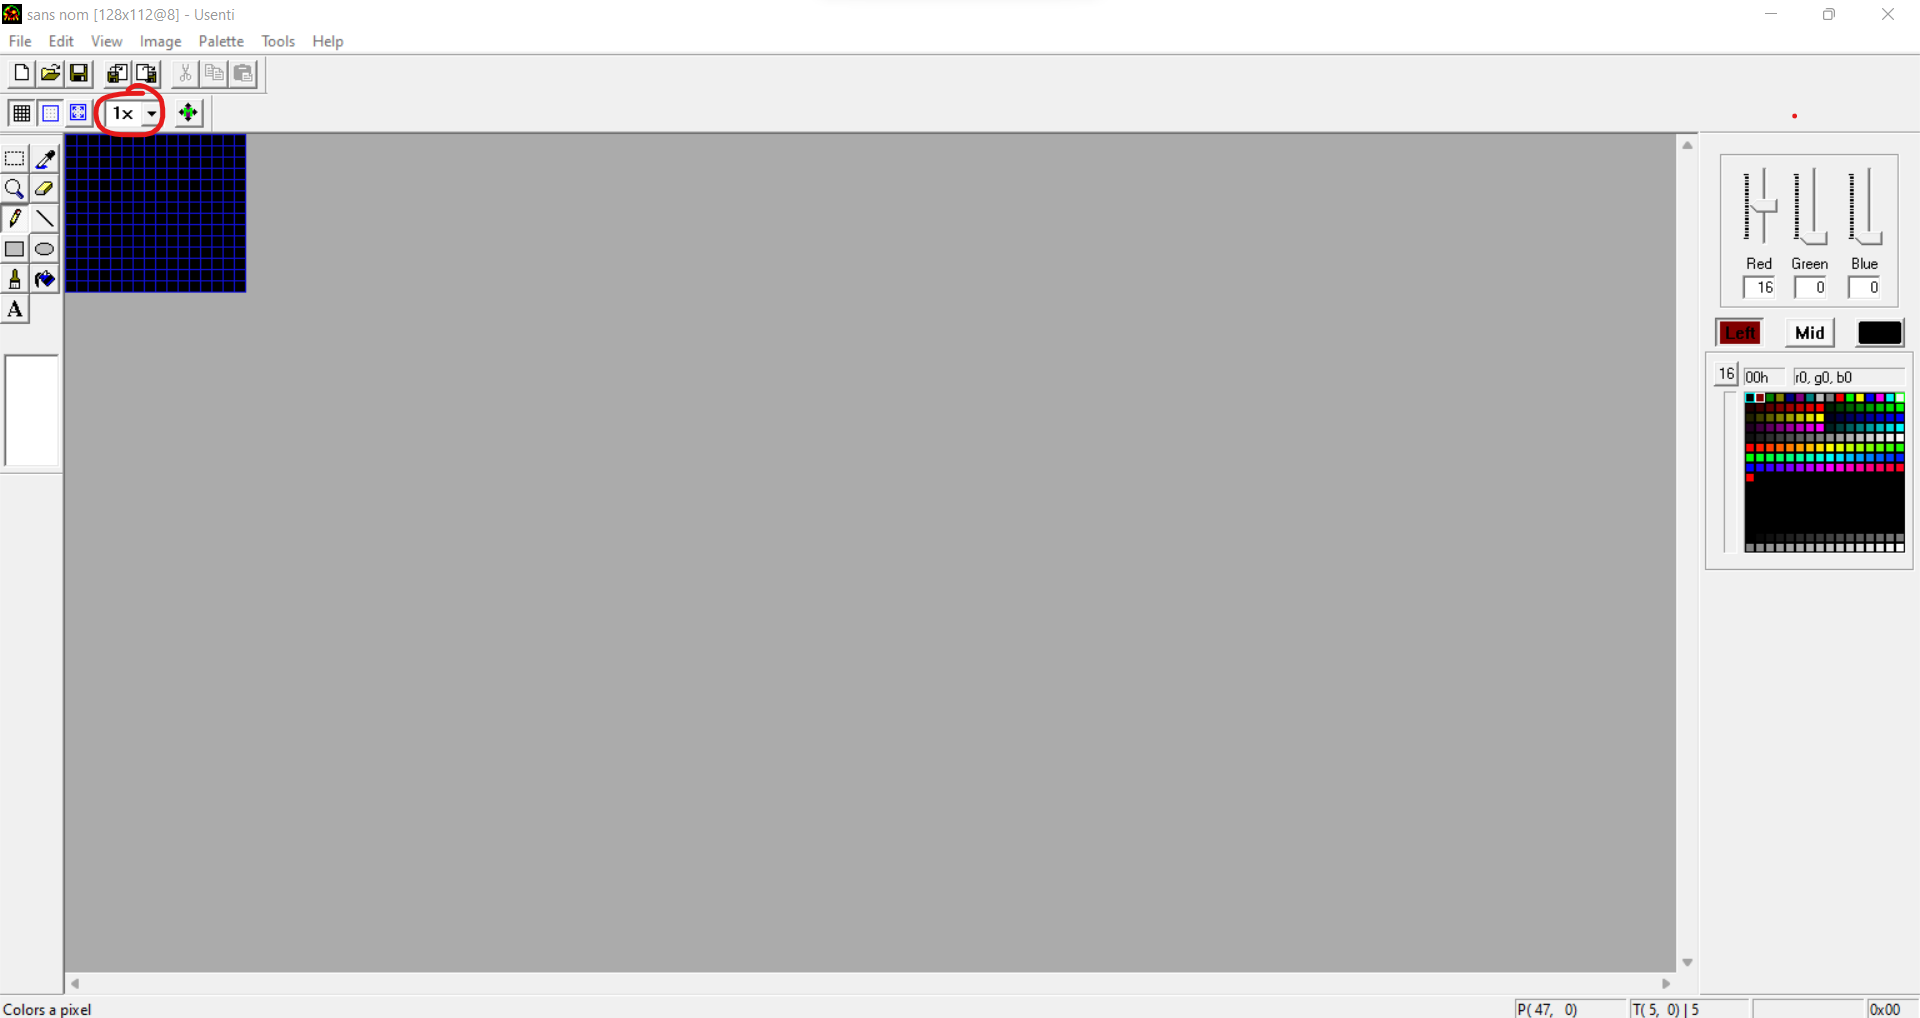
Grid
There are two types of grid, by default, I believe they are both activated. The black grid, on the left, will delimitate every pixel with a black outline. Whereas the blue one, on the right, will delimitate a square of 8 by 8 pixels, it will be useful later.
You can turn them off by clicking on each of them.
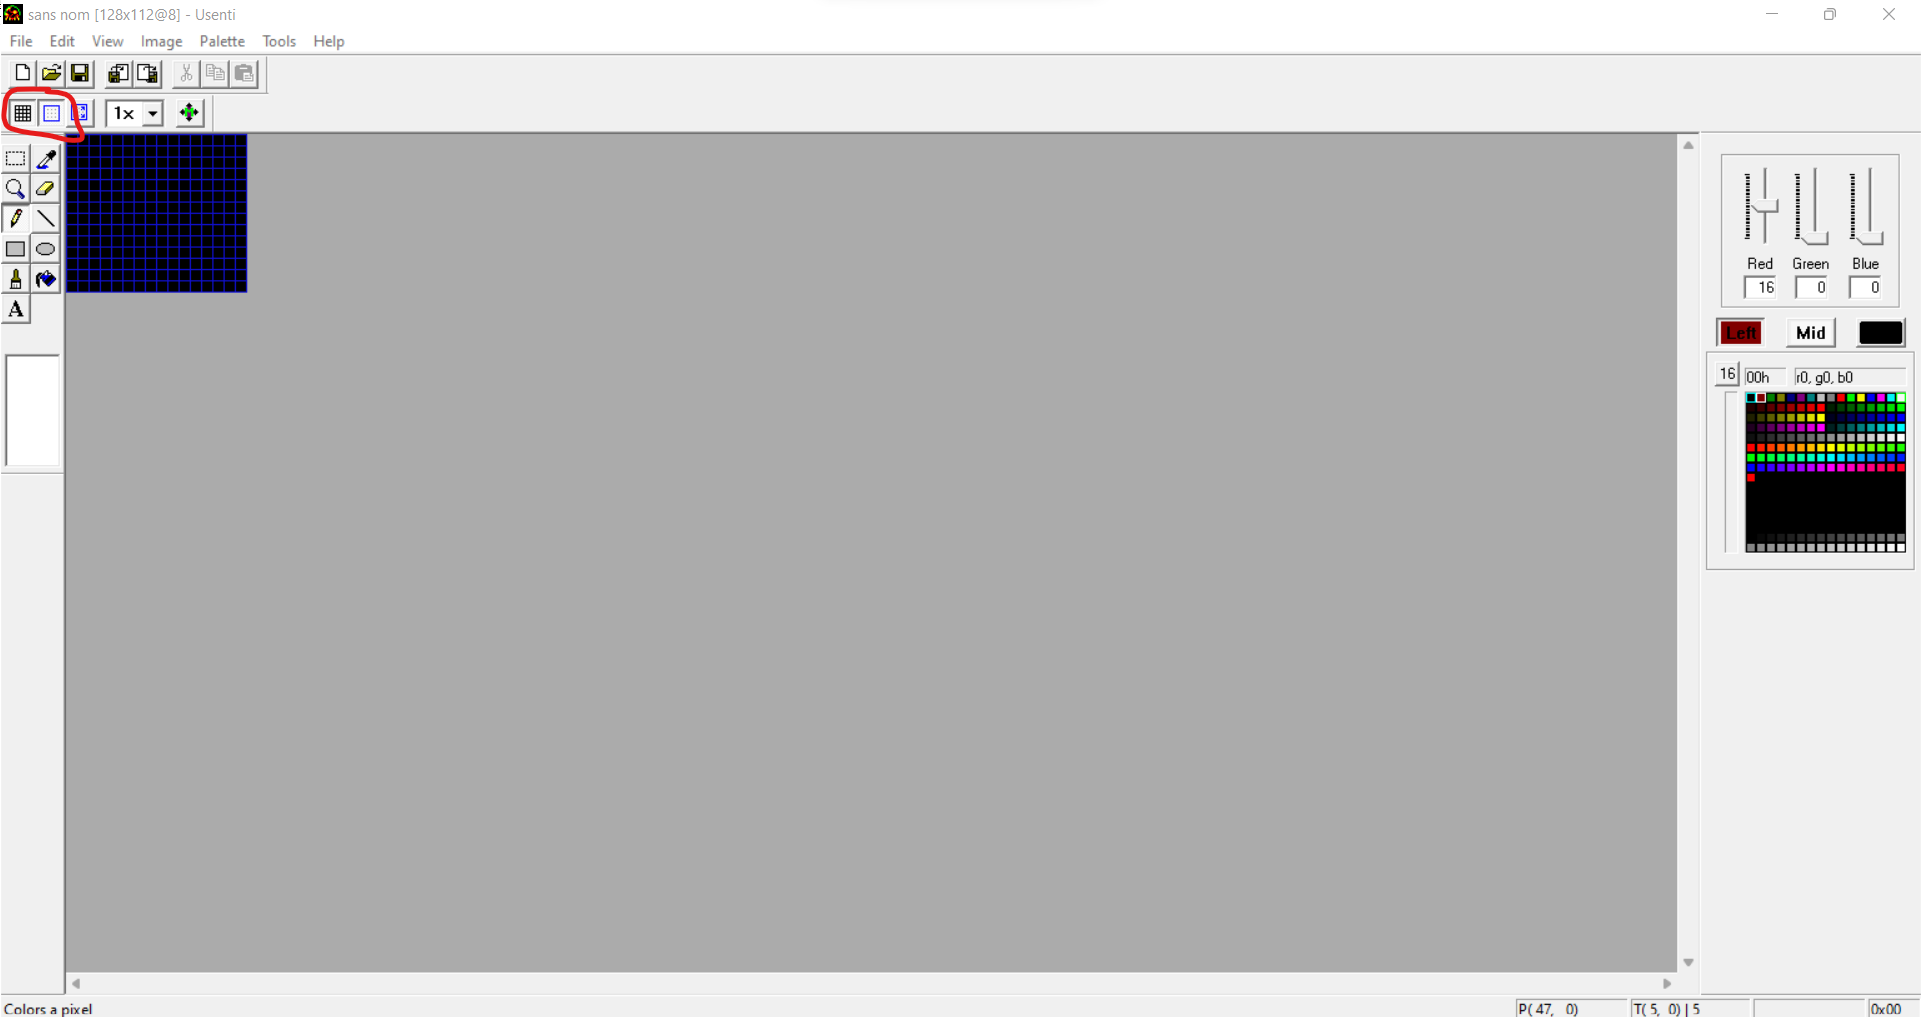
Cut, copy and paste
These three options allow you to “cut” (delete a selected portion and keep it as a paste option), “copy” (save a duplicate of a selected portion as a paste option), and “paste” which will create the selected portion saved as a paste option.
There are keyboard shortcuts for all of them, “Ctrl+X” for cut, “Ctrl+C” for copy, and “Ctrl+V” for paste.
Eraser
This option allows you to colour a bunch of pixels with the colour selected as the background colour, useful for deleting unwanted sections. You can make its size vary from 4 by 4 pixels to 16 by 16 pixels on the sub-menu that will open on the left side of your screen when selecting this tool.

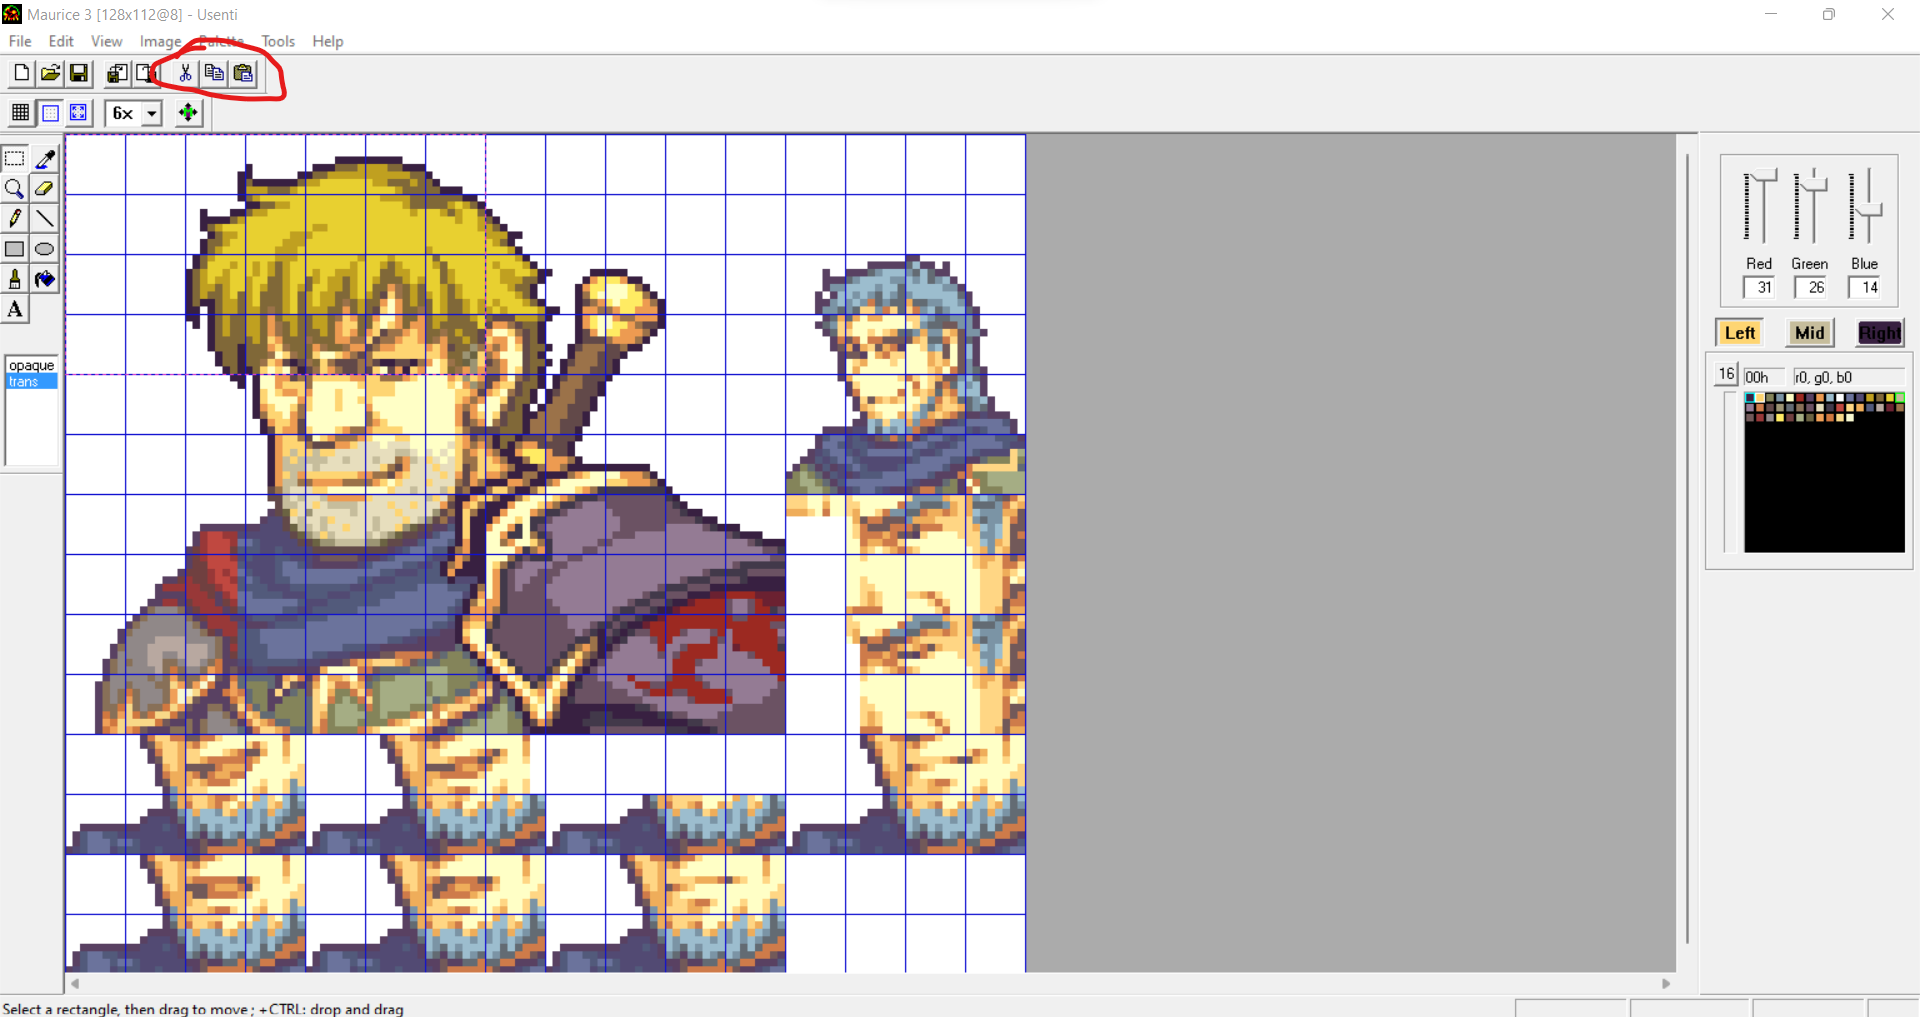
Square
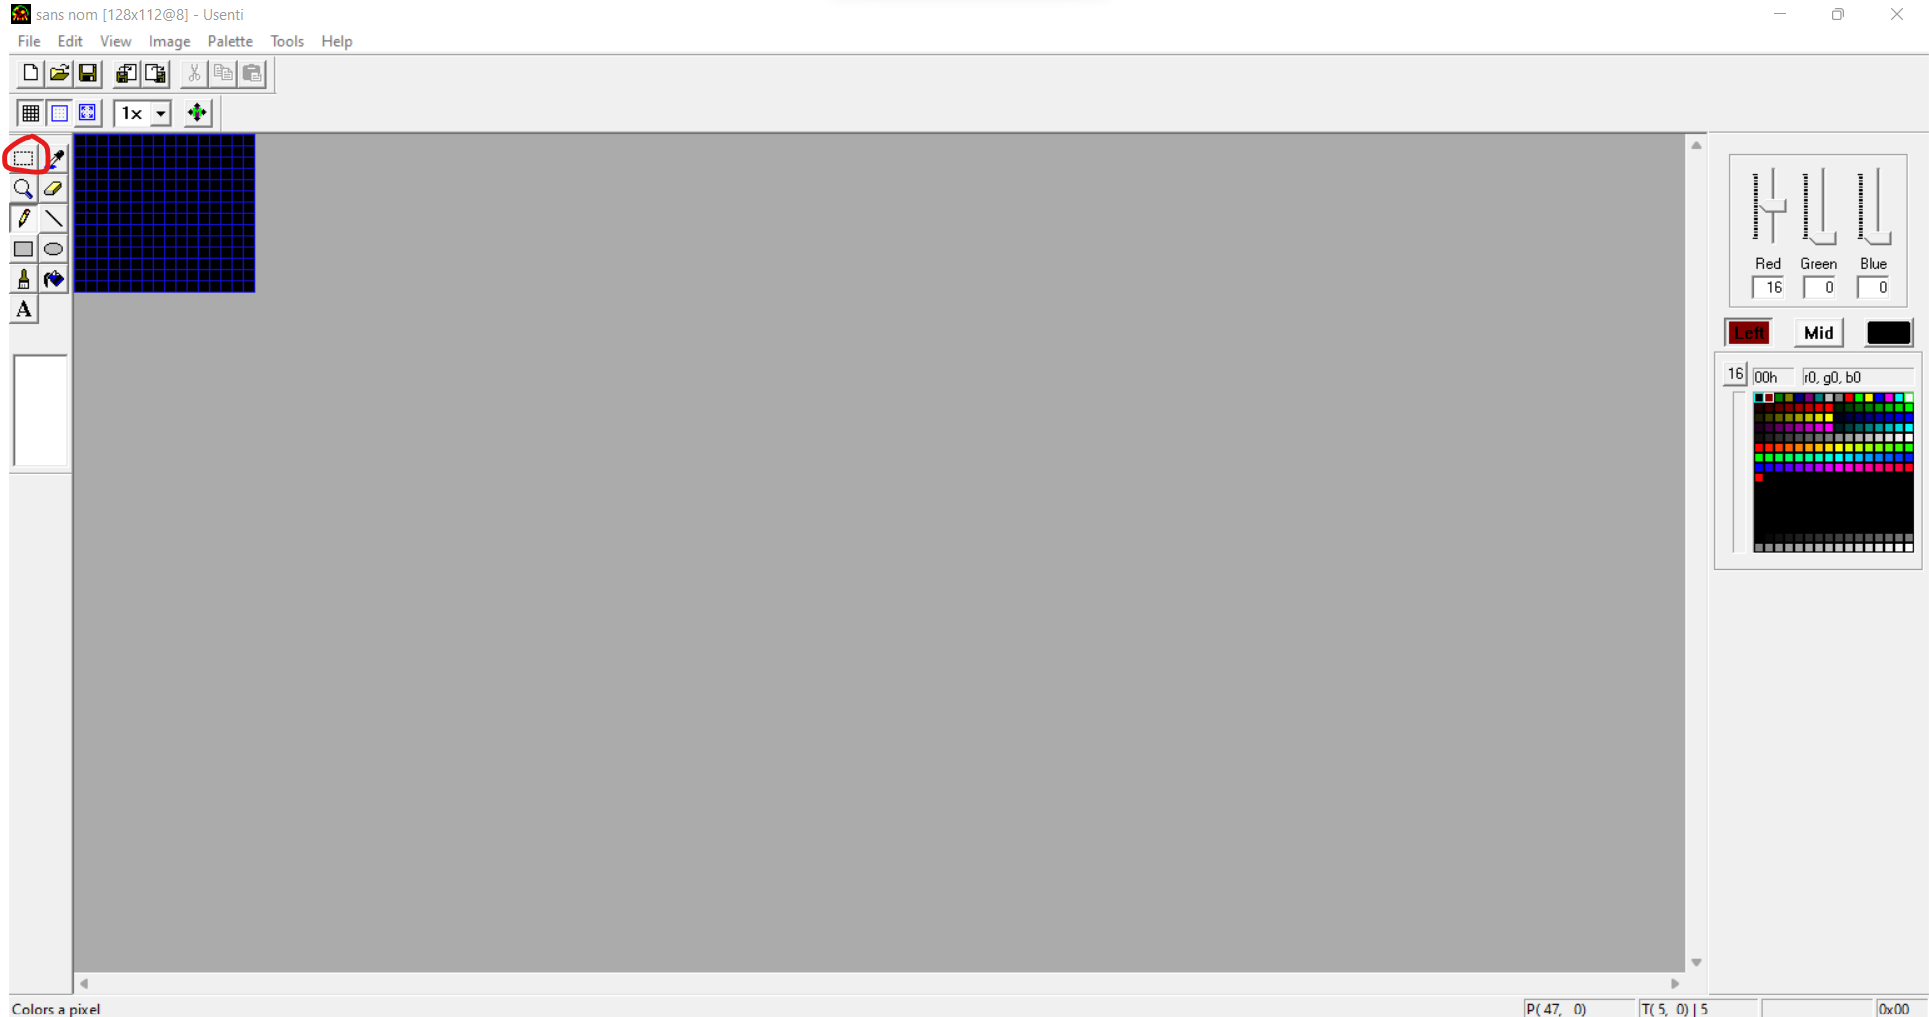
This option allows you to select several pixels in a rectangle shape, you can make its size vary depending on how much you stretch it. The selected portion can then be effortlessly copied.
A sub-menu will open on the left side of your screen when selecting a portion. Those two options are “opaque” and “trans”. The first one allows you to make the whole section with all of its colours, and the second is the same except for the colour chosen as the background colour. This is useful for not overlapping superfluous layers. Please refer to the screenshot below.

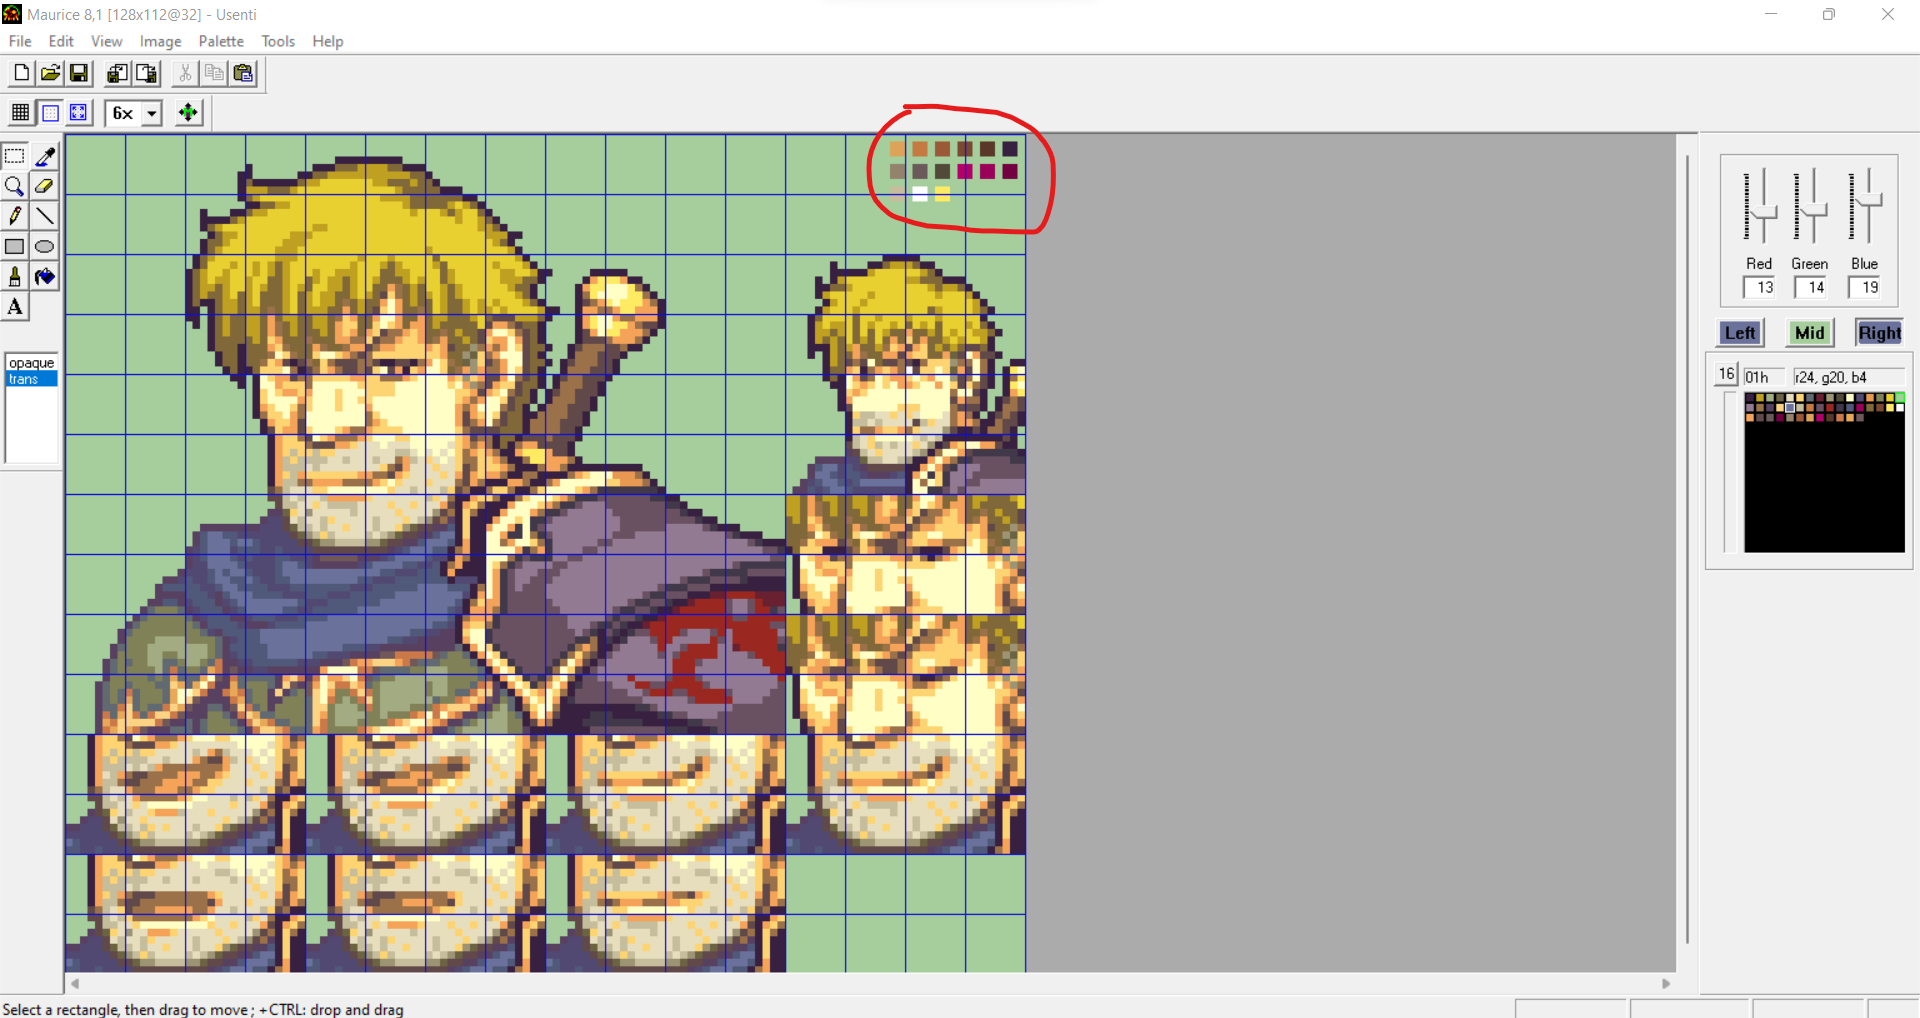
The colour palette

This menu allows you to see how many colours you are using, 16 per line, as well as showing you the details of the currently selected colours with adjustable scales for red, green and blue, going from 0 to 31. Those values correspond to the same values used on other software from 0 to 255, it is the same but with an x8 coefficient.
Undo & Redo
Please press simultaneously “Ctrl+Z” to undo your previous action and “Ctrl+Y” to redo your next action.
Advanced
Limit of colours
In FEBuilder and I believe most of the GBA Fire Emblem editor engine, each sprite has a limited amount of colours being 16. This is why it is crucial to see how many colours you are using to optimise the amount you want to use. As mentioned before, on the colour palette, the first row of colours contains 16 spots, so if you see more than one line of colours, you have to make some adjustments.
Here, there are too many colours, you can clearly see, that there are about 3 rows displayed on the colour palette, it won’t be accepted in the engine.
I generally do this step last, and as you can see, there is only one row, therefore it means, it is good to use.
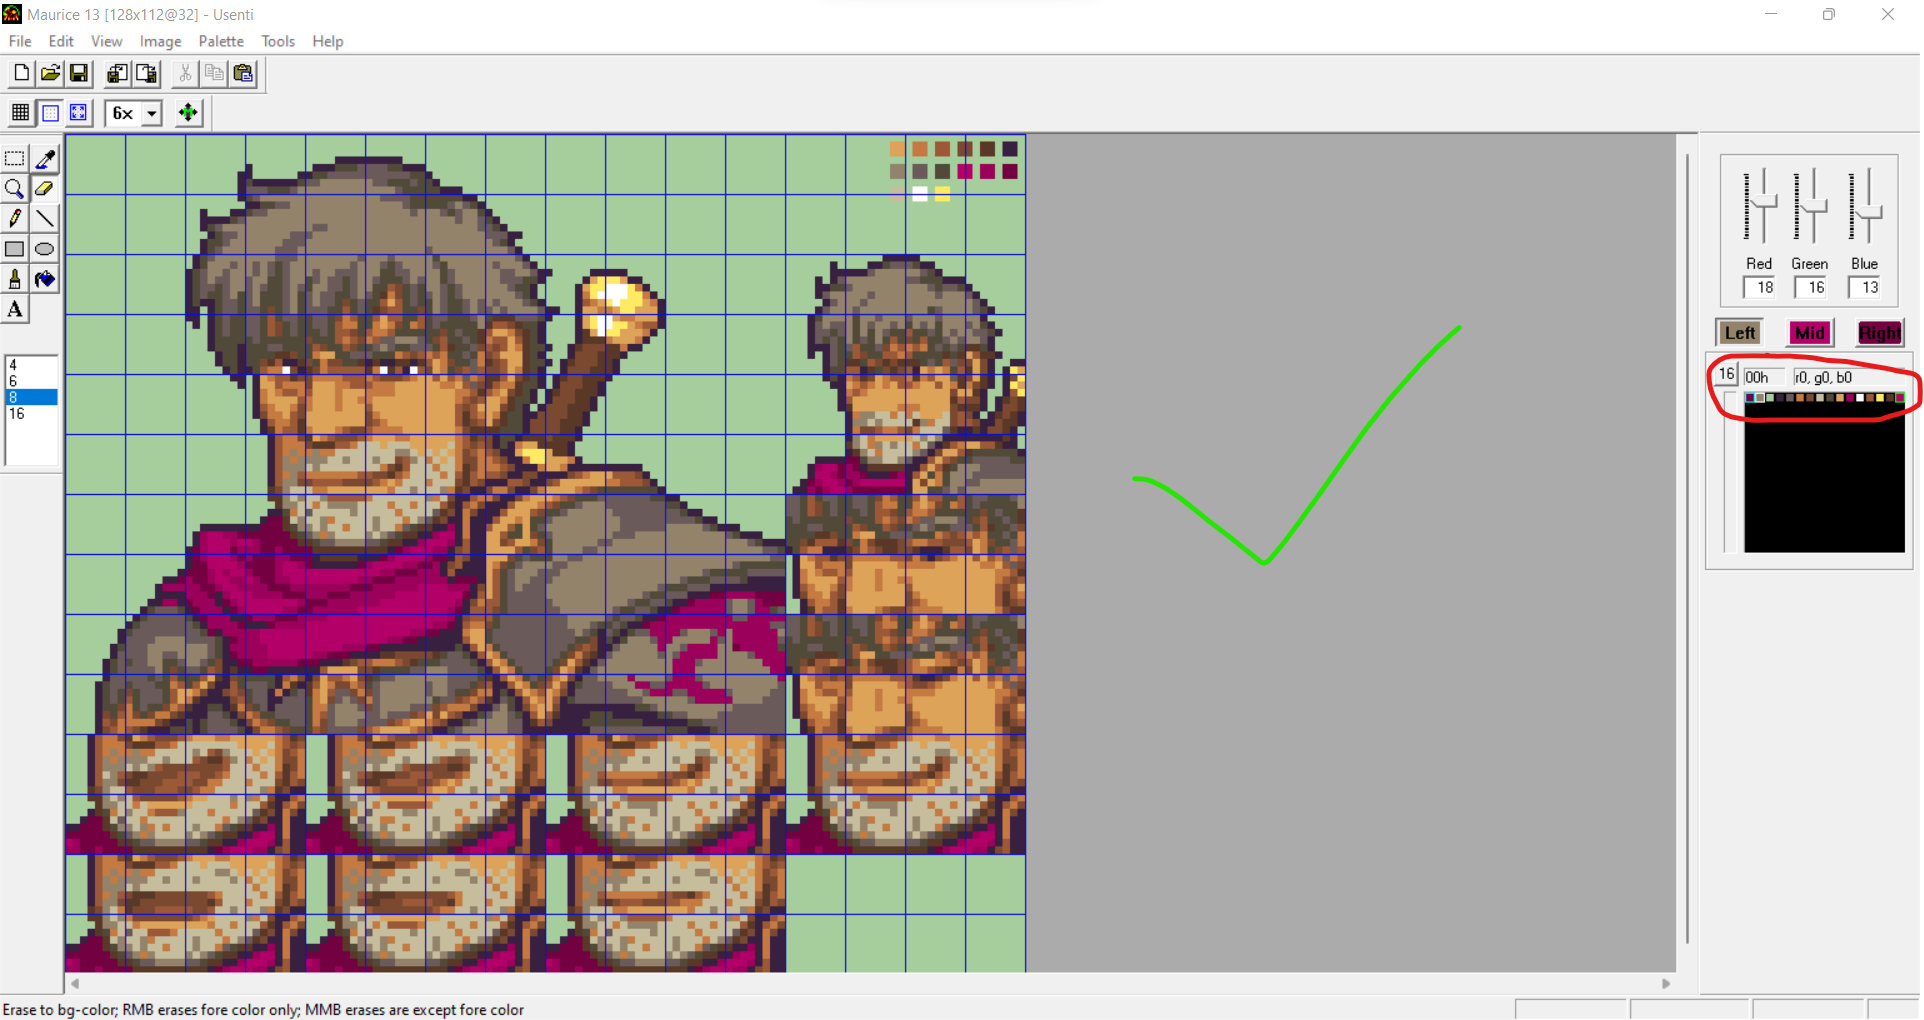
Sometimes, some colours are very similar but not the same, if for instance, you splice sprites from different titles such as FE7 and FE8, the latter having overall darker colours, or even with a slight change of colour skin between two characters. And it can be pretty difficult to spot them with your eye, if so, you must get rid of one of them because it uses a colour spot uselessly.

In this case, the two colours shown are very similar, click on one of them and adjust them with the scaling cursors to match the other one.
I purposefully made a similar colour in light blue to make you realise what I was talking about. Once, it’s done, please save your file and reopen it by doing the method indicated under the “saving” section.
Voilà, you saved a colour spot, please repeat this operation as many times as needed to allow yourself to use more distinct colours, it might seem like nothing but sometimes a colour spot is dire.
I recommend keeping track of the colours you want to use for your sprite somewhere so if the amount of colours has been exceeded, you can more easily spot which one isn’t on your reference.
Background
The background colour counts as a spot to include in your 16 colours, so in practice, you can only use 15 colours for your sprite. Generally, a greenish colour is used because it is a tone unlikely to be used in your sprite, think of it as a green screen. It is important to not use a colour like white if you are already using it for the eyes of your characters because it will become transparent once in your engine if you also used it as a background colour. There is no required colour to use as a background, however, I recommend using bright and distinguishable colours to more easily separate them from your other colours.
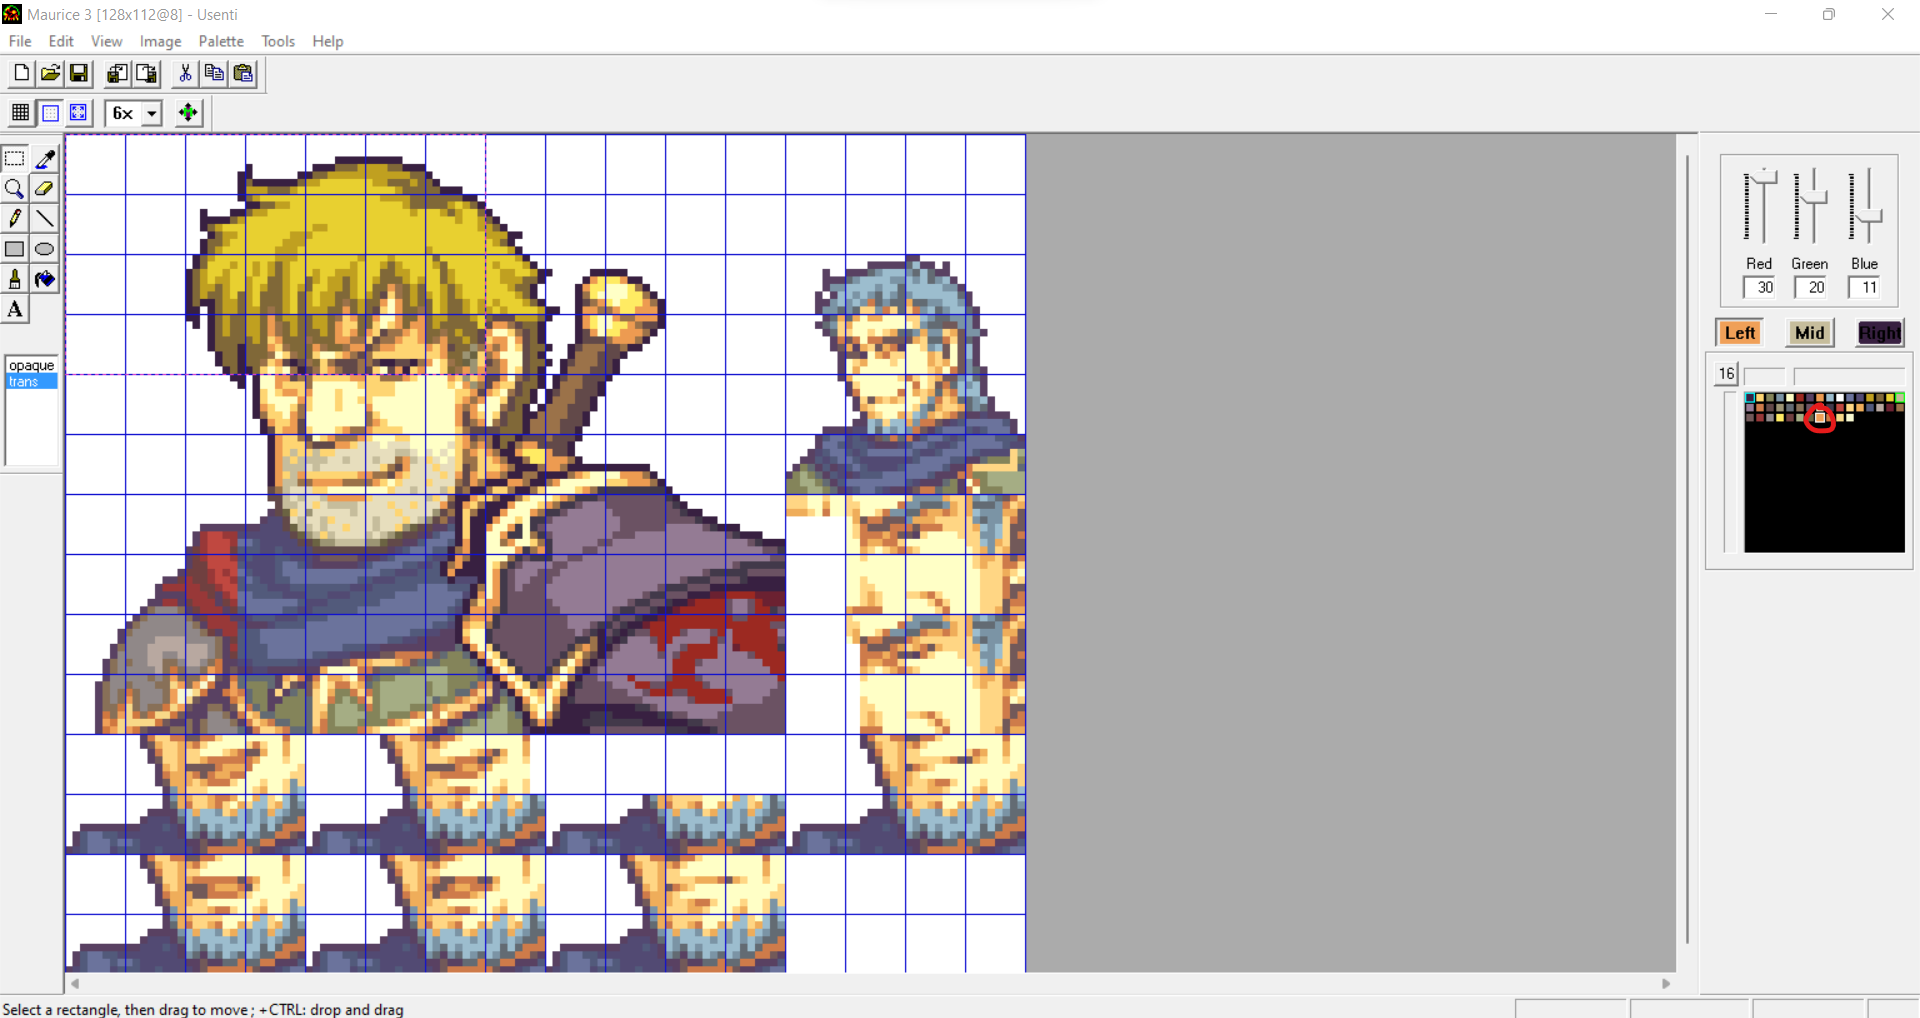
How to choose which colour is used for the background? You will need to first select the colour you want by using either the pipette tool or the colour palette. Once it is done, the colour should be displayed on the scaling system. The little square in the colour bar below should be outlined in white, showing which colour is currently displayed.

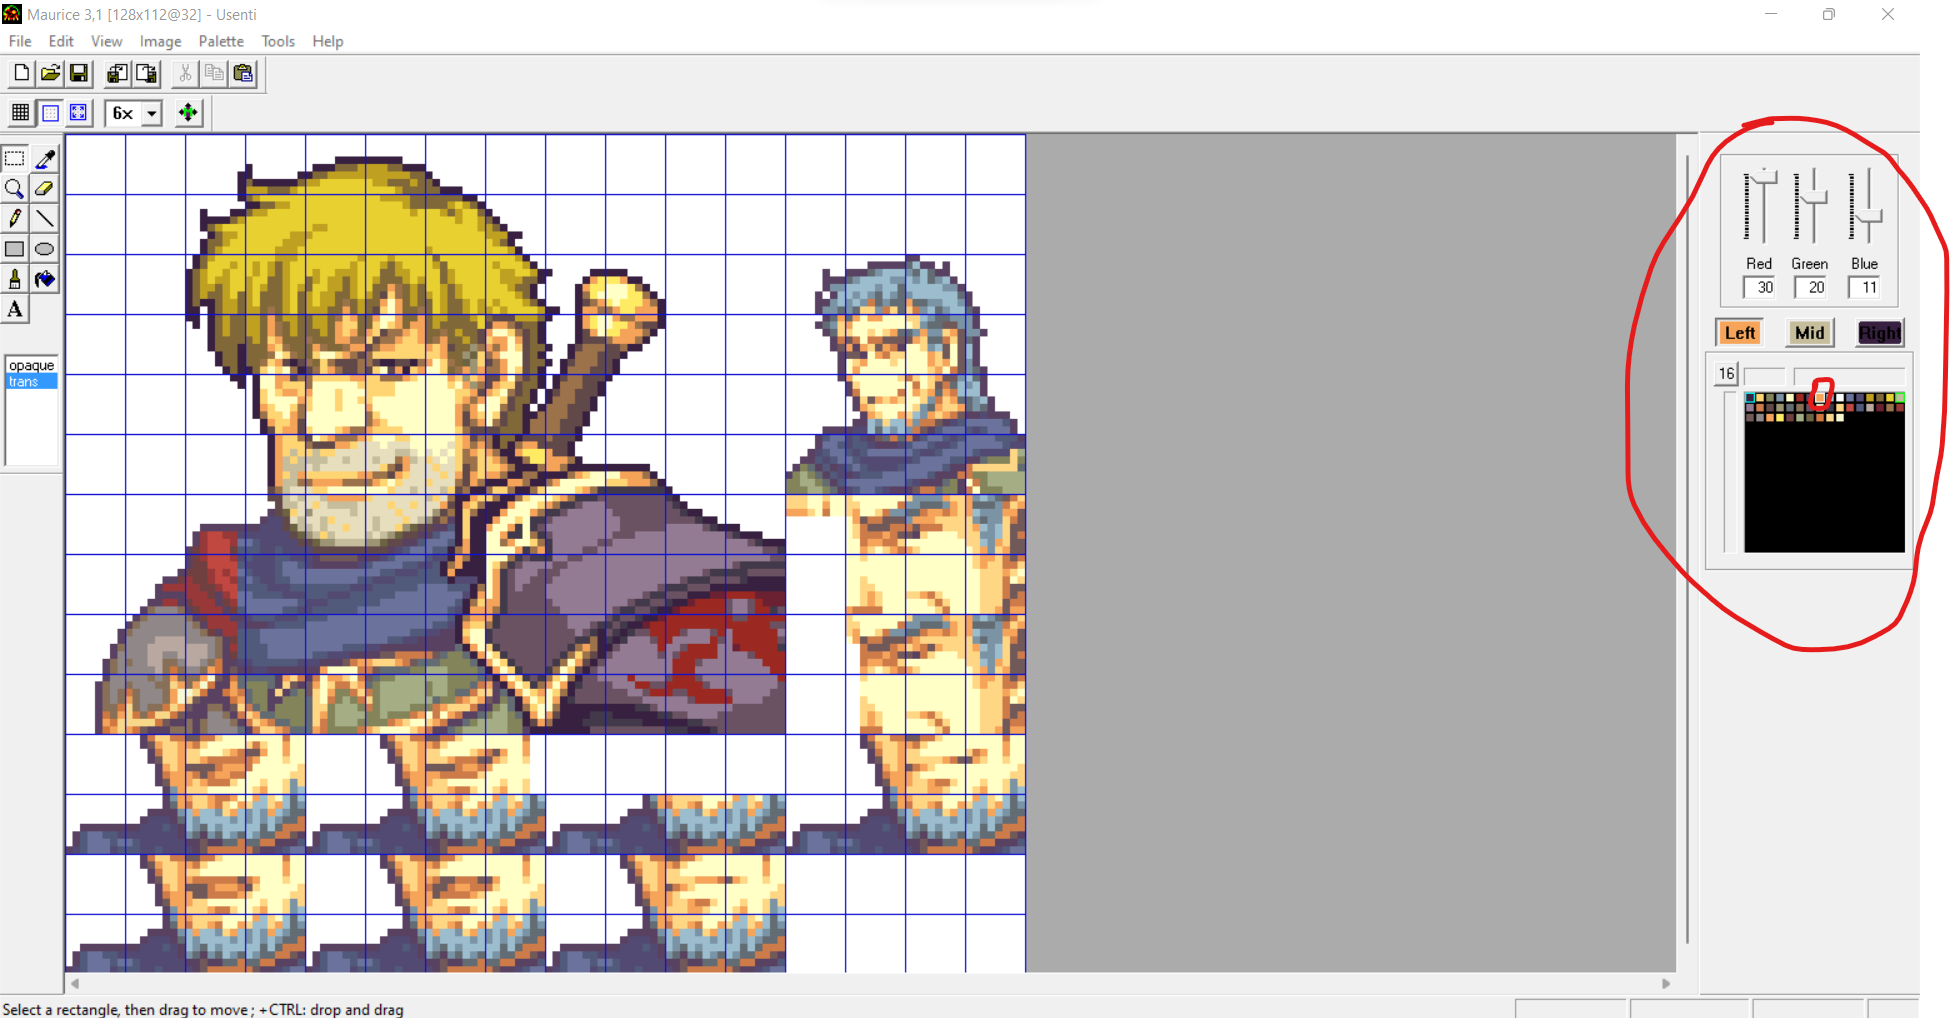
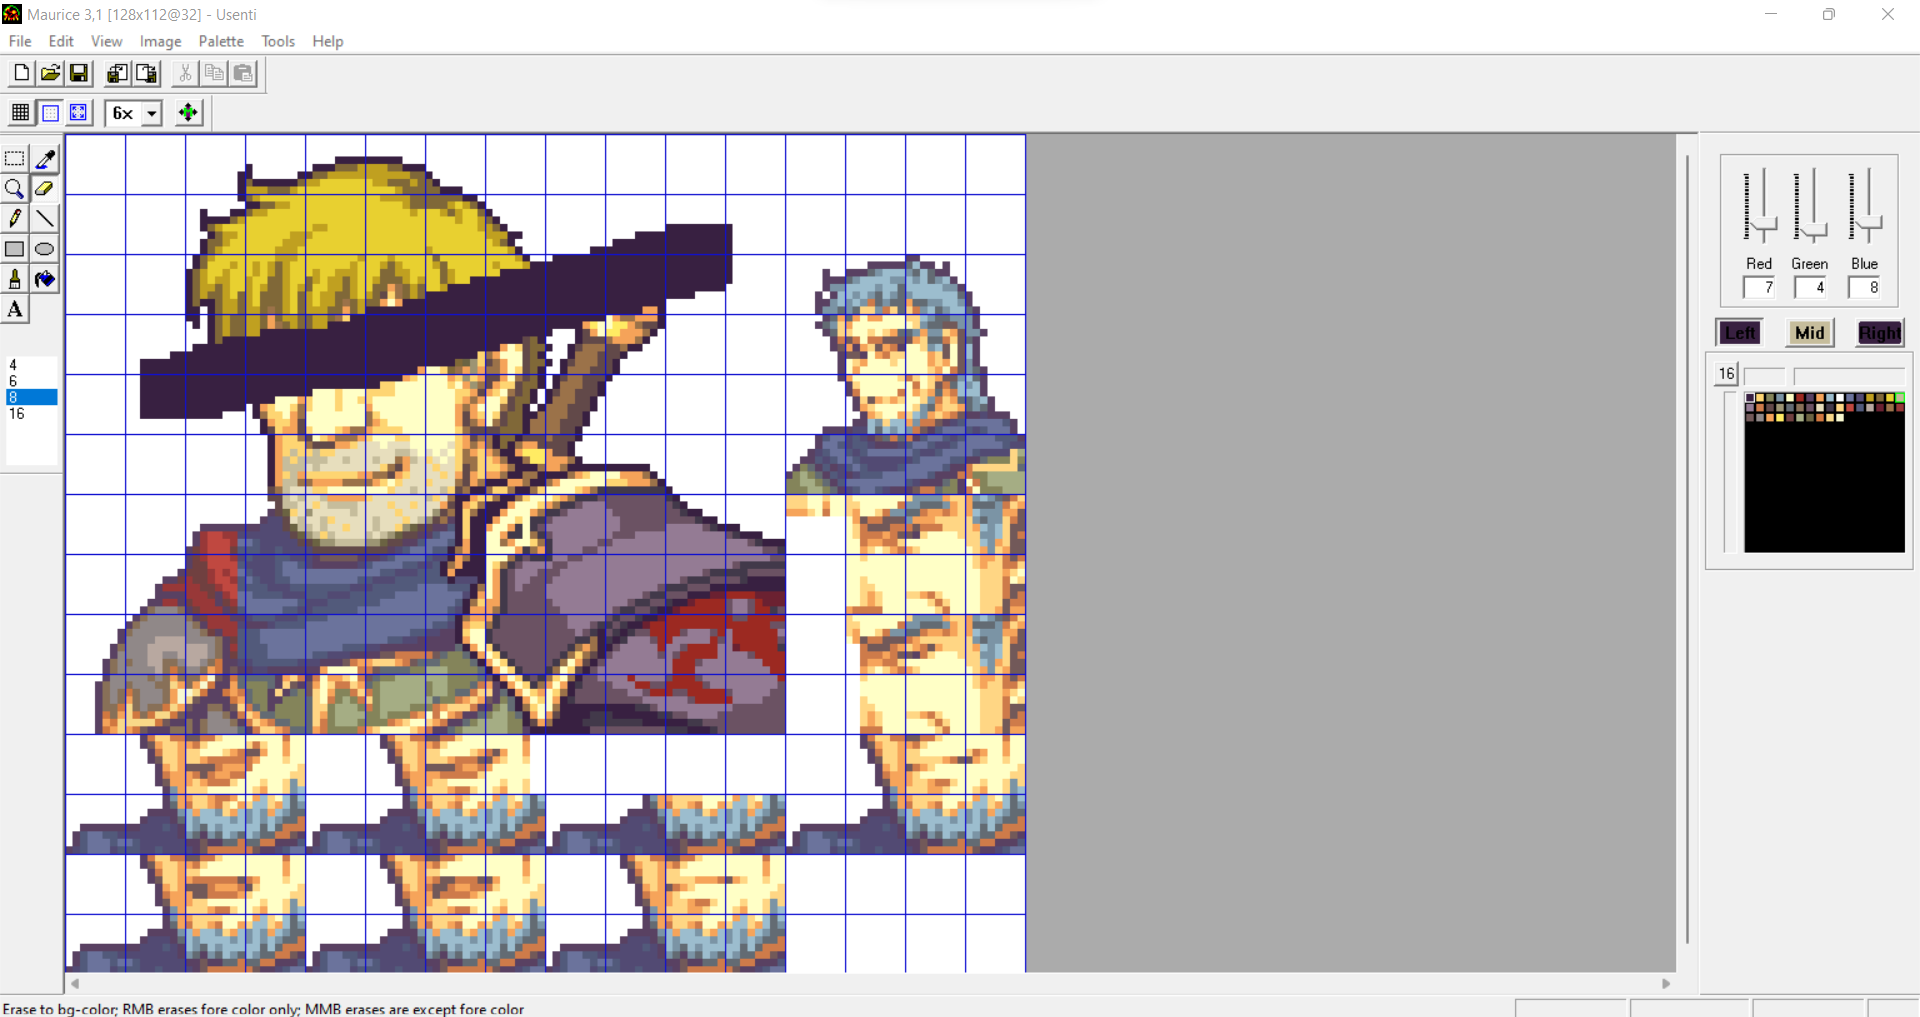
Here, you can see there on my colour palette, the first colour being this dark colour is outlined with a light blue colour. It means this is my current background colour. I believe it randomly assigns a background colour when loading a file, from what I have seen, it is generally one of your darkest colours.
The colour I am currently selecting is the third one on the row, the khaki colour. As you might see, it is outlined with white colour, meaning it is the colour that I can see its red, green and blue values above.
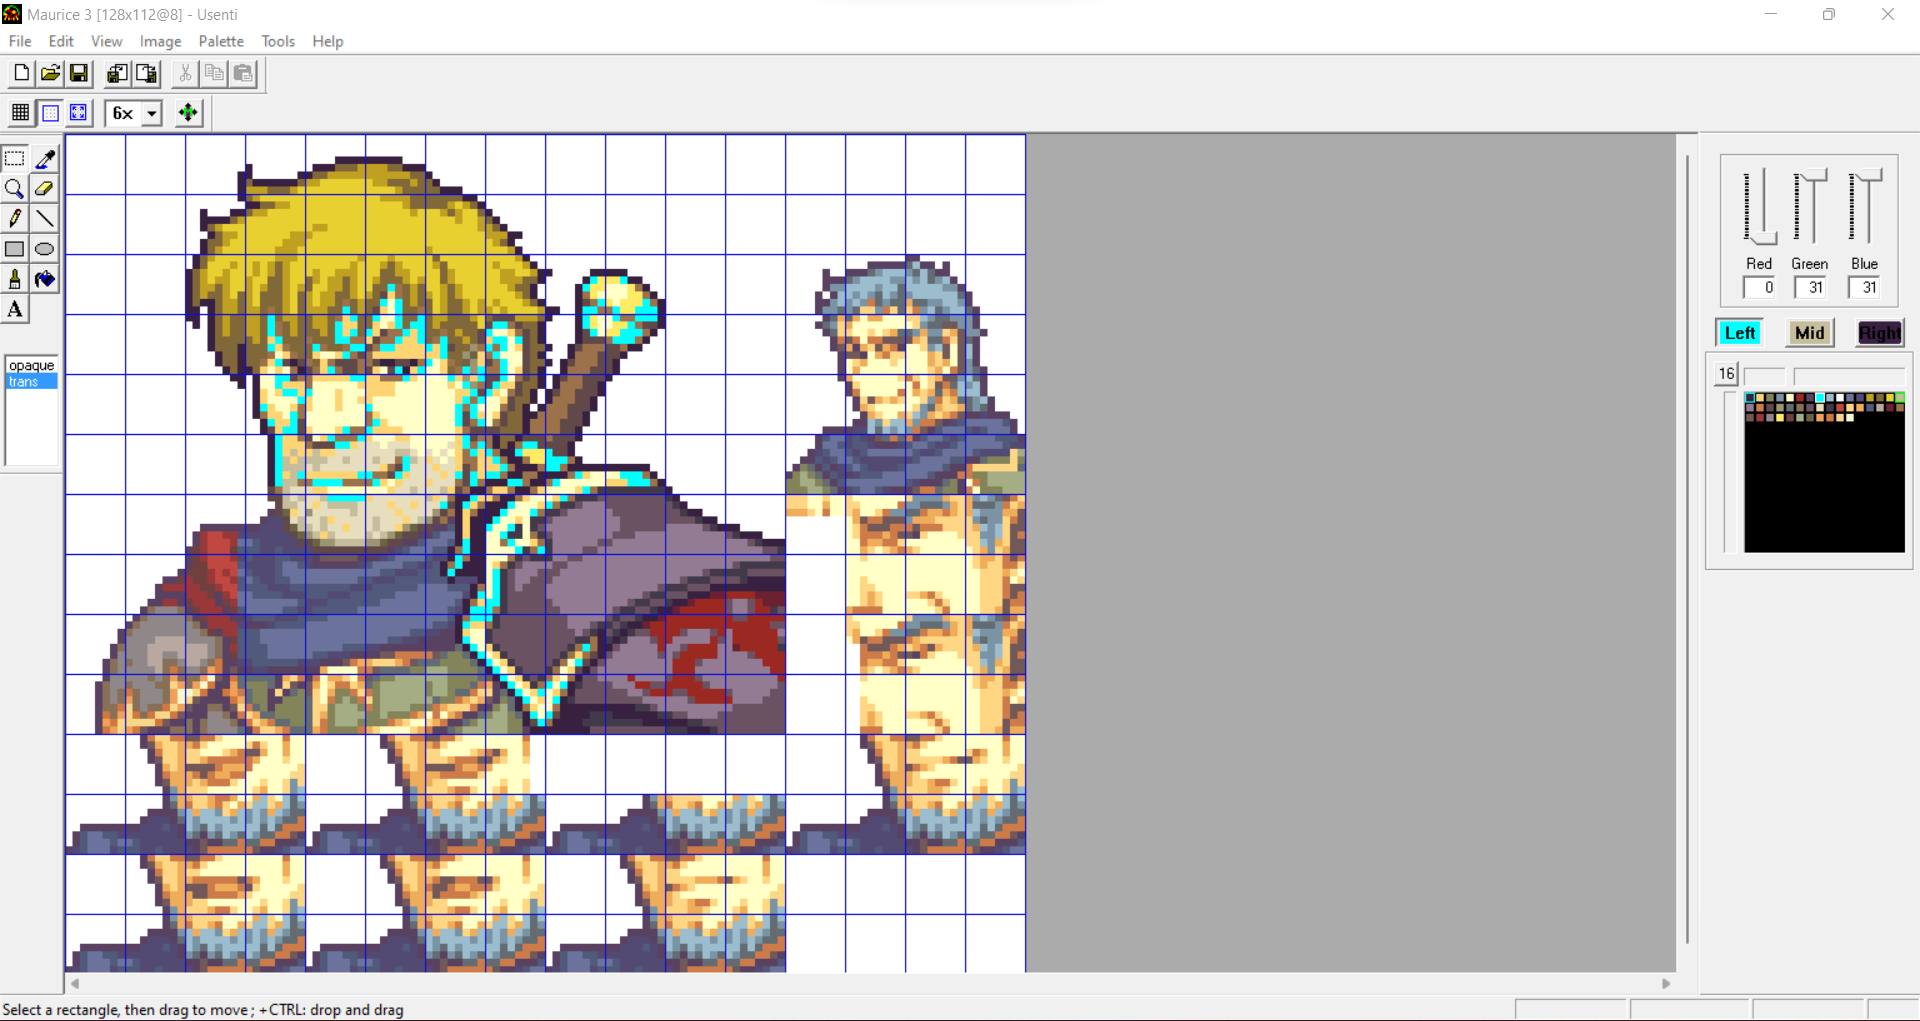
The dark colour is my background colour and will be used when I utilise the eraser tool. However, I want the background to be white.

I simply do a right click on the colour I want to be set as the background colour, in this case, the colour white, on the colour bar. As you may see, the white square on the colour bar is now out lighted with a thin layer of light blue. I set my background colour as white.
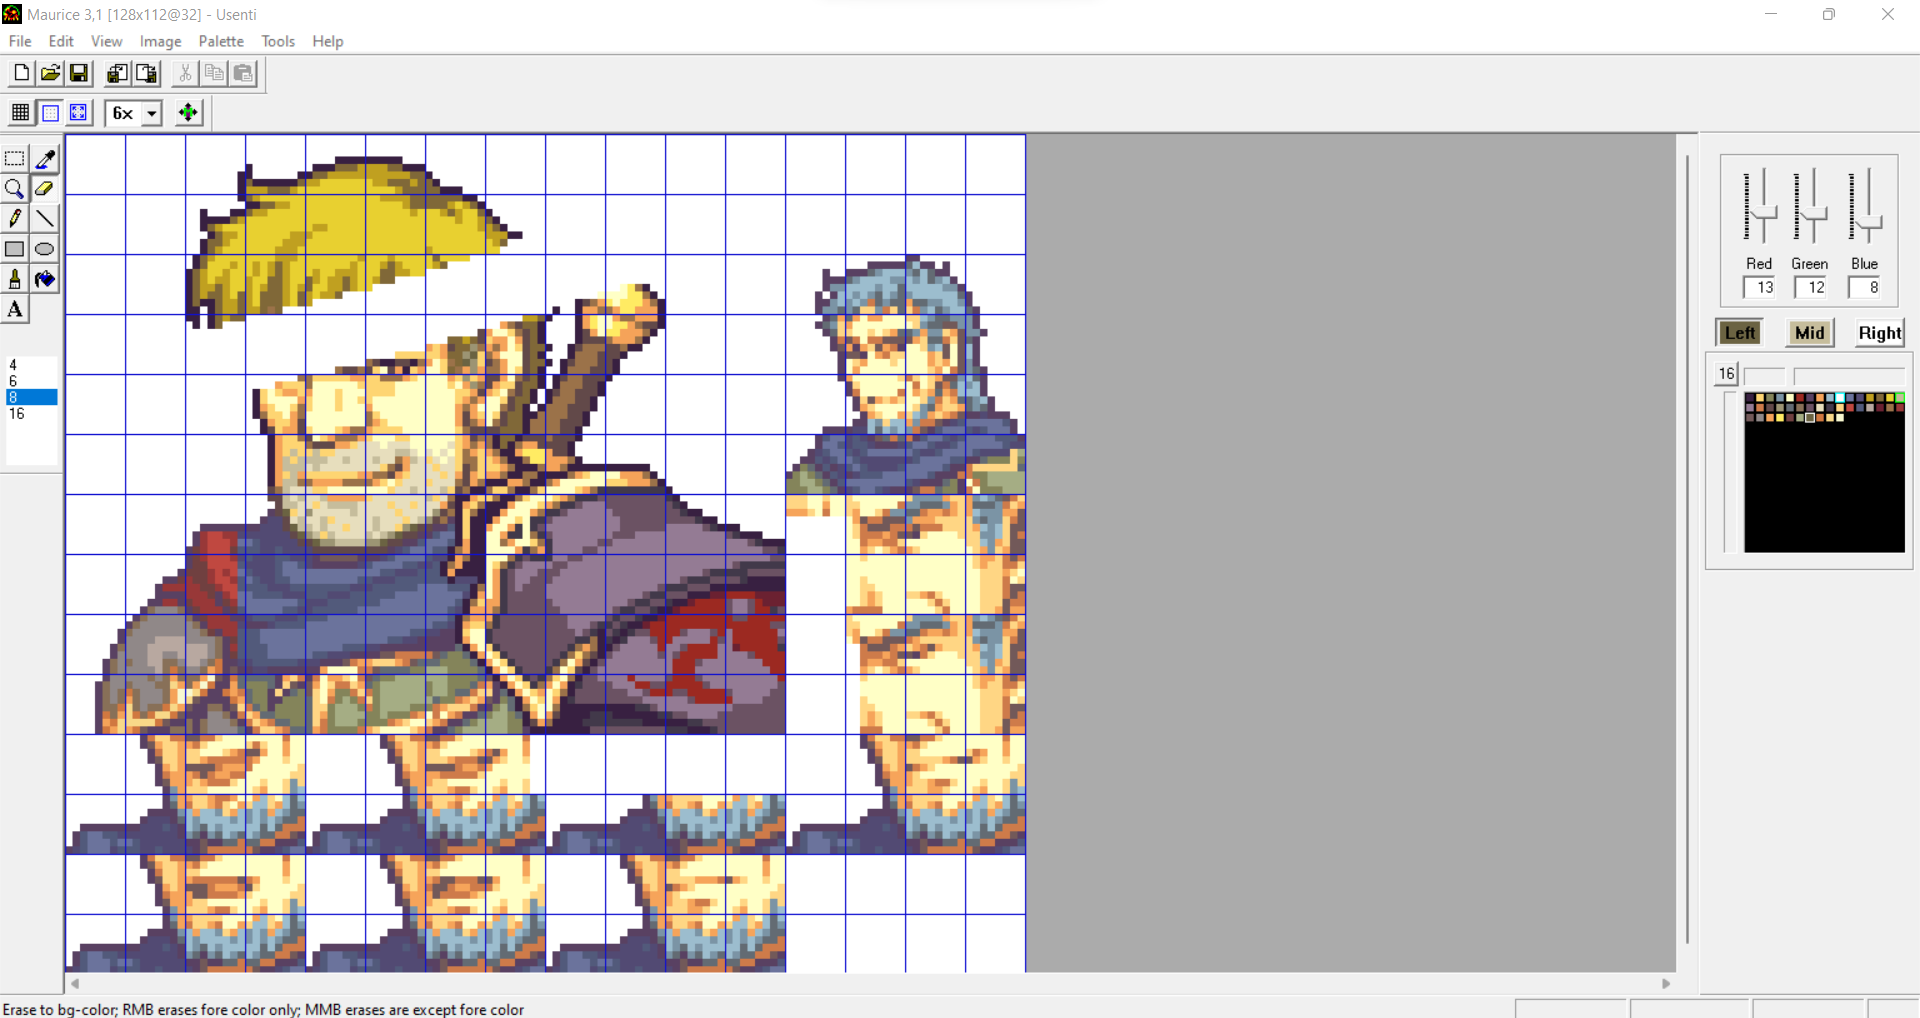
Now, when using the eraser tool, it is white.
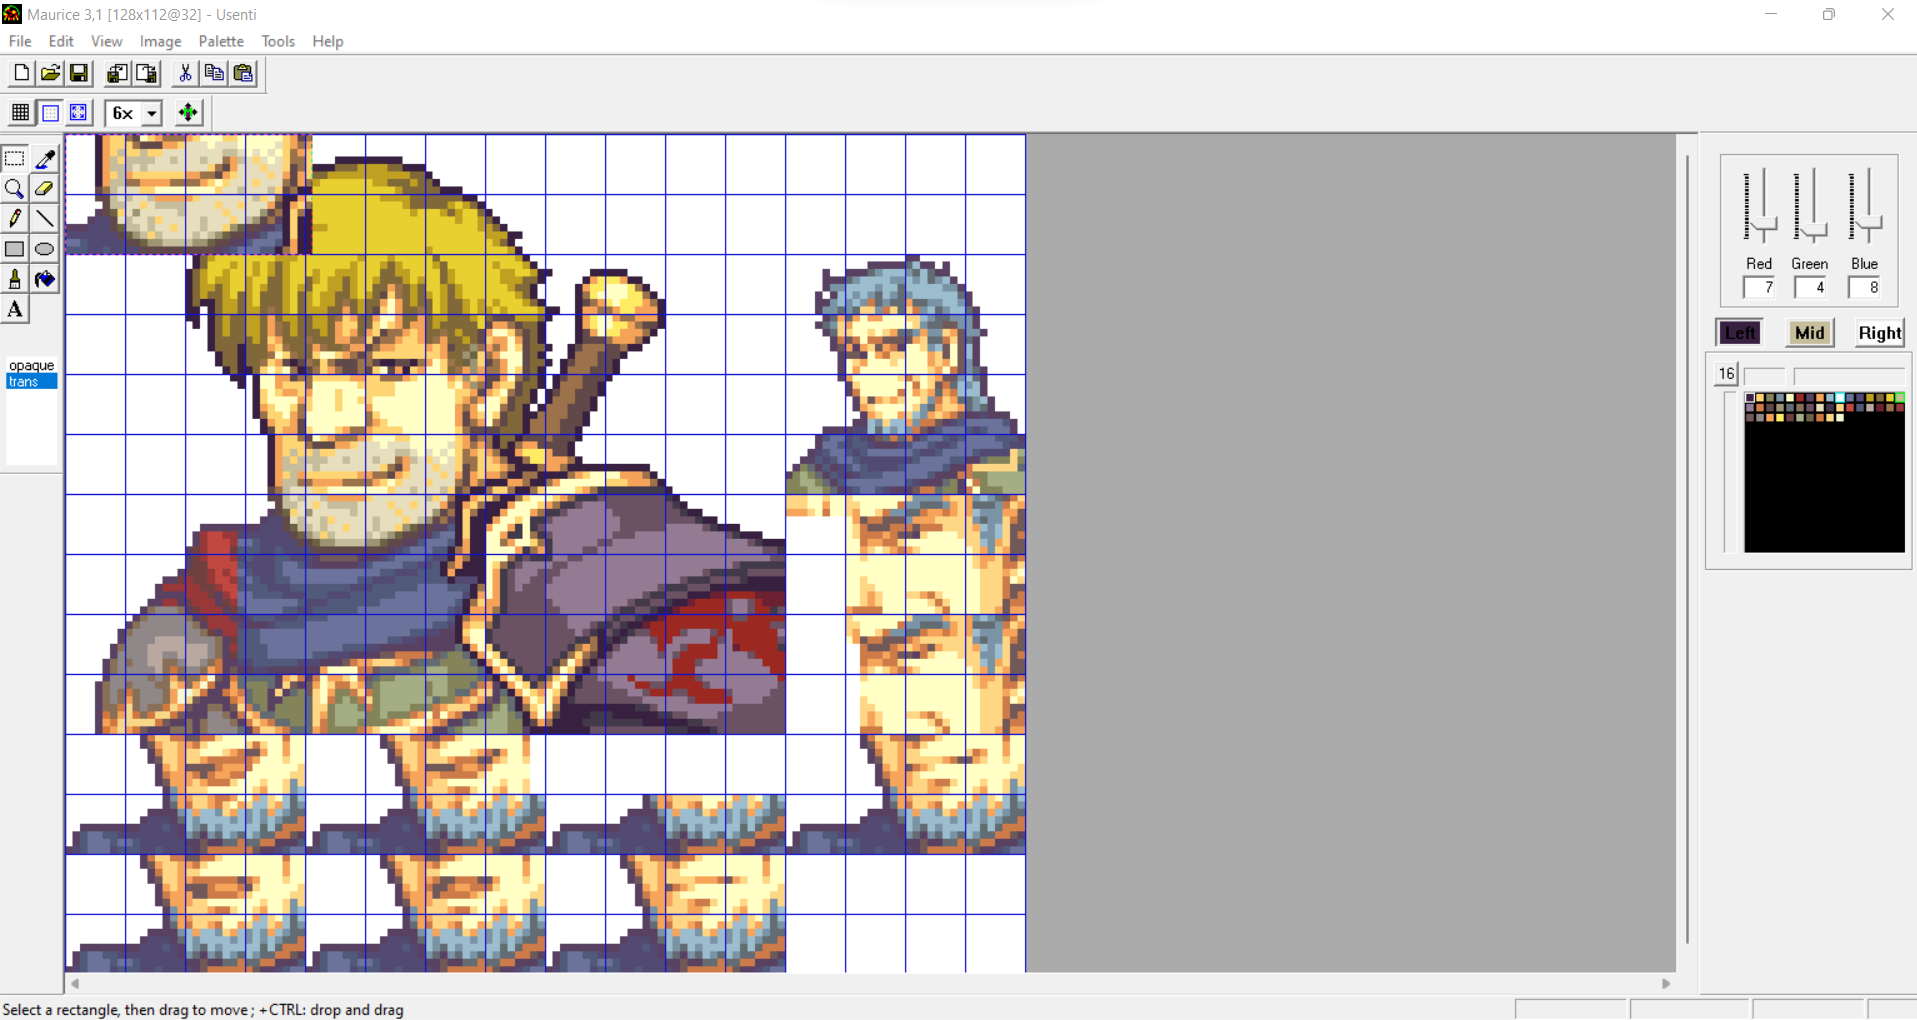
Outline
When making a sprite, you have to be careful that none of the colours you are using is darker than the outline. There technically isn’t any rule that forbids you to do so but I believe it looks nicer if done this way. In FE8 colours, the colour combination for the outline is red 7, green 4, and blue 8 (for FE7 it is red 11, green 8, and blue 12). Therefore, the overall colour limit is a total of 19 or 152 on the 0 to 255 scale. Make sure the sum of the different colour values is above 19 or at the very least, make it so it looks good enough for you.

Here is the outline setting for the FE8 colours.

And there is the same thing but for FE6/FE7 colours.

On this screenshot, the colour used isn’t valid under my standards because its sum is 15, where it should be over 19.

Whereas on that one, it is valid because the sum equals 35, which is above 19, and I believe the rendering looks better.
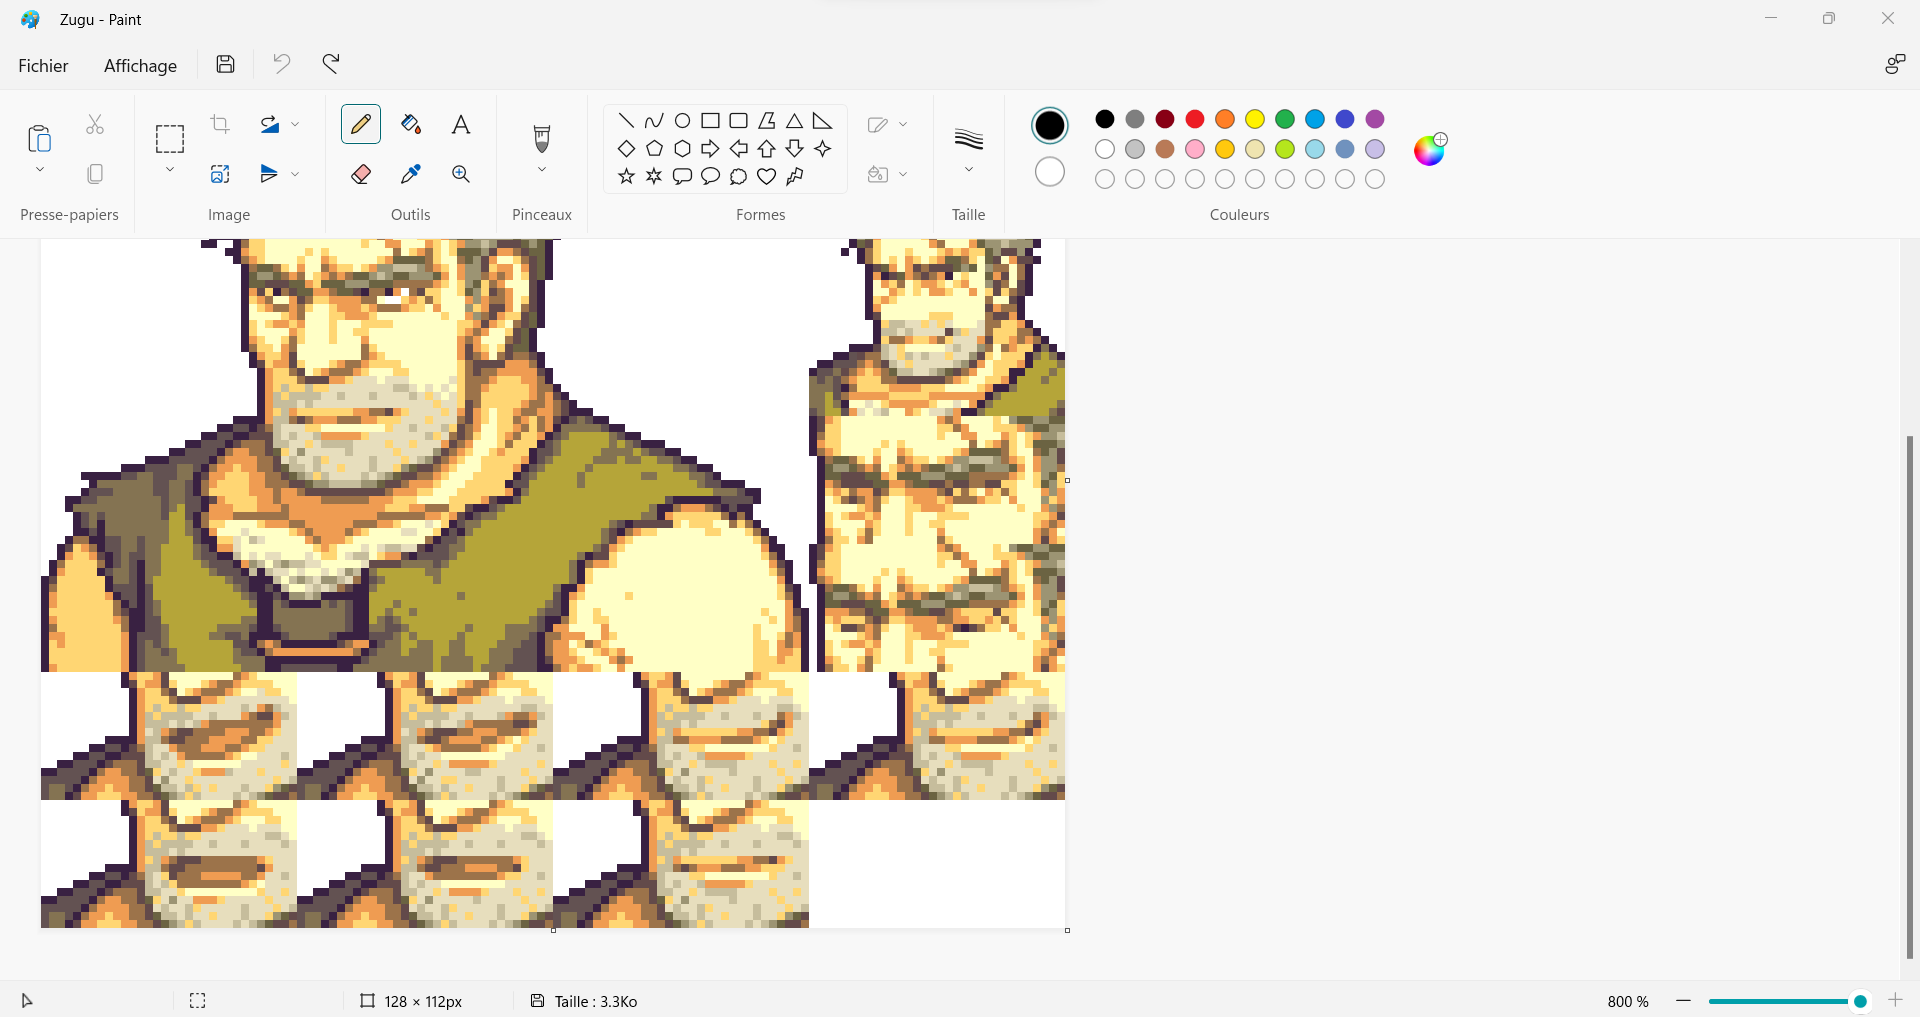
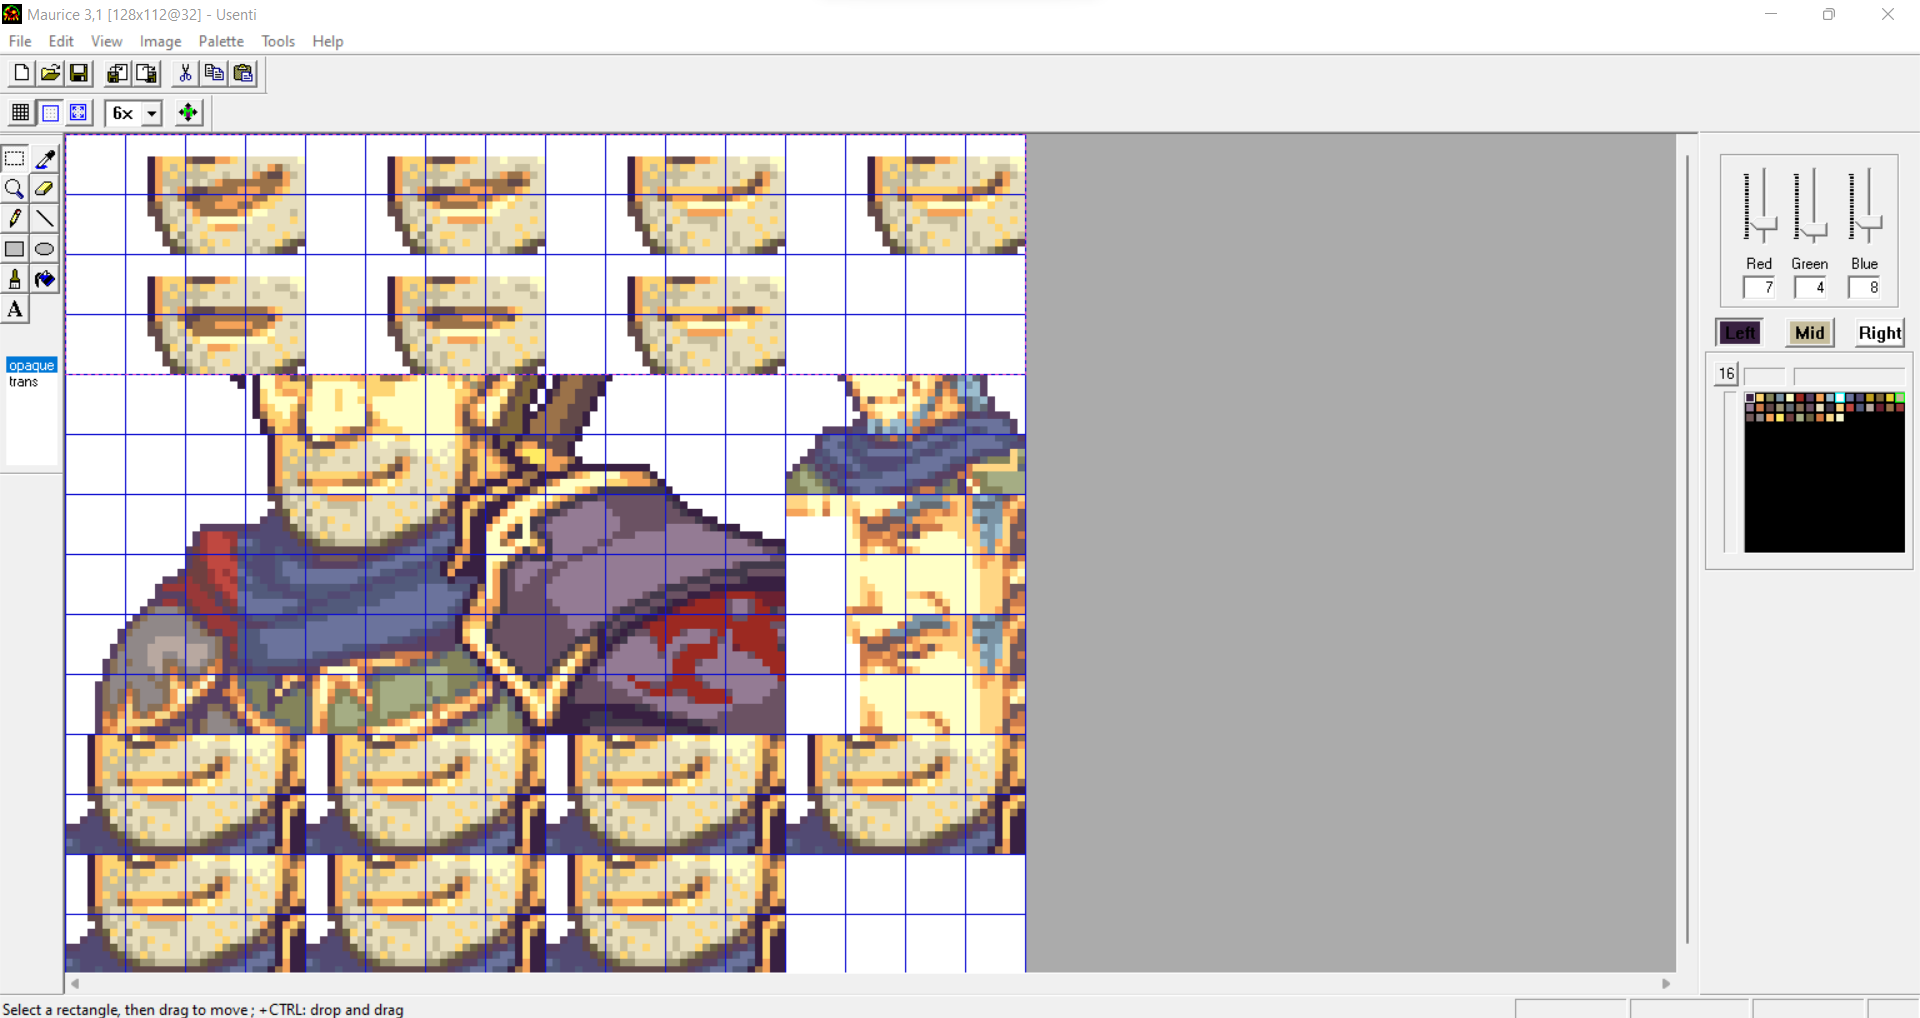
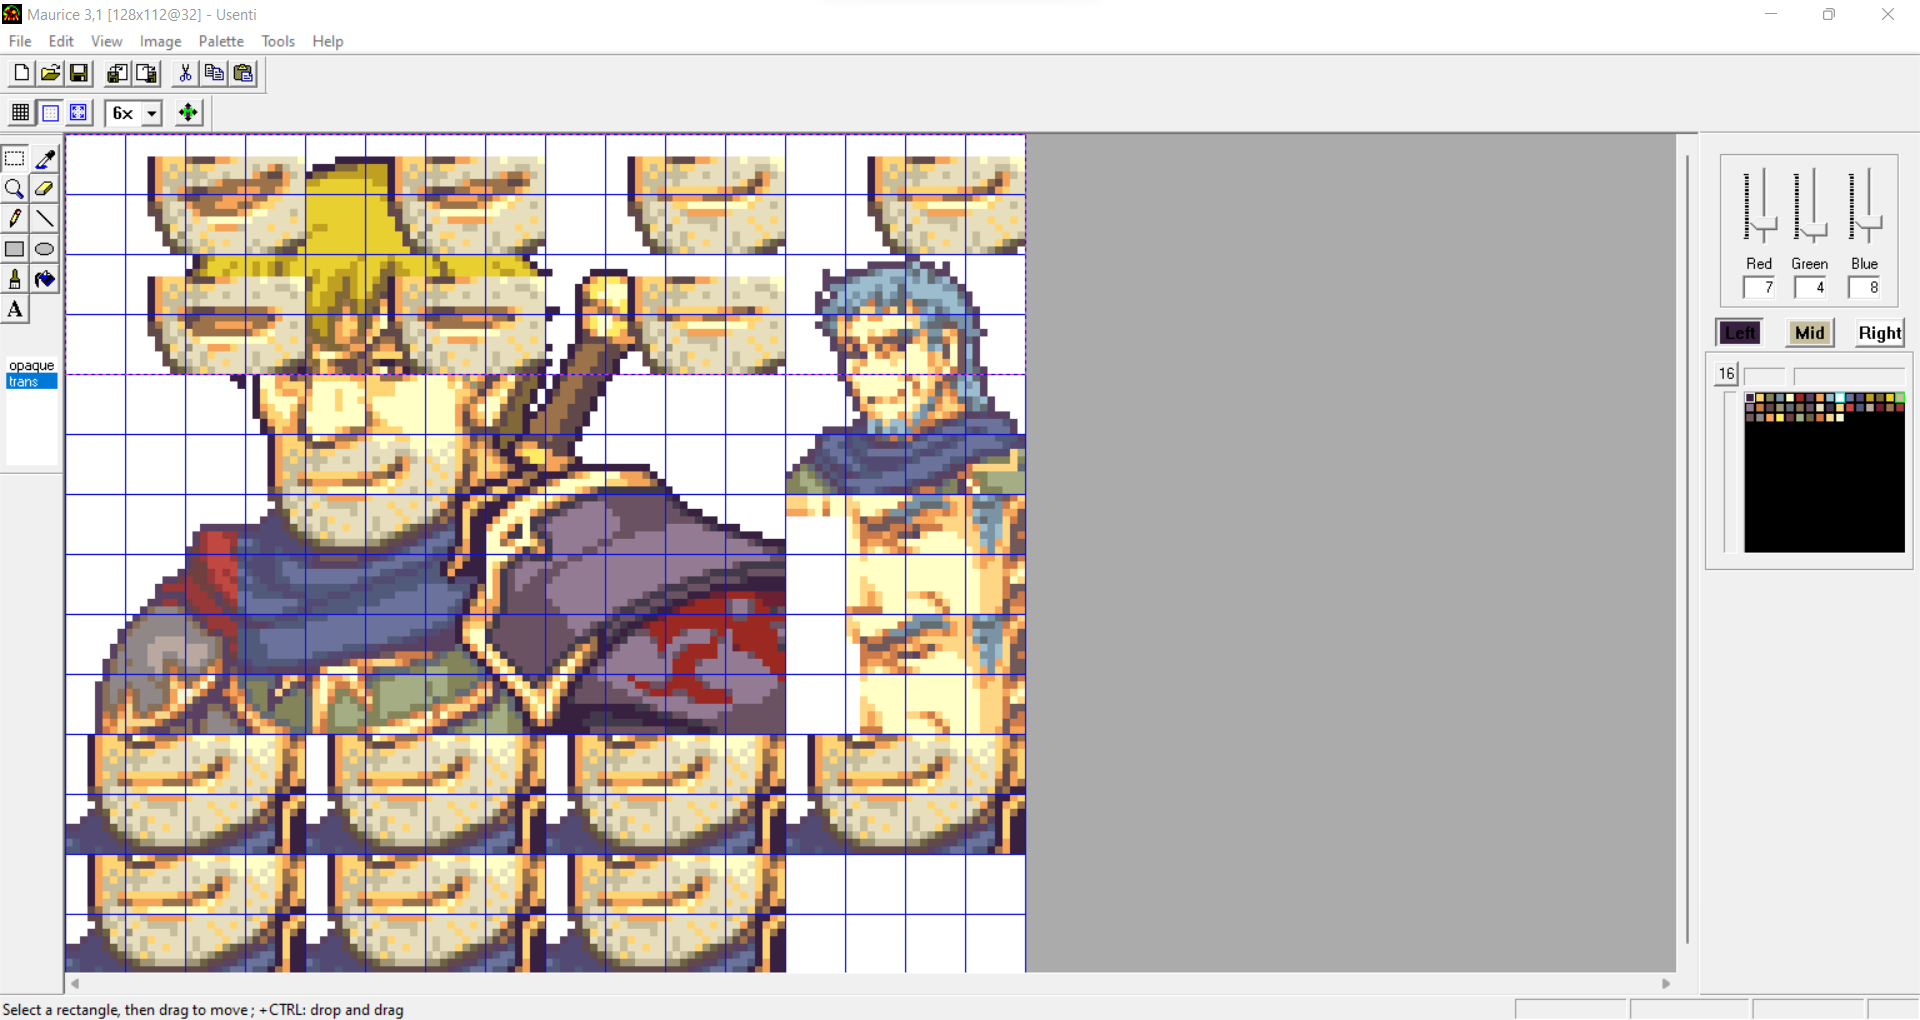
Frames
Usenti is also very useful to do eyes and mouth frames without doing trial and error.
As mentioned above, you have the blue grid that makes squares of 8 by 8, it will be our main indicator to spot where the mouth should be.
For eyes and mouth frames, each frame is made of a rectangle of 32 by 16 pixels, so 4 squares in length and 2 in width. Your engine will be able to recognise portions by those squares of 8 by 8, so please select the set of squares you find to be the most fitting for your frames.

Please forgive the unperfect lining that I have roughly done. Afterwards, please use the copy and paste tools seen previously.
There you go, in the top left corner, you have your frame. You just need to put it in its right place and put it over the different mouth animations.

Now, you will need to put the different expressions. I will show you how I like to do it.
First, I load in the reference model I use for the mouth.

Then, I delete everything I don’t need.

By trying to put it in usenti, I noticed, the box isn’t the same, so I do some adjustments.
I copy and paste it in usenti.
I don’t forget to change the background colour from opaque to transparent.
It is done!
Now, please do the same process for the eyes. It should be the rectangle above the one you made previously.


I spare you every step.

If done, correctly, you should have a 32 by 32 pixels square where the mouth and eyes frames are perfectly aligned, just as your main sprite.
Mini-mug
Quick side note, the mini-mug above the eyes frames is also 32 by 32 pixels.
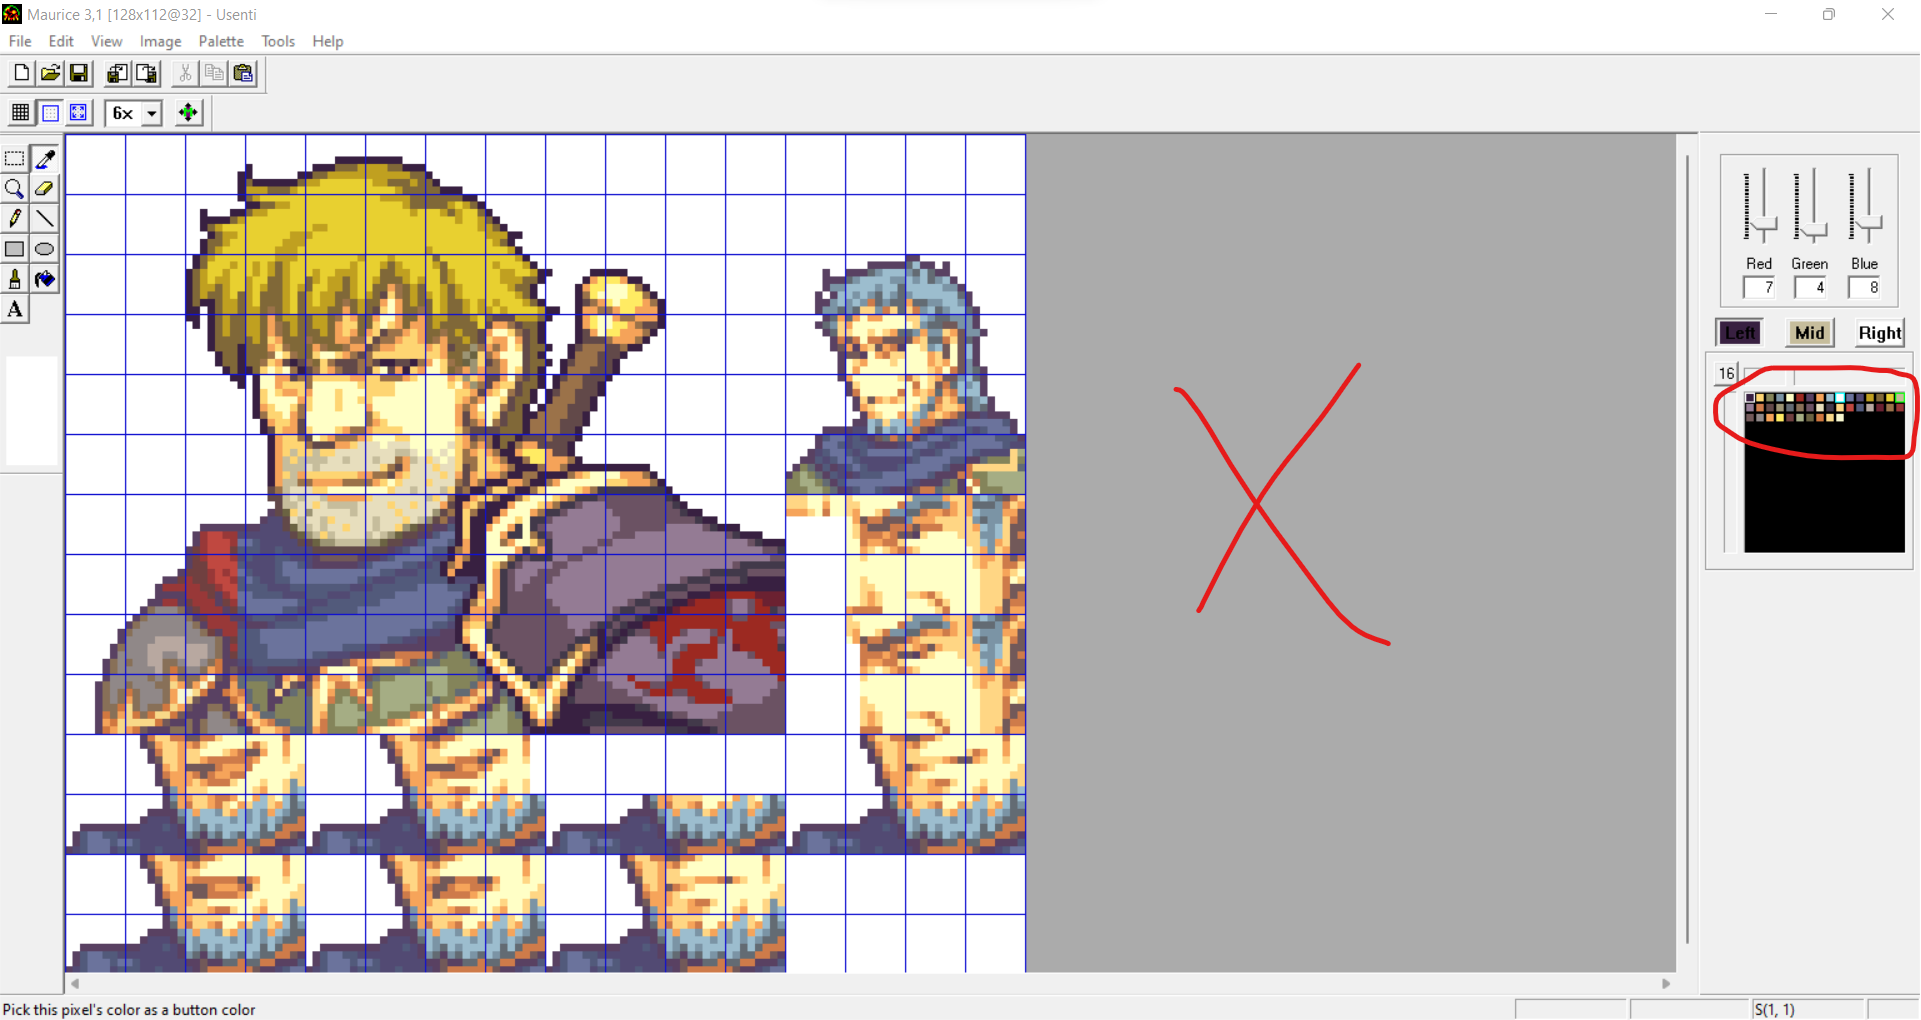
Limitations
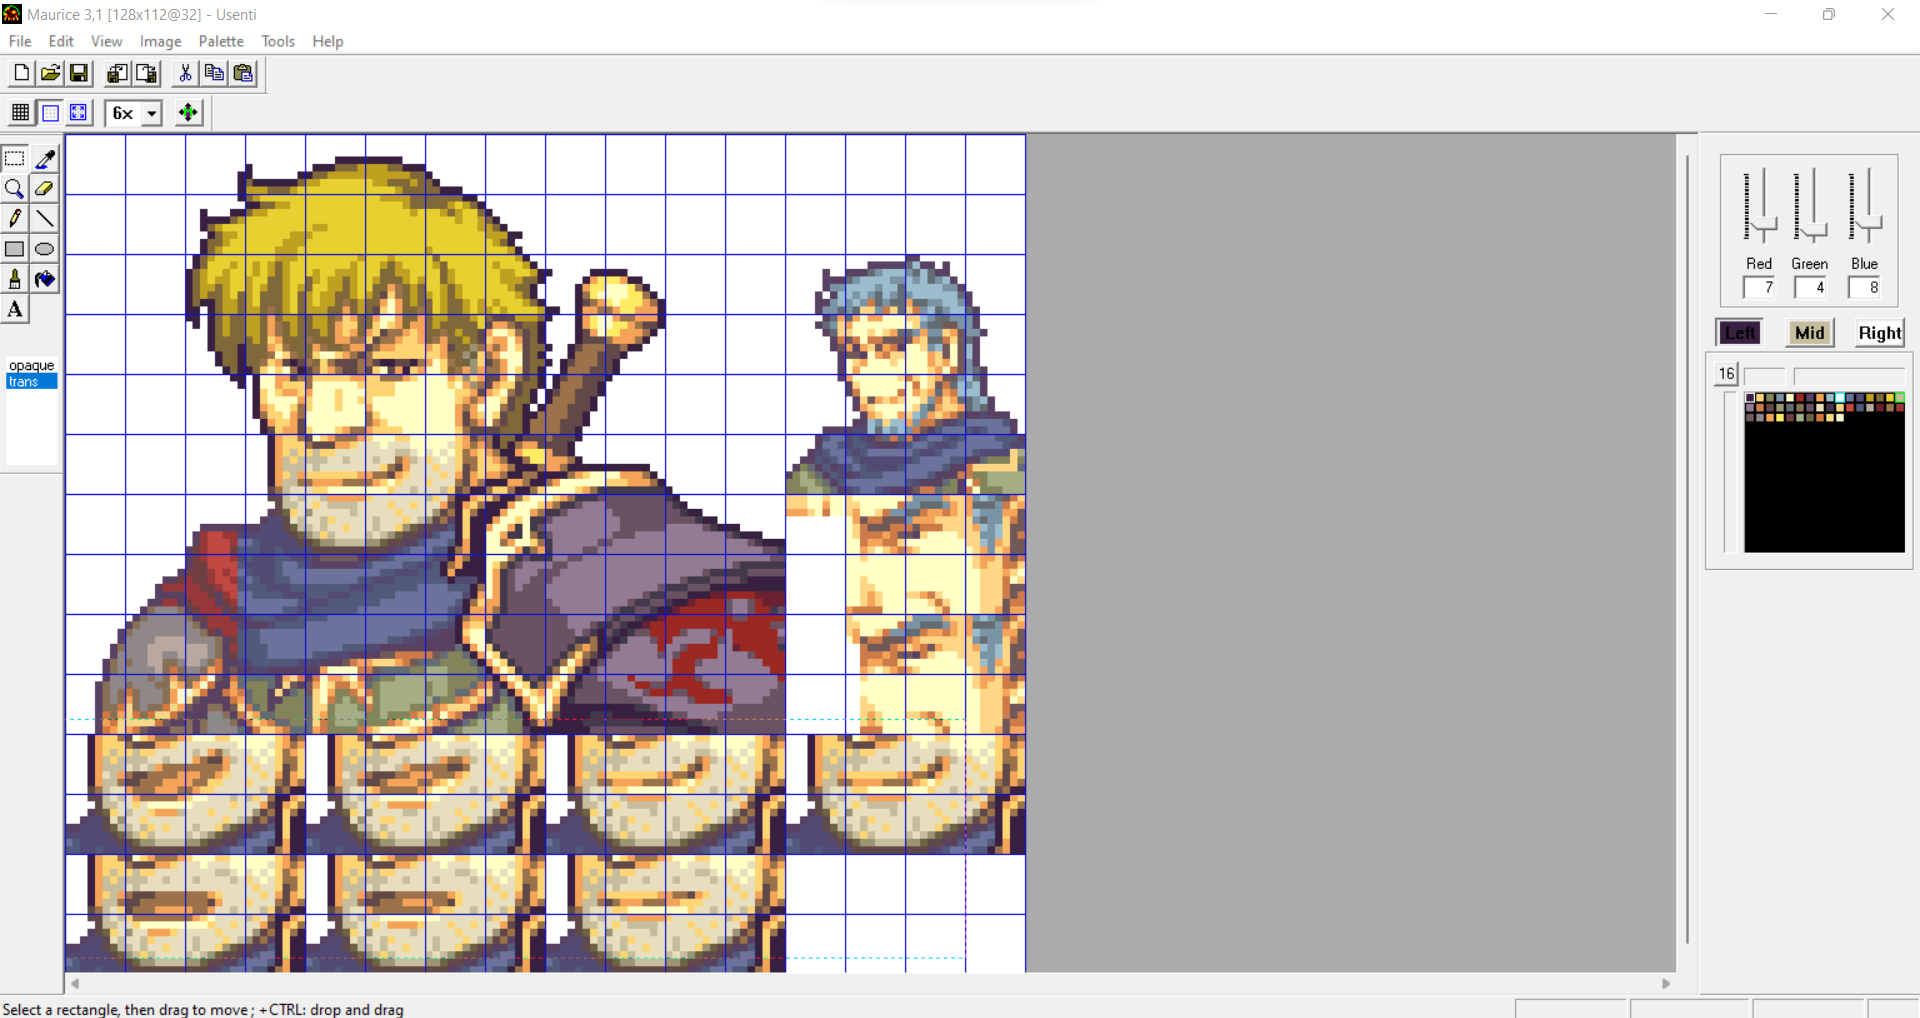
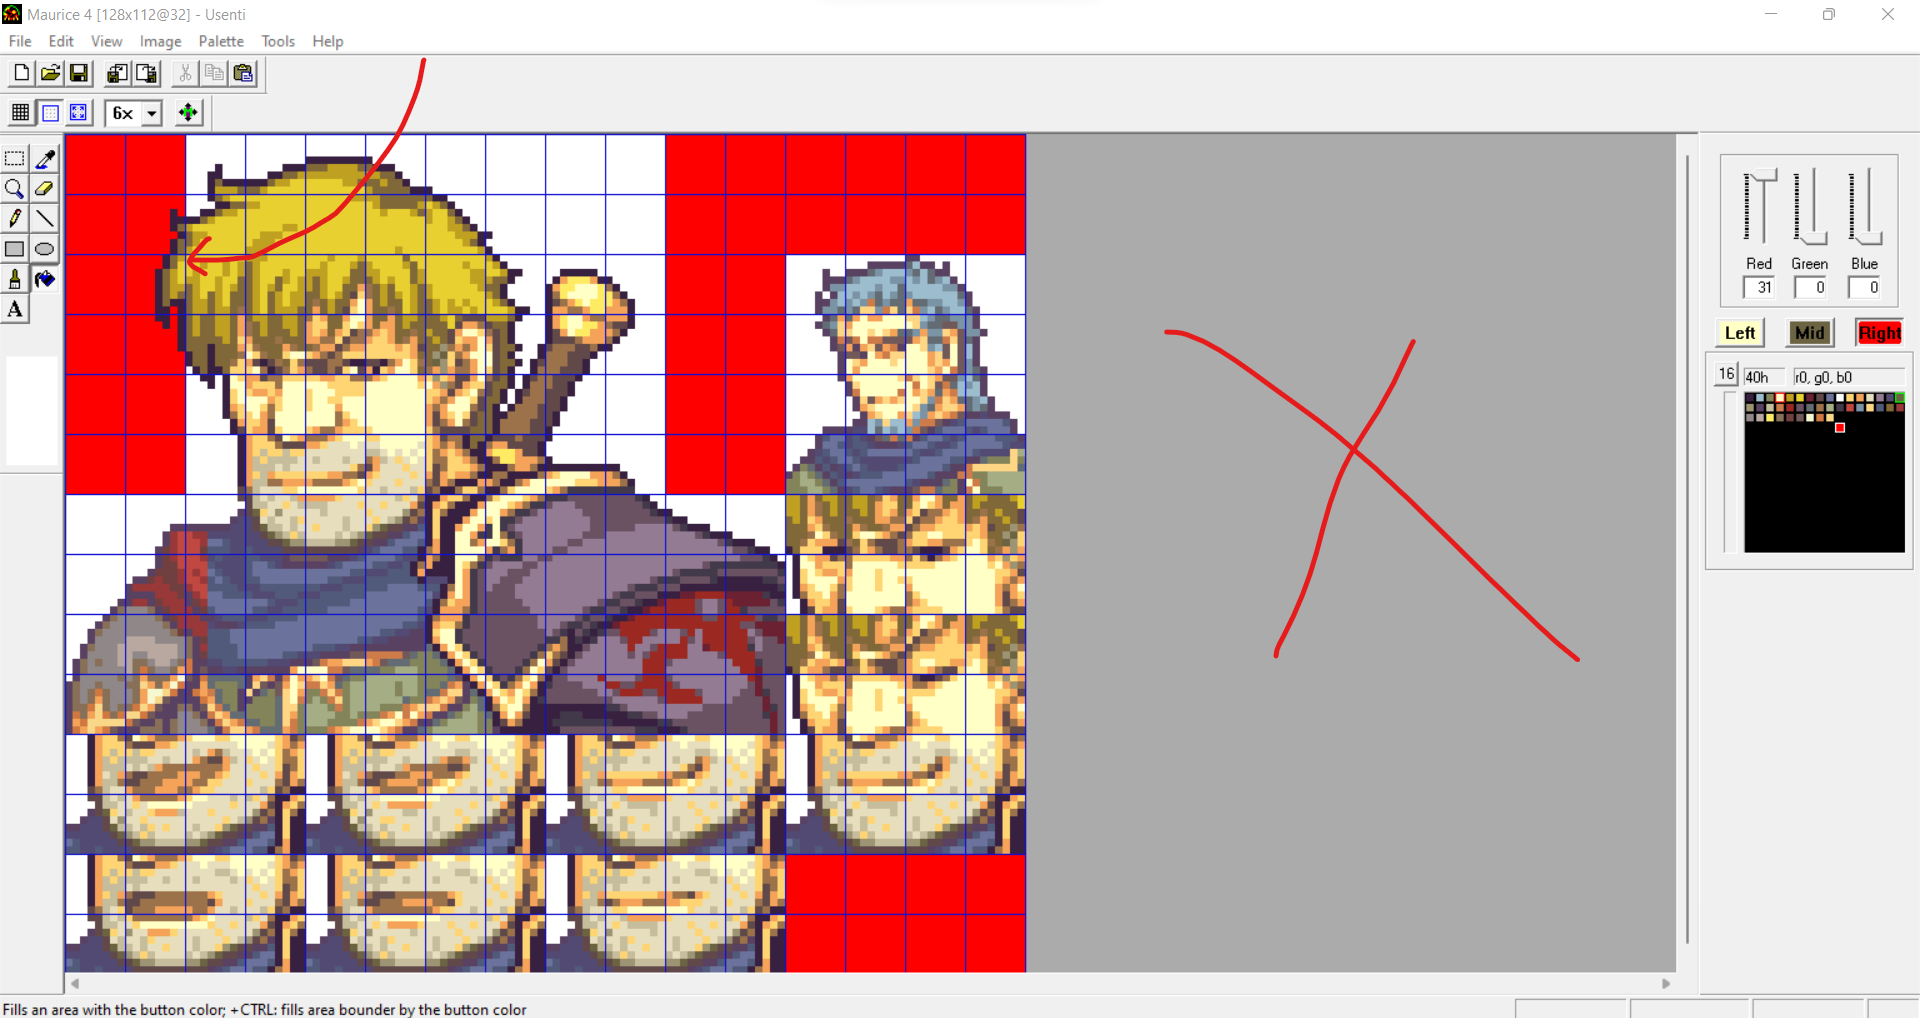
Finally, some spaces won’t be registered in your engine, and no matter what you made on those sections, they won’t be detected when porting the mug in the FE editor. So please make sure your character is outside of the red areas on the screenshot below. If not, I would recommend slightly translating your mug so it fits.
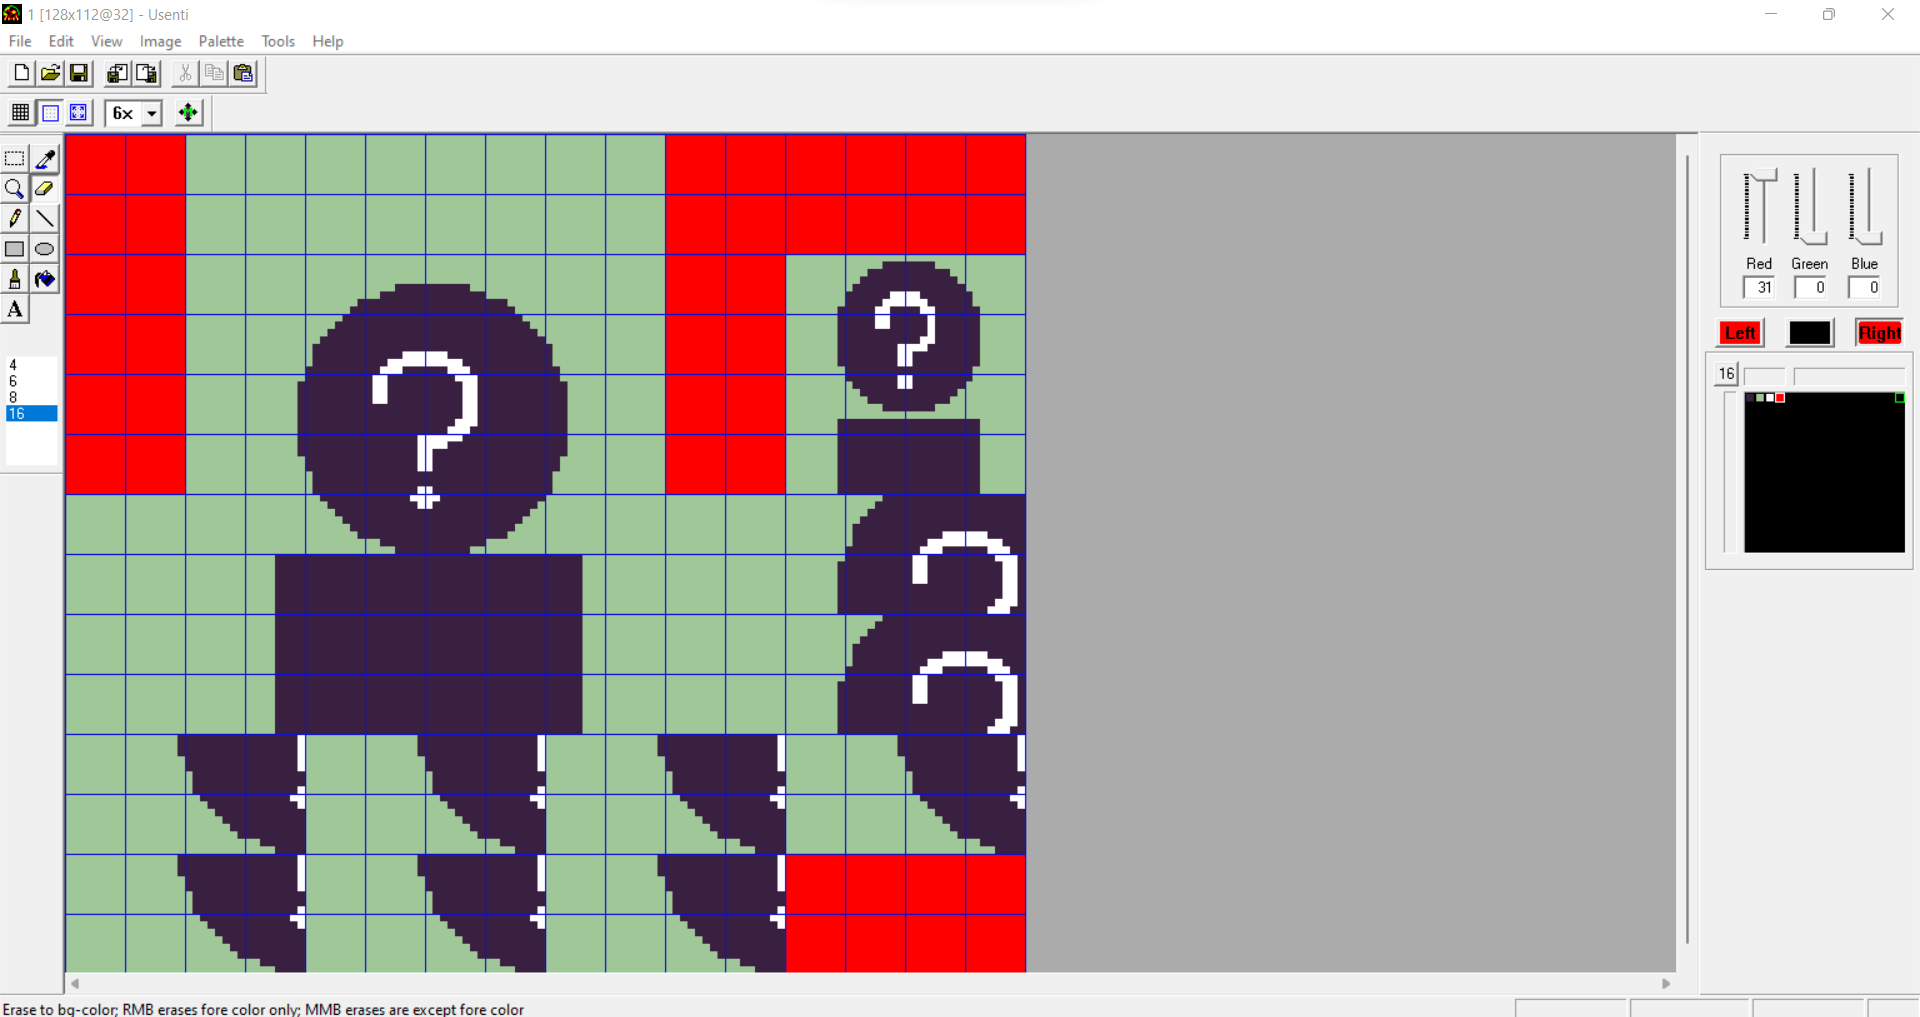
You can’t put anything in the red parts.
For instance, this is invalid, while doing this, I noticed up until this point, I had one pixel in the forbidden zone, and I also made a few changes in the final version, please do not be disturbed.
I reckon this is all you need to know to perfect your sprites, if you struggle with anything else, or if some explanations are unclear, please tell me.
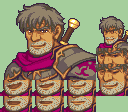
Here is Maurice in his final version:
It is free to use and free to edit, I’ll only ask that you credit me as the original creator if you want to use it.
I also want to thank @Melia, because I used one of their sprite (Scatach from FE4) to do the sword in Maurice’s back, please check out their work, it is stupendous.
Have a wonderful day, until next time!