This tutorial is going to show you a step-by-step process on how to repoint/move the weapon icon table without Hextator’s patch.
For this you should have:
GBAGE
Nightmare + Modules
A text editor
A Hex editor (HxD is what I’ll be using)
A graphics editor (I like Usenti but as long as it doesn’t mess with the palette you should be ok)
Knowledge on weapon icon insertion (If you dont know how to insert custom weapon icons you can check this out here)
The weapon icon sheet
And a ROM
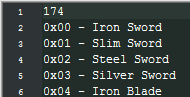
As you can see here…
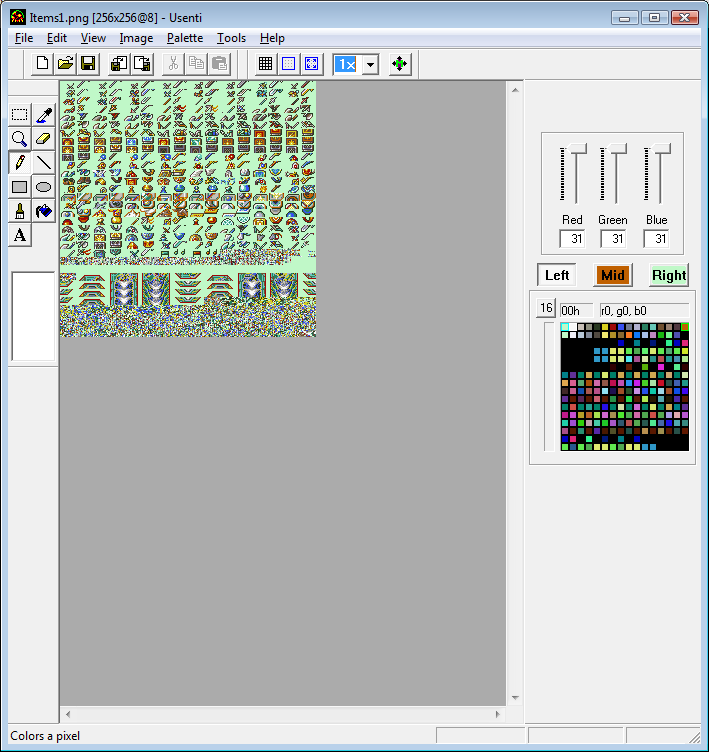
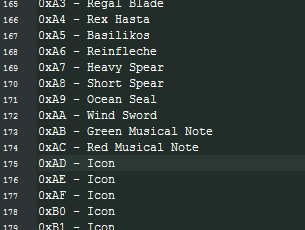
There’s a bit of compressed data right after the red music note. Well, we can actually edit past that if we would like to…
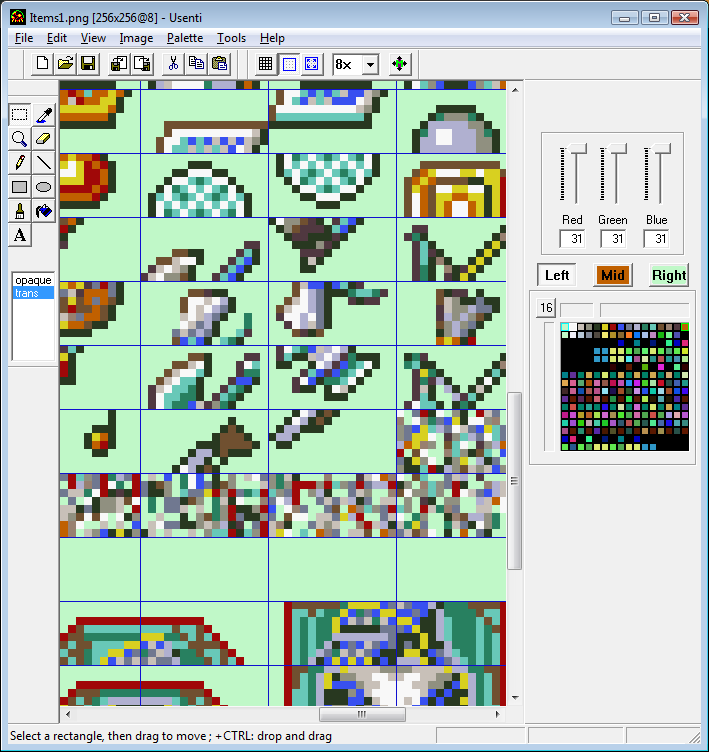
There! As you can see I’ve inserted a shotgun icon after the red music note. Why a shotgun? Who cares!
Now that we’ve finished editing our sheet, we can save! (Don’t save as a transparent picture) Be sure to save an extra copy of the original in case you screw up.
Now we can open GBAGE with our target ROM! Like so…
Huzzah! But wait, the original Icon sheet isn’t compressed. So all we need to do is open the Image window and…
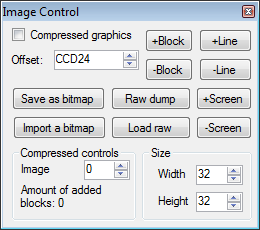
There! Now all we need to do is insert! You can do that by selecting import a bitmap. This should take you here…
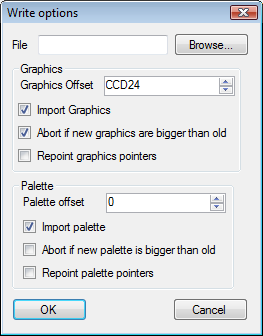
Perfect. Now make sure that the Graphic Offset is set to your destination offset. (That’s where it goes) You would usually do it at the end, so I’m gonna put it at 1000000. Also, make sure everything else is unchecked except Import graphics. Now we browse for our file and it should end up like this…
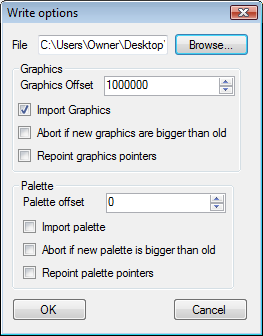
There! Now we can hit OK! And…
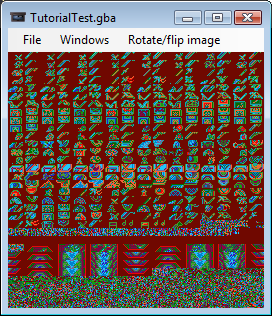
Perfect… except for the palette. But don’t worry! The game will do that for you!
Be sure to remember or write down where you inserted! It’s very important for these next few steps!
Now you can save and exit.
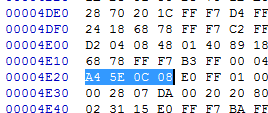
Now we have to make sure that the game reads our New sheet as opposed to our old one. To do that we head to our Hex editor. Once you’re there, head over to the offset 4E20 (FE7) or 36B4 (FE8) [NOTE: There is a pointer also located at 4EF4 (FE7) or 3788 (FE8). I haven’t gotten the chance to see what that does, as far as I know it deosn’t have anything to do with the icons but im not sure] and you’ll see the following 8 digits is the pointer we need to edit…
From here we’ll replace this with our pointer. Our Destination Offset is NOT our pointer If you don’t know how convert Offsets to pointers and Vice versa, just Google it it’s not hard at all.
Now that we’ve replaced our pointers, we can save and exit.
From here, we go into Nightmare to change the icons. Before you do this, you’ll need to edit the Item Icon List. We can do that in our text editor.

The first thing we’ll need to do is change the top number. This number tells Nightmare how many options to display, since we’re starting from the bottom, we’ll need to add 2. (One for the red music note and one for the shotgun)
Perfect, we’ll also need to add a selection for our inserted icon
So here is the end of the text, all we need to do is make a custom selection like this…
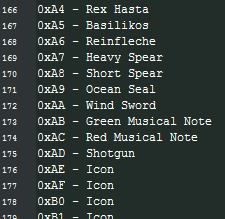
Perfect! Now we save and exit!
Now we head into Nightmare and select the item editor module with our ROM. Then we find the item we want to edit (I’ll be editing the IronSword), then scroll down to the Item Icon # selection like so…
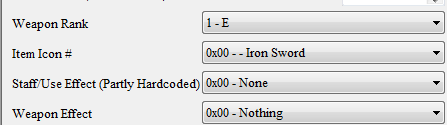
Now we scroll all the way down to “Shotgun” to show a little something like this…
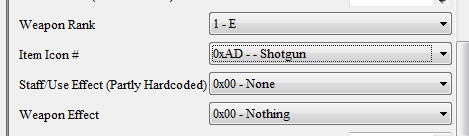
Perfect! Now we apply then save!
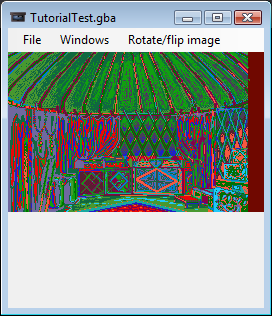
Now we can test our ROM!
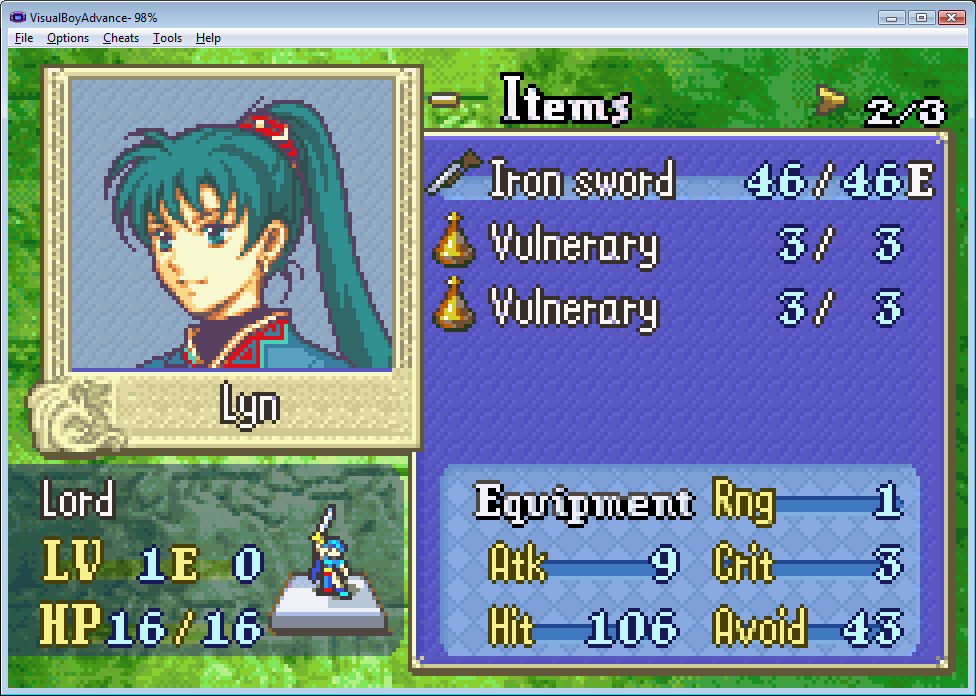
YAY! It worked! Now we can go about making even more item icons that the game intended! Have fun!